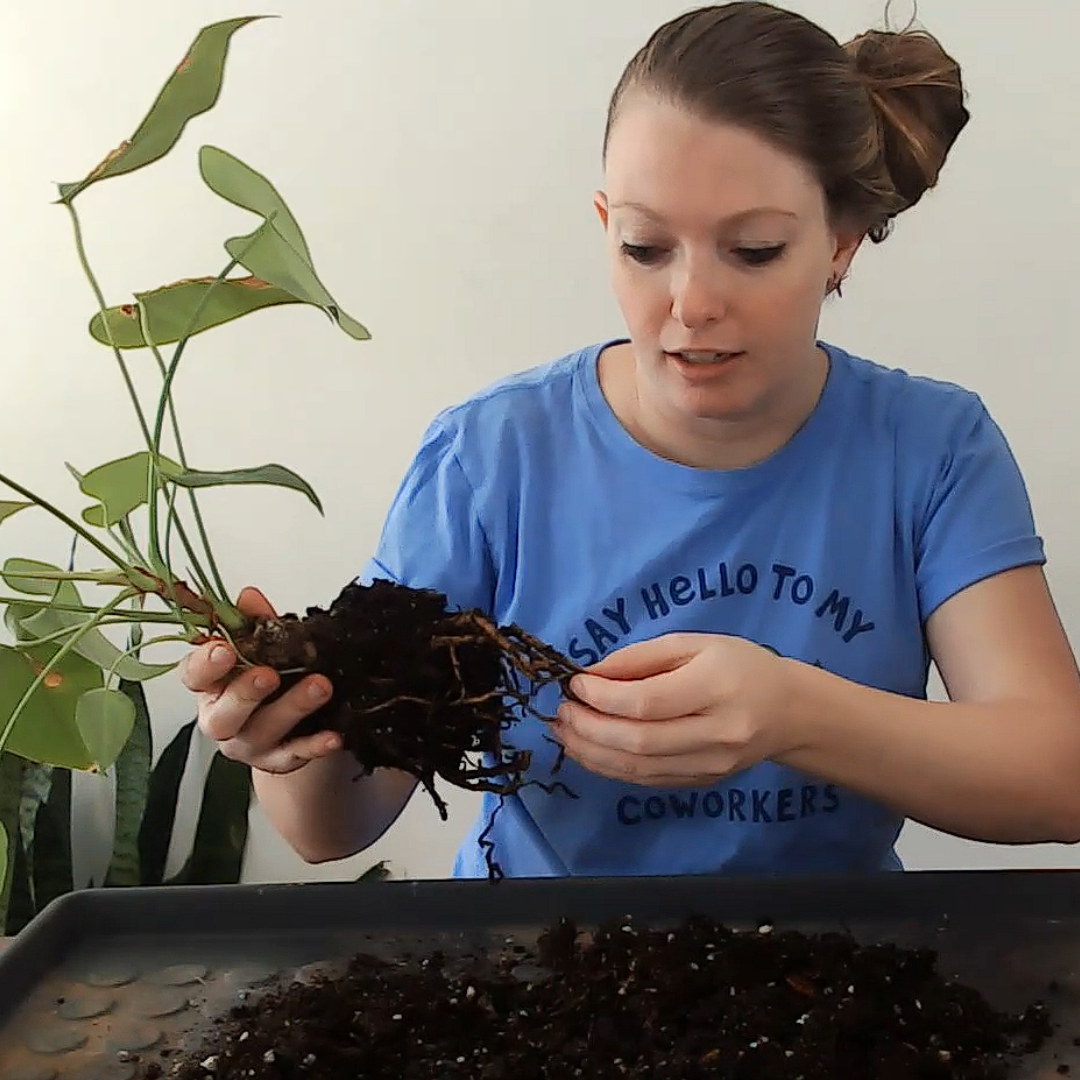
Struggling to keep your anthurium plant healthy and thriving? It could be that it needs repotting! And lucky for you, in this article I’m going to cover exactly how to re-pot your anthurium so you have total success (and happy plants!)
So follow this step-by-step guide with everything you need to know to get it right the first time!
Here’s what we’re covering:
- The best soil mix for your anthurium
- How to repot your indoor plant
- Basic anthurium plant care
How to Repot your Anthurium
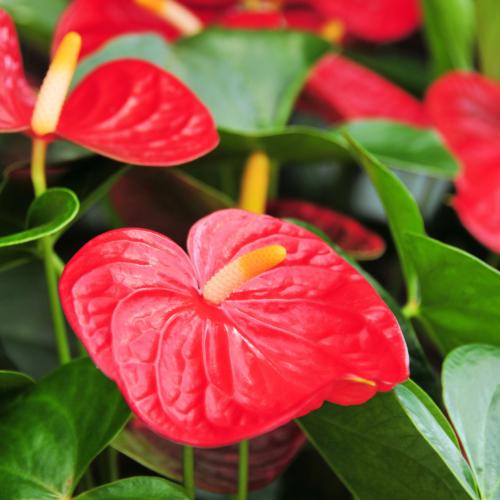
Anthurium plants, often known as “Flamingo Flowers” or “Painted Tongue,” are tropical plants that tend to slow their growth rate during the winter months. Because of this, the best time to repot your flamingo flower is during the spring or summer. This is when the plant is actively growing, giving it the best chance of repairing any damaged roots before they become infected, as well as gives the plant the chance to produce nice, healthy new growth to fill in the pot before it goes dormant for the winter.
Step 1: Choose the Right Soil
Choosing the right soil mix is essential when you’re repotting your flamingo flower. These tropical plants prefer a well-draining soil mix that can mimic their natural habitat. While pre-mixed potting soils specifically designed for anthuriums are available, you can also create your own soil mix.
A good soil mix for anthurium contains a combination of:
- peat moss
- perlite
- orchid bark
The peat moss will work to retain moisture and provides necessary nutrients. Perlite improves soil aeration, essentially making gaps for air to be in the soil. This prevents waterlogging and root rot. Lastly, orchid bark also creates large air pockets in the soil, creating excellent drainage at the same time as it recreates the natural environment of anthuriums, which often grow on trees in the wild.
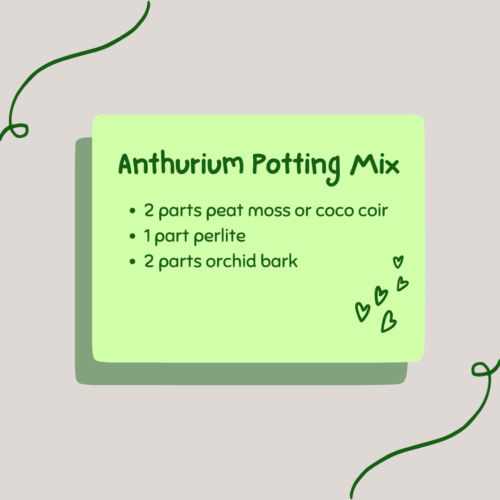
For your perfect anthurium soil mix, add two parts of peat moss, one part of perlite and one part of orchid bark. Ensure that all materials are well mixed and free of clumps. With this mixture, your anthurium will have well-drained soil that holds onto the right level of moisture, while also letting excess water drain out of the soil. This balance or aeration and moisture retention, as well as the addition of bark to help mimic the plant’s natural environment is the perfect blend for your anthurium plant.
Step 2: Choose the Right Pot
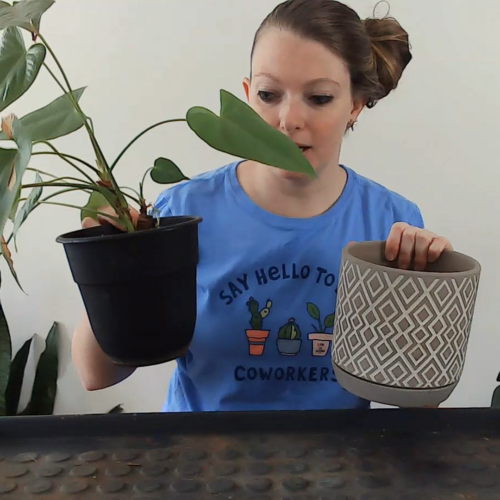
For your pot selection, choose a pot that is only a size or two larger than your current pot. For anthuriums this might mean that your plant’s leaves will extend beyond the rim of the pot, and that’s okay. It is better to have a pot that is too small and to have to water it more frequently, than to have a pot that is too large and run the risk of the soil holding too much moisture where your plant’s roots can’t reach it. This causes excess moisture, which then can cause bacterial growth and root rot. Also be sure that your new pot has good drainage (it needs a few drainage holes in the bottom of it!). Because there’s no point in using well-draining soil if your pot doesn’t give the excess water anywhere to flow out!
Step 3: Remove your Anthurium
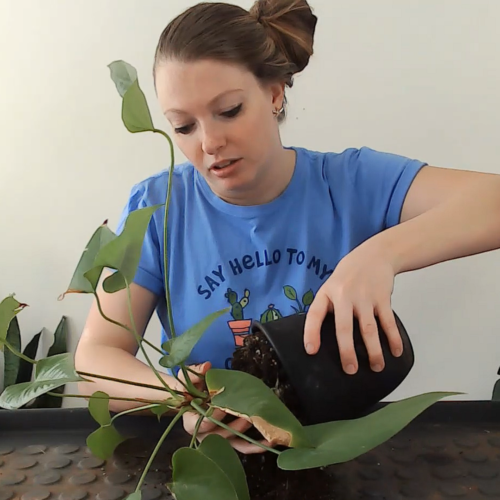
Carefully take the anthurium out from its current pot. Keep a firm grip on the base of the plant and gently tug. If it’s stuck, do not pull hard on the stem. You DON’T want to accidentally break off your main plant stem! It’s better to use a butter knife to loosen the soil around the edges of the old pot. If it still is having a hard time coming out, you can also soak the rootball (getting it overly wet) to get your plant to slide out. Just be sure let your soil dry out a bit after it comes out!
Step 4: Inspect the Roots
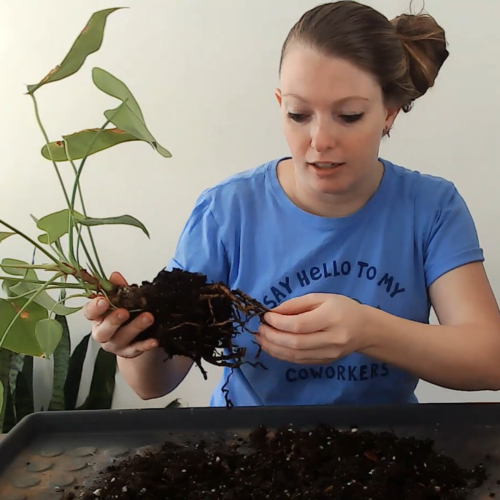
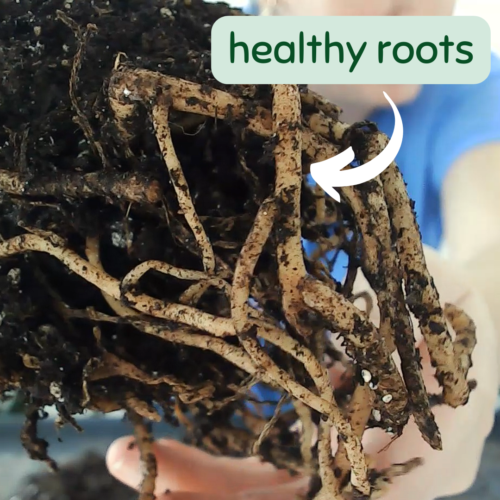
Once removed, inspect the roots for signs of disease or rot. If you find any dead or discolored roots, trim them off with clean scissors. The roots should be white or orange. Any roots that are turning a dark brown to black or that are soft and mushy instead of firm are diseased and should be removed.
Step 5: Add Soil to the New Pot
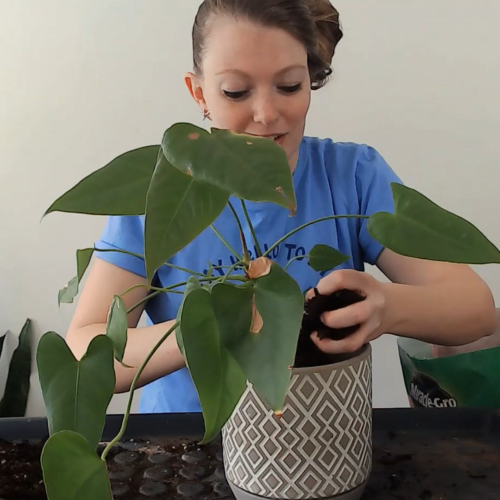
Add a layer of soil into the bottom of the pot and place your anthurium inside. Measure the height of the anthurium based around the soil level against the main stem of the old container and try to match it in the new container. Add more or less soil in the bottom of the pot to get the final soil level a few inches down from the top edge of the pot. Then fill in soil around the root system, lightly pressing it around the roots. Compact the soil enough to hold up your plant, but don’t be too rough that you are breaking the roots.
Step 6: Water
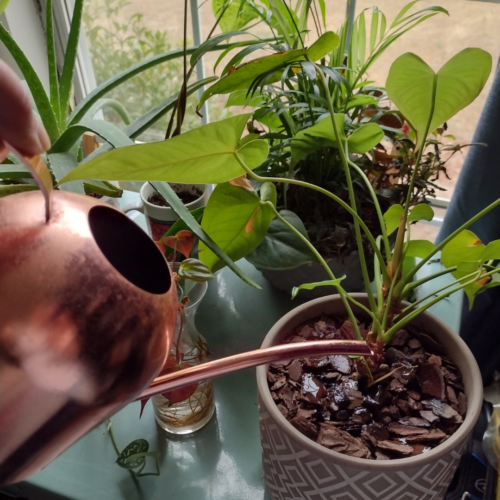
After repotting, water your anthurium sufficiently. If you used moist soil, or you cut several of your roots, then I would suggest waiting a few days for the soil to dry, or for the cuts in the roots to seal before really watering it again. And then in the following few weeks, keep an eye on the plant and water when the top inch of soil feels dry. If done correctly (and it’s not fall or wintertime), then in a couple of months you should expect to see a flush of new leaves from your anthurium!
Anthurium Care Basics
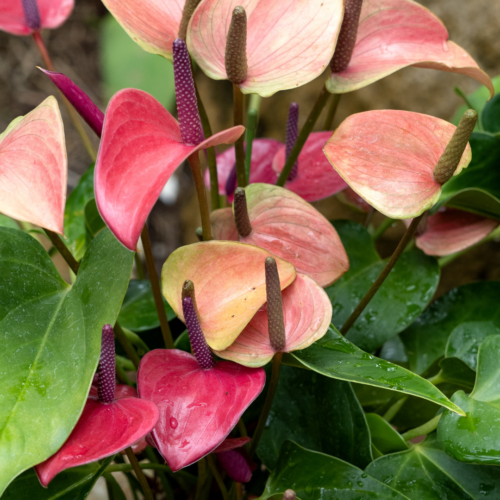
Anthurium plants, are tropical plants famous for their waxy, bright flowers (that are technically not flowers, but more about that another time…). These plants are symbolic of hospitality due to their open heart-shaped flowers. Because all of their fame comes from their flowers, many plant parents are desperate to have their plants bloom over and over again. However, success with your anthurium plants lies in creating the perfect balance of light, warmth, and humidity. And once you have happy plants, then they will be more likely to give you equally stunning flowers.
Sunlight
Native to the steamy rainforests of Central and South America, these plants have adapted to survive under the canopies of wet and shady jungles. And this is key… they survive UNDER THE CANOPY which means they are used to getting lots of bright, indirect sunlight! Direct sunlight can scorch the leaves, while insufficient light can hinder growth and blooming. Therefore, it’s best to place your anthurium near a window with diffused light (bright, indirect light). If that’s not possible, fluorescent grow lights can also work since they add a lot of light without the heat of direct sunlight.
Some plants don’t do as well with grow lights, but I have not personally seen any issues with anthurium. I will update this post if I ever do see any negative impact from grow lights. Just be sure to keep your lights several inches away from your plants’ leaves, since they can get quite hot and scorch your leaves. Just keep an eye on it. Any light brown spots, and you might need to move your light farther away, but long, leggy stems and you’ll need to move it closer to your plant or consider getting a brighter light.
For more information on plant lights and lighting in general, check out my Indoor Plant Care Pack!
Watering
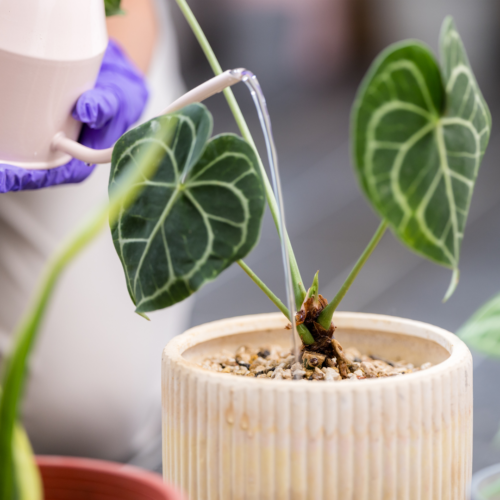
While anthuriums love humidity, it’s important not to overwater them. Too much water can lead to root rot, a common issue with this plant. As a general rule, wait until the top inch of the soil is dry before you water again. If you’re unsure, it’s better to underwater than overwater. These little guys are quick to die when they’re left in soggy soil!
Also, athurium plants can be sensitive to chemicals that are generally found in tap water. Consider leaving a pitcher of water out for 24 hours for the chlorine to dissipate, or you can consider watering with distilled or filtered water. Check out my post on 5 signs your Plants need Filtered Water for more information!
Temperature
Being tropical plants, anthuriums prefer warm temperatures ranging from 65 to 80 degrees Fahrenheit (18-27 Celsius). They don’t fare well in cold or draught, so avoid placing them near air conditioning vents or drafty windows. Anthuriums also love high humidity, so consider placing your plant on a humidity tray or near a humidifier.
Remember, every plant is different and may have slightly different needs based on its specific variety, age, and overall health. It’s important to monitor your anthurium regularly and adjust your care routine as needed.
Conclusion
This should be everything you need to know to have success in repotting your anthurium. Remember that a lot of indoor plants have similar requirements while repotting, such as choosing the right pot and being gentle with the main stem. Once you get these basics down, then repotting your houseplants will become a breeze! So good luck, and for more information on how to successfully grow and care for your plants, check out my plant-killer to green thumb course, Indoor Plants Accellerated!
Happy Digging!
Anthurium Repotting FAQs
How often should I repot an Anthurium?
Generally, anthuriums should be repotted every 2-3 years. However, if you notice that the plant is outgrowing its pot or the roots are highly visible and wrapping around the pot, it might be time to repot, even if it hasn’t been 2 years yet. Also, if you typically have lots of new growth on your plant, but it has suddenly stopped growing (and it isn’t the fall or wintertime), then this could also be a sign that your plant is outgrowing its space or needs fresh soil.
What type of soil is best for repotting anthurium?
Anthuriums prefer well-draining soil. A mixture of equal parts peat moss, pine bark, and perlite is a good selection. This mix provides plenty of drainage and mimics the plant’s natural growing conditions. Just be sure that you still provide your plant with adequate drainage from the pot. This will ensure the soil mix is used properly.
Is it normal for my anthurium to droop after repotting?
Yes, it’s fairly common for anthuriums to experience a bit of shock after repotting, often evident as wilting or drooping. However, with proper care and adjustment time, your anthurium should recover and bounce back to its vibrant self. If there are brown leaves, however, this could be a sign of extensive root damage or overwatering during repotting.
How big a pot should I use for repotting?
The size of the pot depends on the size of the plant. Generally, select a pot size that’s about 2 inches larger in diameter than the current pot. This provides enough room for the roots to spread without making the plant prone to overwatering.

