The Girl with a Shovel
Houseplant Care
Houseplant Decor
Houseplant Selection
Author:
Angela
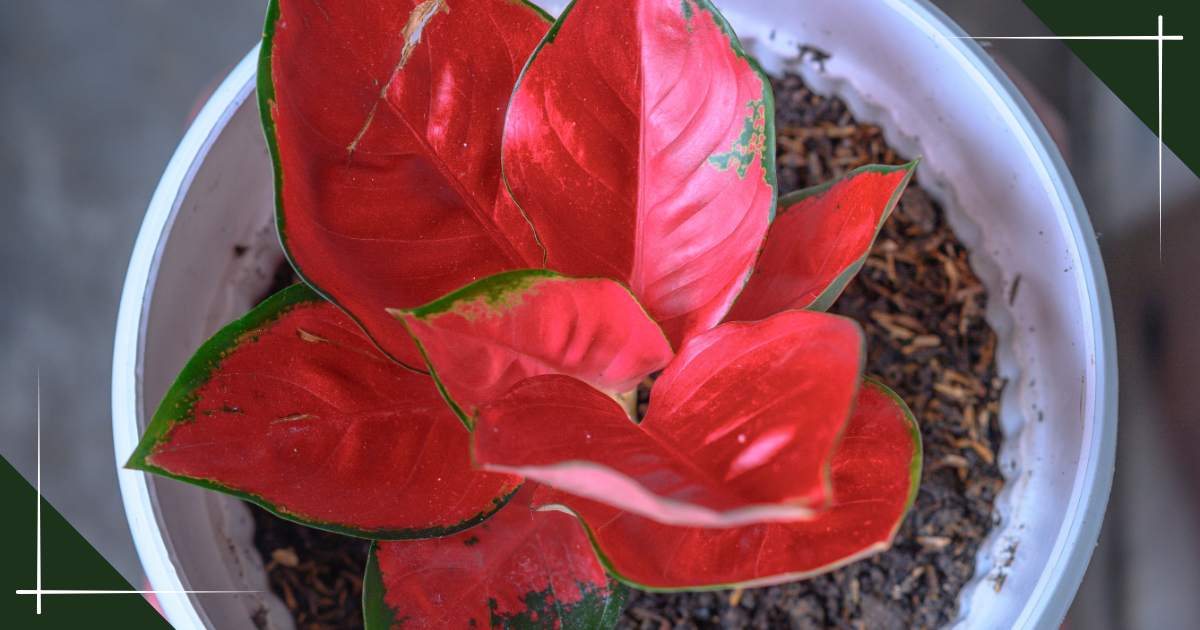
The Simple Way to Repot a Chinese Evergreen
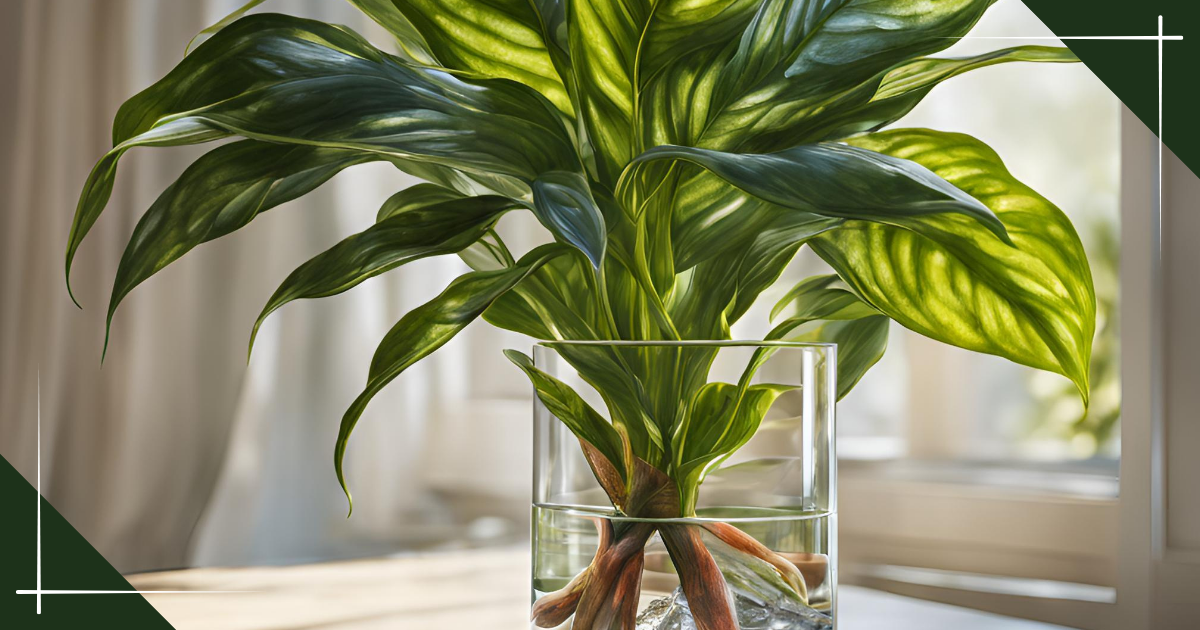
A Step-by-step Guide to Propagate Chinese Evergreen
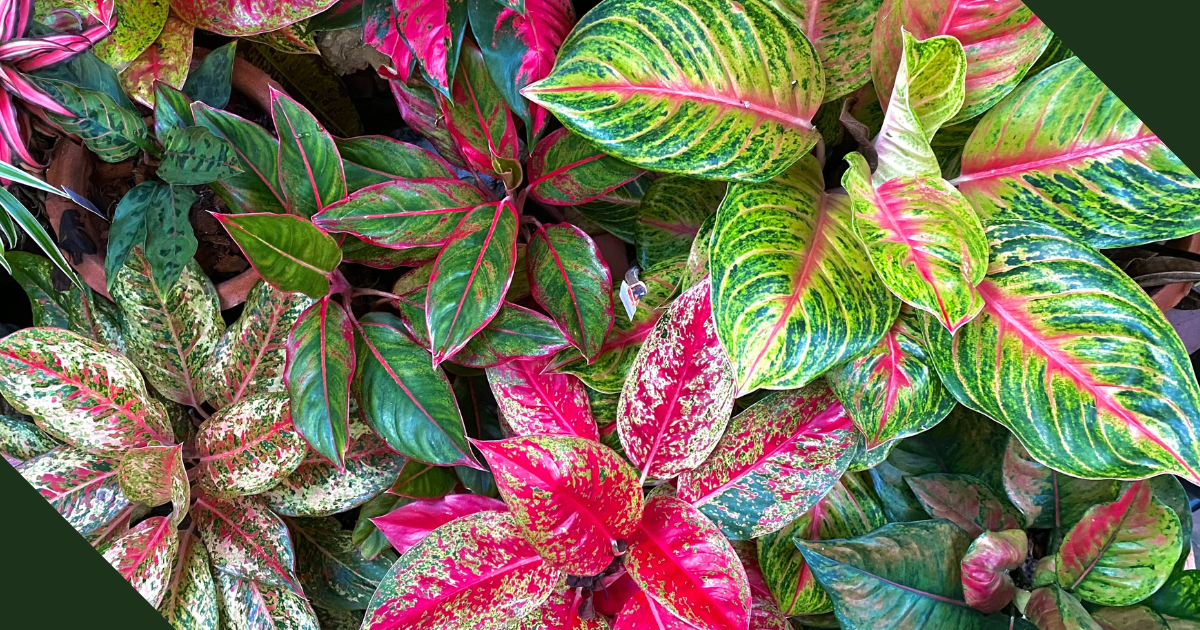
30 Stunning, Easy-Care Aglaonema Varieties to Grow!
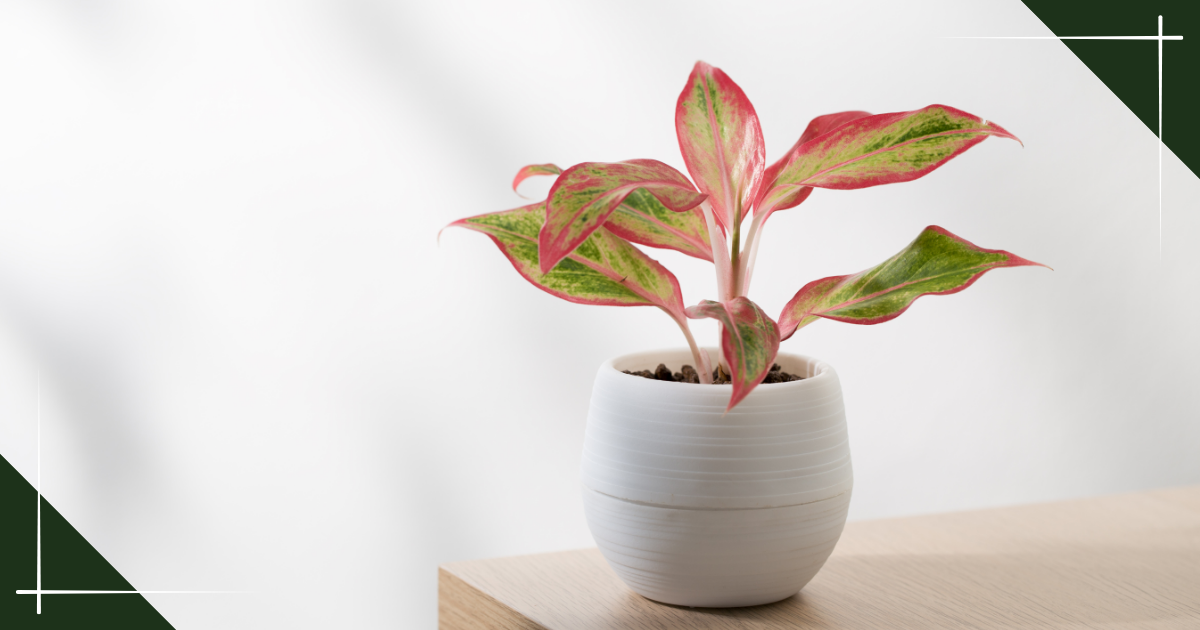
How to Care for Chinese Evergreen (so it doesn’t die)
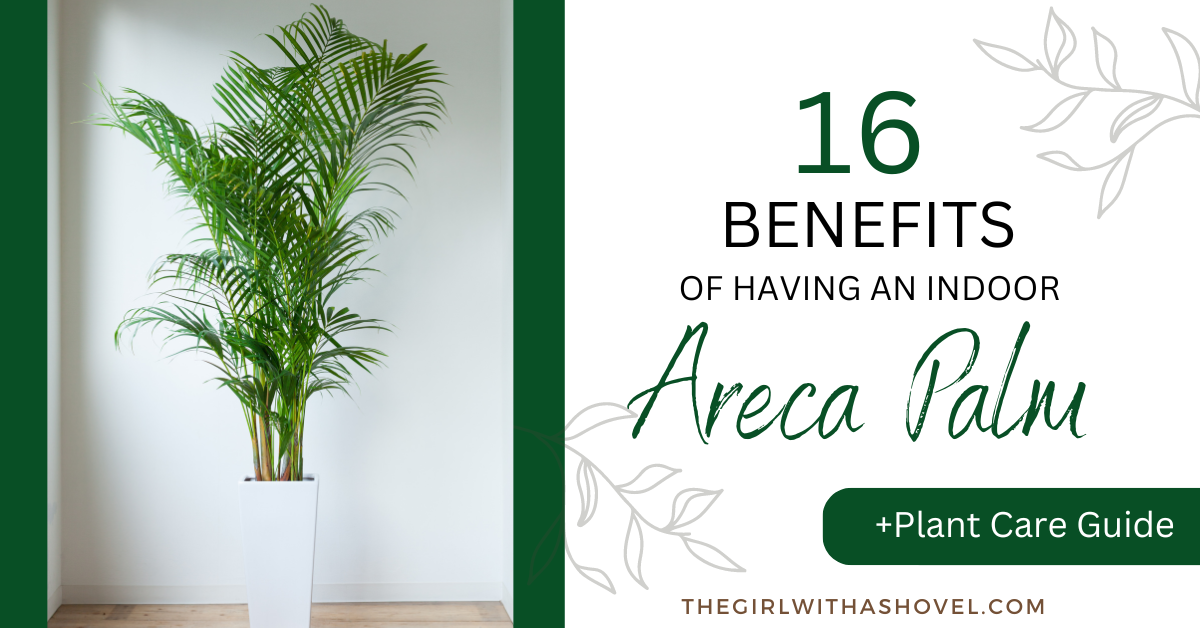
Areca Palm Benefits: Unveiling the Health-Promoting and Air-Purifying Plant
Calla Lily Care Indoors: Preventing and Fixing Drooping in Your Indoor Plants
26 Best Types of Vanda Orchids + Beginner’s Care Guide
How to Care for Hyacinth in a Vase: Your Complete Guide to Indoor Hyacinth Maintenance
The Difference Between Cacti and Succulents (+ Care Guide!)
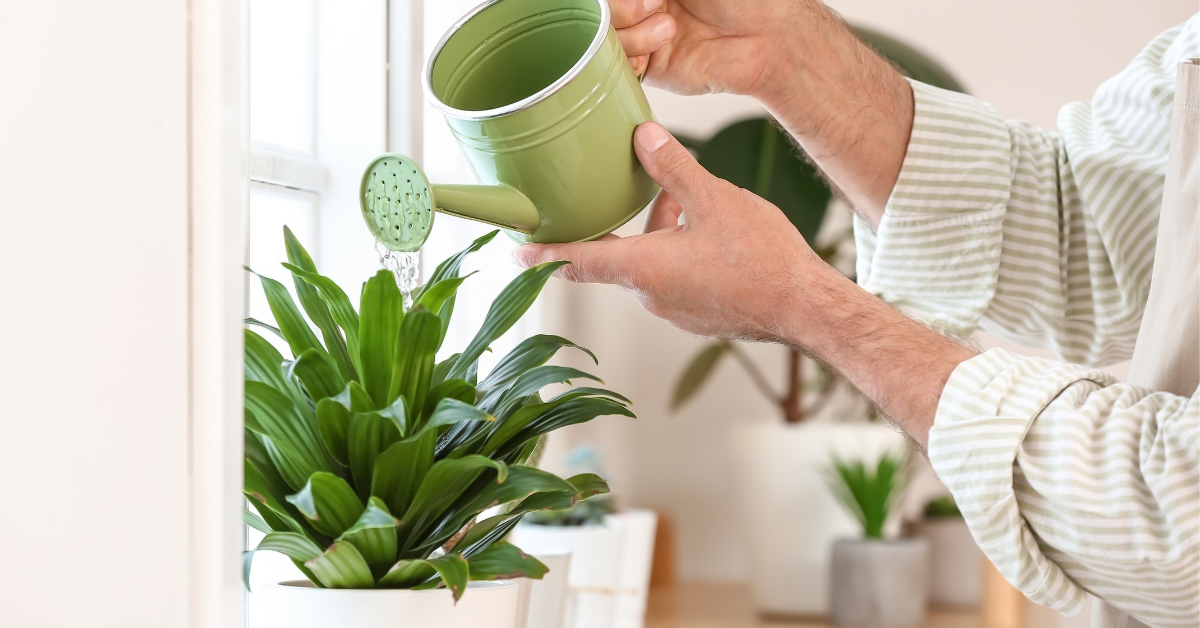
How to Water Houseplants the RIGHT way! (+Watering Tips)