Whether you’re getting a jump-start to your garden or simply want some plants around the house for a cheaper price, starting from seed is great! However, it can also sometimes be tricky and frustrating. But with these 10 tips and tricks, you’ll be planting like a pro! Here is how to grow seeds indoors, with 10 tips to ensure that you have success!

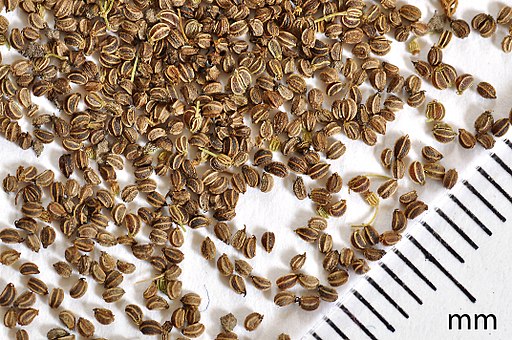
Tip #1: Only use good seed…
This may seem like a no-brainer, but for all those who are hoarding seed packets out there, either plant them, or throw them out. Check the back of the seed packages for the expiration date. This date is when the seeds start getting less and less viable (fewer of the seeds will actually sprout). Storing seeds in a dry, cool place can prolong their lifespan, but make sure that you don’t wait too long. Also, purchase your seed from a reputable seed company, not just from some rando off the street! Remember, you won’t grow anything from a bad seed, no matter how good you are. (Yes, I’m looking at you seeds from ebay that never grow!!!)
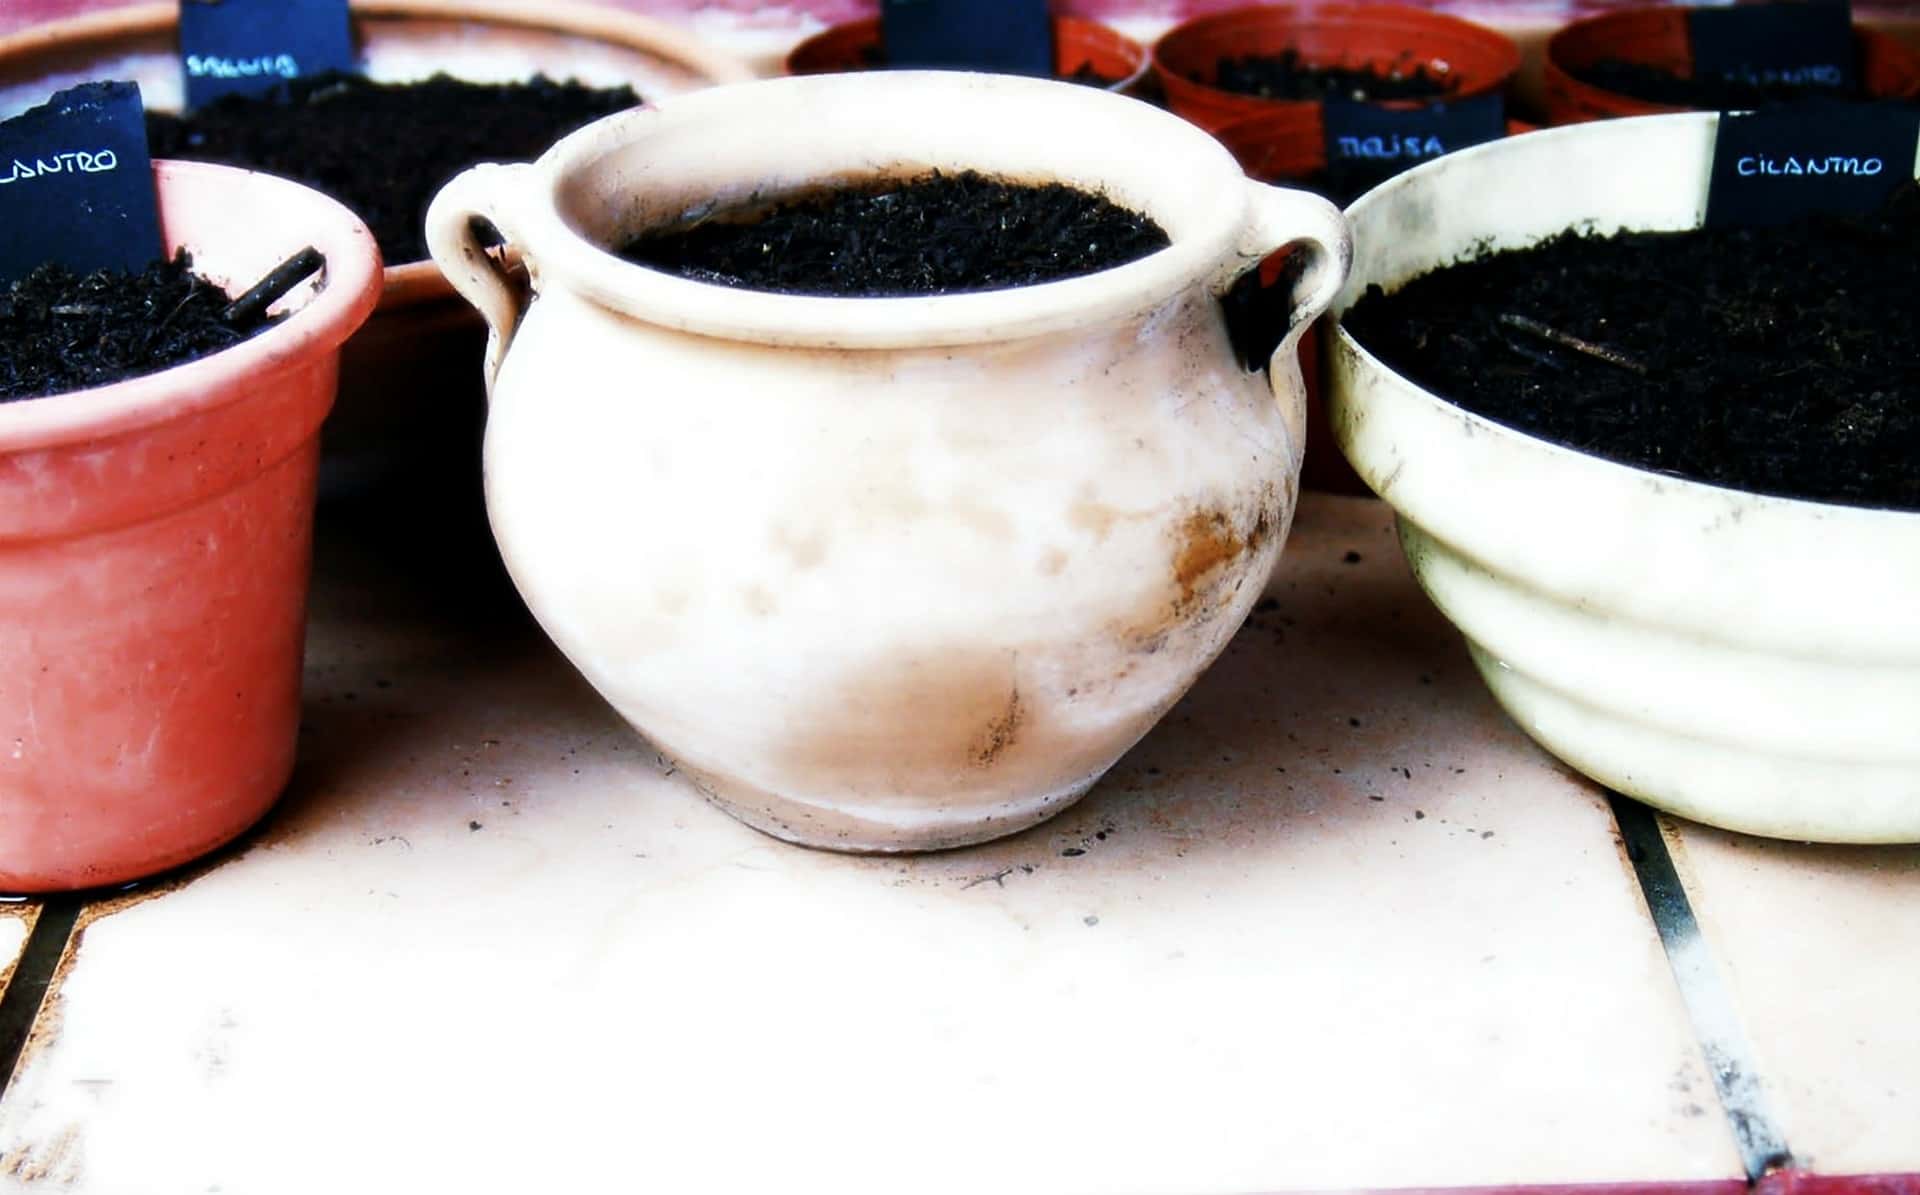
Tip #2: Plant in shallow containers…
The depth of soil underneath your seedlings is actually very important. Due to some physics and absorbency ratios (which I’m not going to bore you with), basically, the more soil beneath, the harder it is for your seeds to get the water. But don’t go too shallow that there’s no room for your seedling. Somewhere in the 3″-6″ range should be good for most seed, but it may vary depending on the size of your seed. The smaller the seed, the less soil it needs beneath. The bigger the seed, the more soil it needs.
Tip #3: Have proper drainage…
There are many different types of containers you can use for planting your seedlings in… from commercial seed pots, to handmade newspaper pots, to old salad containers. I’ve seen and used many different makeshift as well as professional pots. But one thing they all have to have in common is good drainage. Without proper drainage, all the water will soak to the bottom of the pot and stay there, leaving either just the top (where the seeds are) all dried up, or it can lead to a big wet mess (which can lead to a lot of other problems like mold and fungal growth). So if you are using any recycled plastics or containers, just poke some holes into the bottom to let some of that extra moisture out.
Tip #4: Use good soil…
Not all soil is made the same… quite literally! I once bought some extremely cheap soil that turned out to be just a mix of clay and decomposing pine needles. And do you know what my plants did in it? Absolutely nothing. No growth, no flowering, no nothing. Basically, you get what you pay for. So don’t try to take a cheaper way out (unless you’re doing your own composting, in which case be very careful that it is done correctly.) But for seeds, use only clean soil – a good soil will have a weed seed count on the back. Try to get one with a very low weed seed count, as well as make sure it contains a lot of organic material. You can also purchase soil that is specifically for seedlings, as it may contain additional fertilizers or other ingredients that increase drainage and will give your seeds the best environment possible. So consult your budget and see what works best for you. But remember… with soil, you get what you pay for!
Tip #5: Don’t let it get too hot…
Don’t let your pots get too warm. This is different from heating mats, which I absolutely LOVE and recommend LIKE CRAZY!!!! (Here’s the heating mat that I personally use and LOVE!!!) While heating mats and bottom heat can be beneficial, make sure that there are no hot drafts blowing over the top of your little seedlings. The biggest culprit here is the heater. Don’t place your pots in direct line of these hot currents. You don’t want the top of your soil to dry out because it can cause your seedlings to wilt and to die from the top heat. You also don’t want to expose some seedlings to direct sunlight in hot temperatures. This can lead to drying out of the top of the soil, and it can also scorch any sensitive new seedlings emerging with their small, delicate leaves.
Tip #6: Don’t let it get too cold…
Just like tip #5, you want to keep your pots at a good temperature. Starting seeds during the winter can be hard as indoor temperatures are generally colder and there can also be dangerous cold drafts from windows and doors. A big thing is to add additional heat to your soil through a heating mat. Often, indoor temperatures are still too cold for the seedlings to germinate. To fix this (and to increase germination rates), you should heat up your soil with a heating mat. This will both increase the number of seeds that sprout, but it will also decrease the chances that your seeds will die from overwatering. For those in especially cold climates, one of the warmest places in your house during the winter is on top of your refrigerator (as long as it isn’t in direct line of a heater current). If the lighting isn’t good there, then move it once the seedlings come up. Which leads to our next tip…
Tip #7: Have adequate lighting…
One of the biggest challenges indoors can be lighting. If you are lucky to have large windows and plenty of light, then enjoy! If not, then here are some tips. Having one good window as a light source, place the pot near the window (but not in any cold or hot drafts!) and turn the pot every time you water. This will help with straight growth. Now, if your seedlings are growing really tall, without a lot of leaves, then this is a sign that they need more light. There are lots of different options for supplemental lights, including boxes or strips that can even raise or lower, depending on your plant’s height. These can sometimes take up a lot of room, however, and may require some installation. My personal favorite, is this flexible lamp for those planting just a few seeds. This lamp is great for adjusting the light exactly as I need it and to continually move them as my plants get taller. Then, for those wanting to start their entire garden and then some from seed, then I would HIGHLY suggest you get this light! It’s a full-spectrum plant light that has kept my seedlings short and leafy all winter (and even grew me some GORGEOUS heads of lettuce last year in my indoor grow tent!) And on this note, remember not to place the lights too close to the seedlings as it can burn them. Likewise, too far away and the plants won’t be getting as much light as possible. Both of these plant lights are full-spectrum to be easy on your eyes, as well as have adjustable heights to help as your plants grow taller.
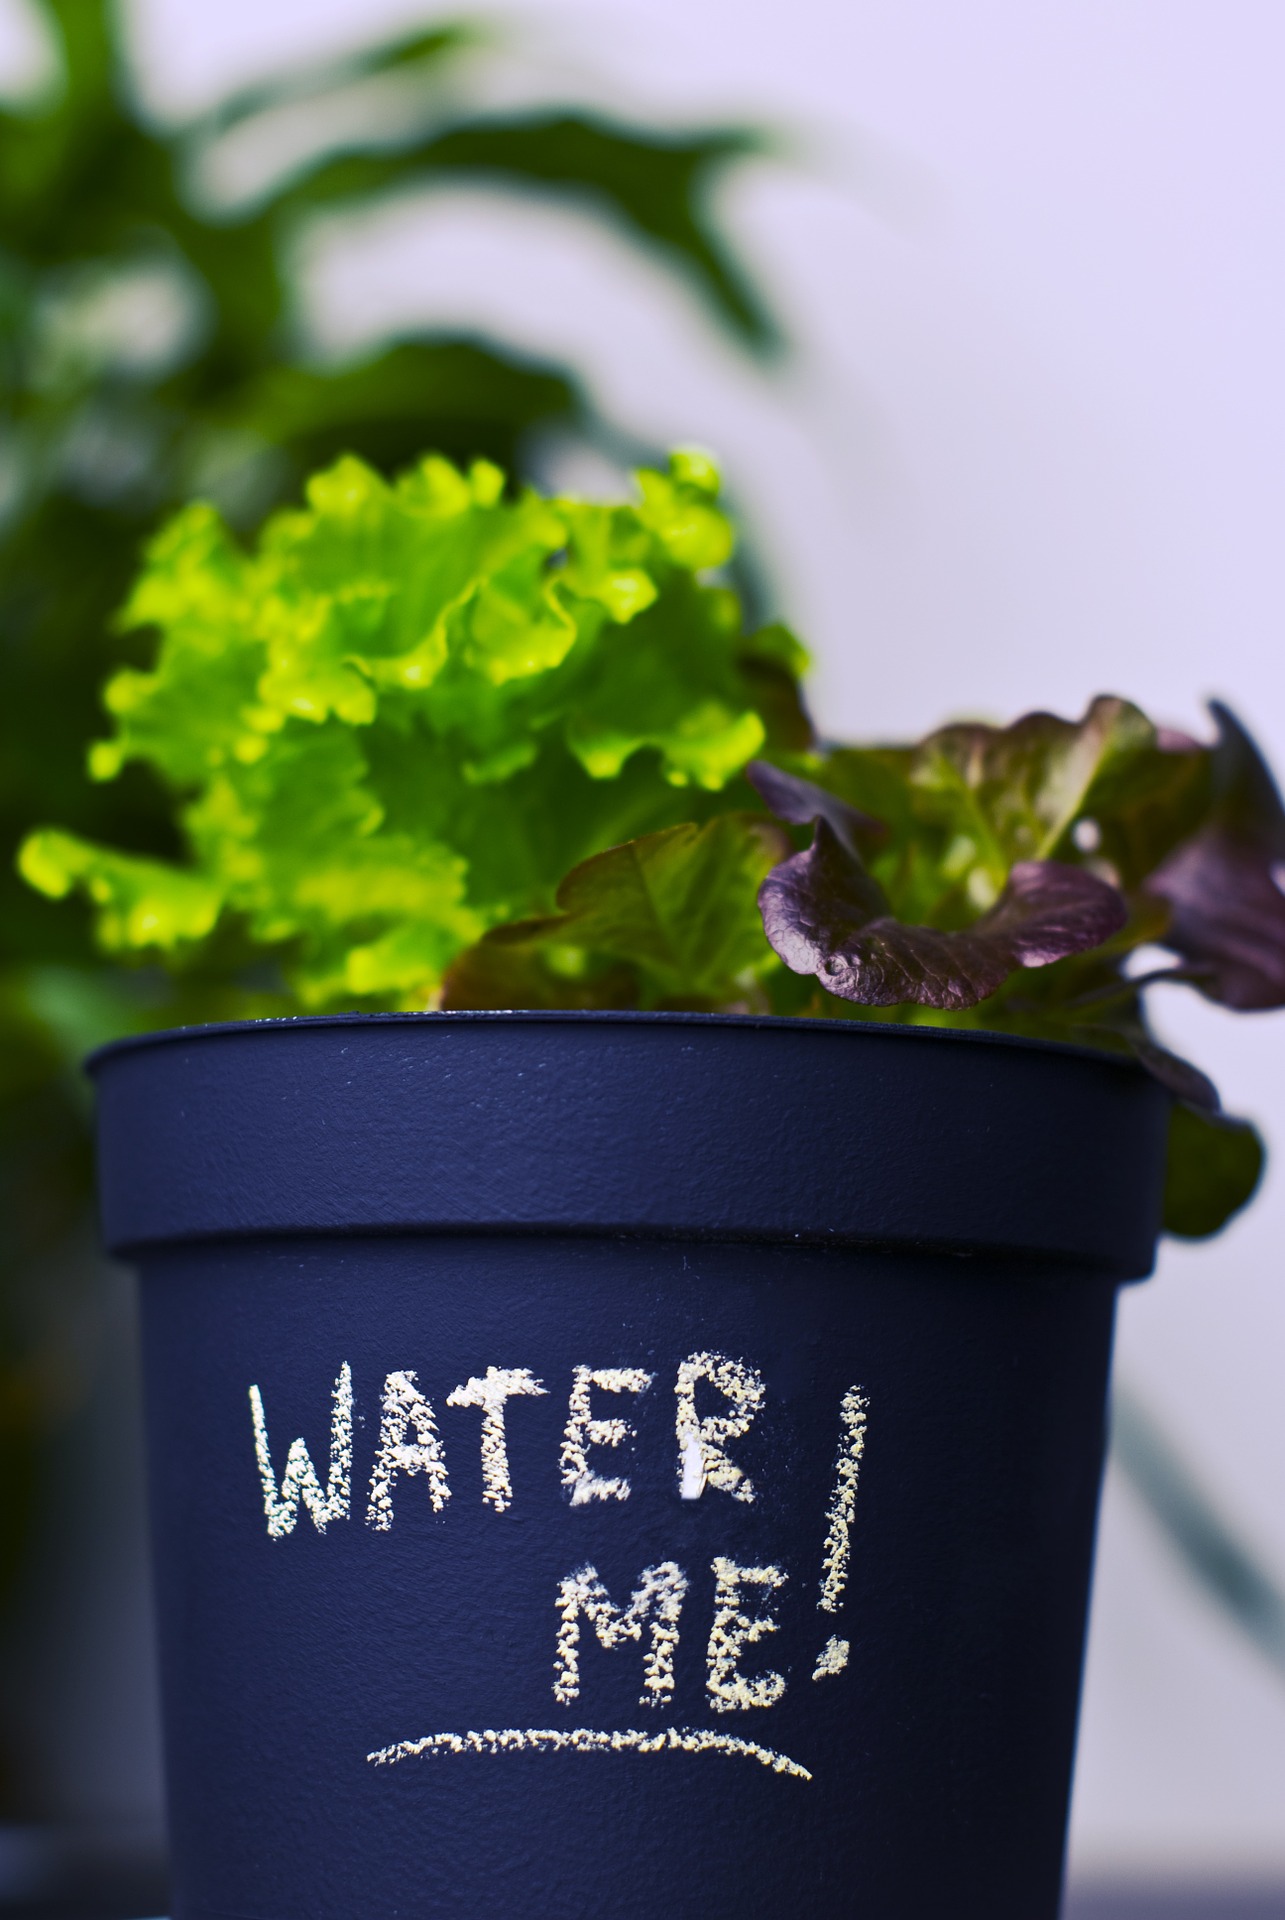
Tip #8: Don’t under- or over-water…
Having the right amount of water is key to seedling survival. Making sure that you have proper drainage and a good soil are all important for watering success as well. But basically, you want the top of the soil to stay moist without the bottom of the pot soaking in water. As mentioned above, this can cause a lot of problems… mainly an increase in fungal problems, which is often a seedling killer. Also, you don’t want to dry those little guys out. Seeds and seedlings are very sensitive and forgetting to water them can also mean life or death. Also, when watering, make sure that you give them a gentle spray, so as to avoid washing away any little seeds or seedlings. You don’t want a flash flood of water! Keep it to a nice little frequent sprinkle and those seeds will love it!
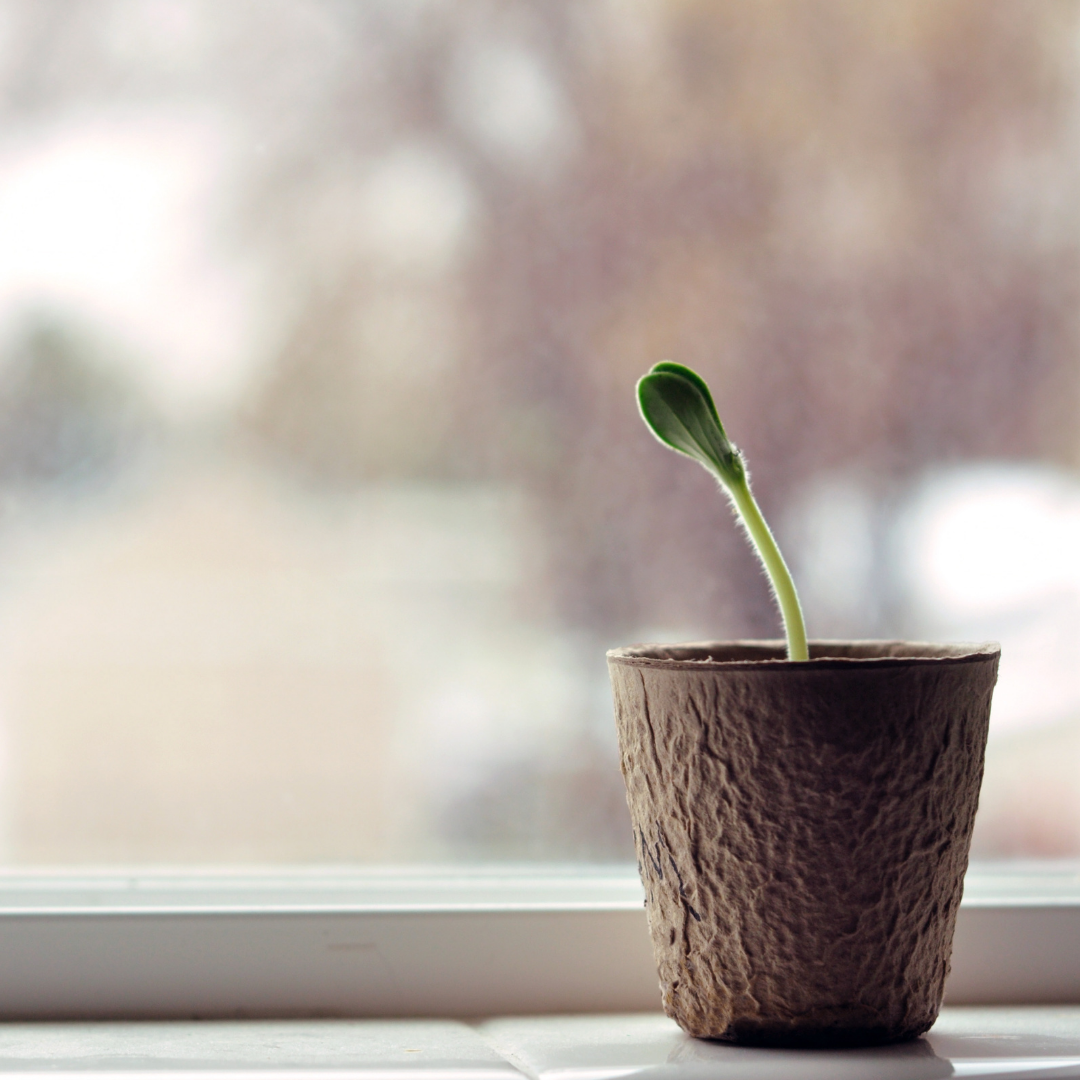
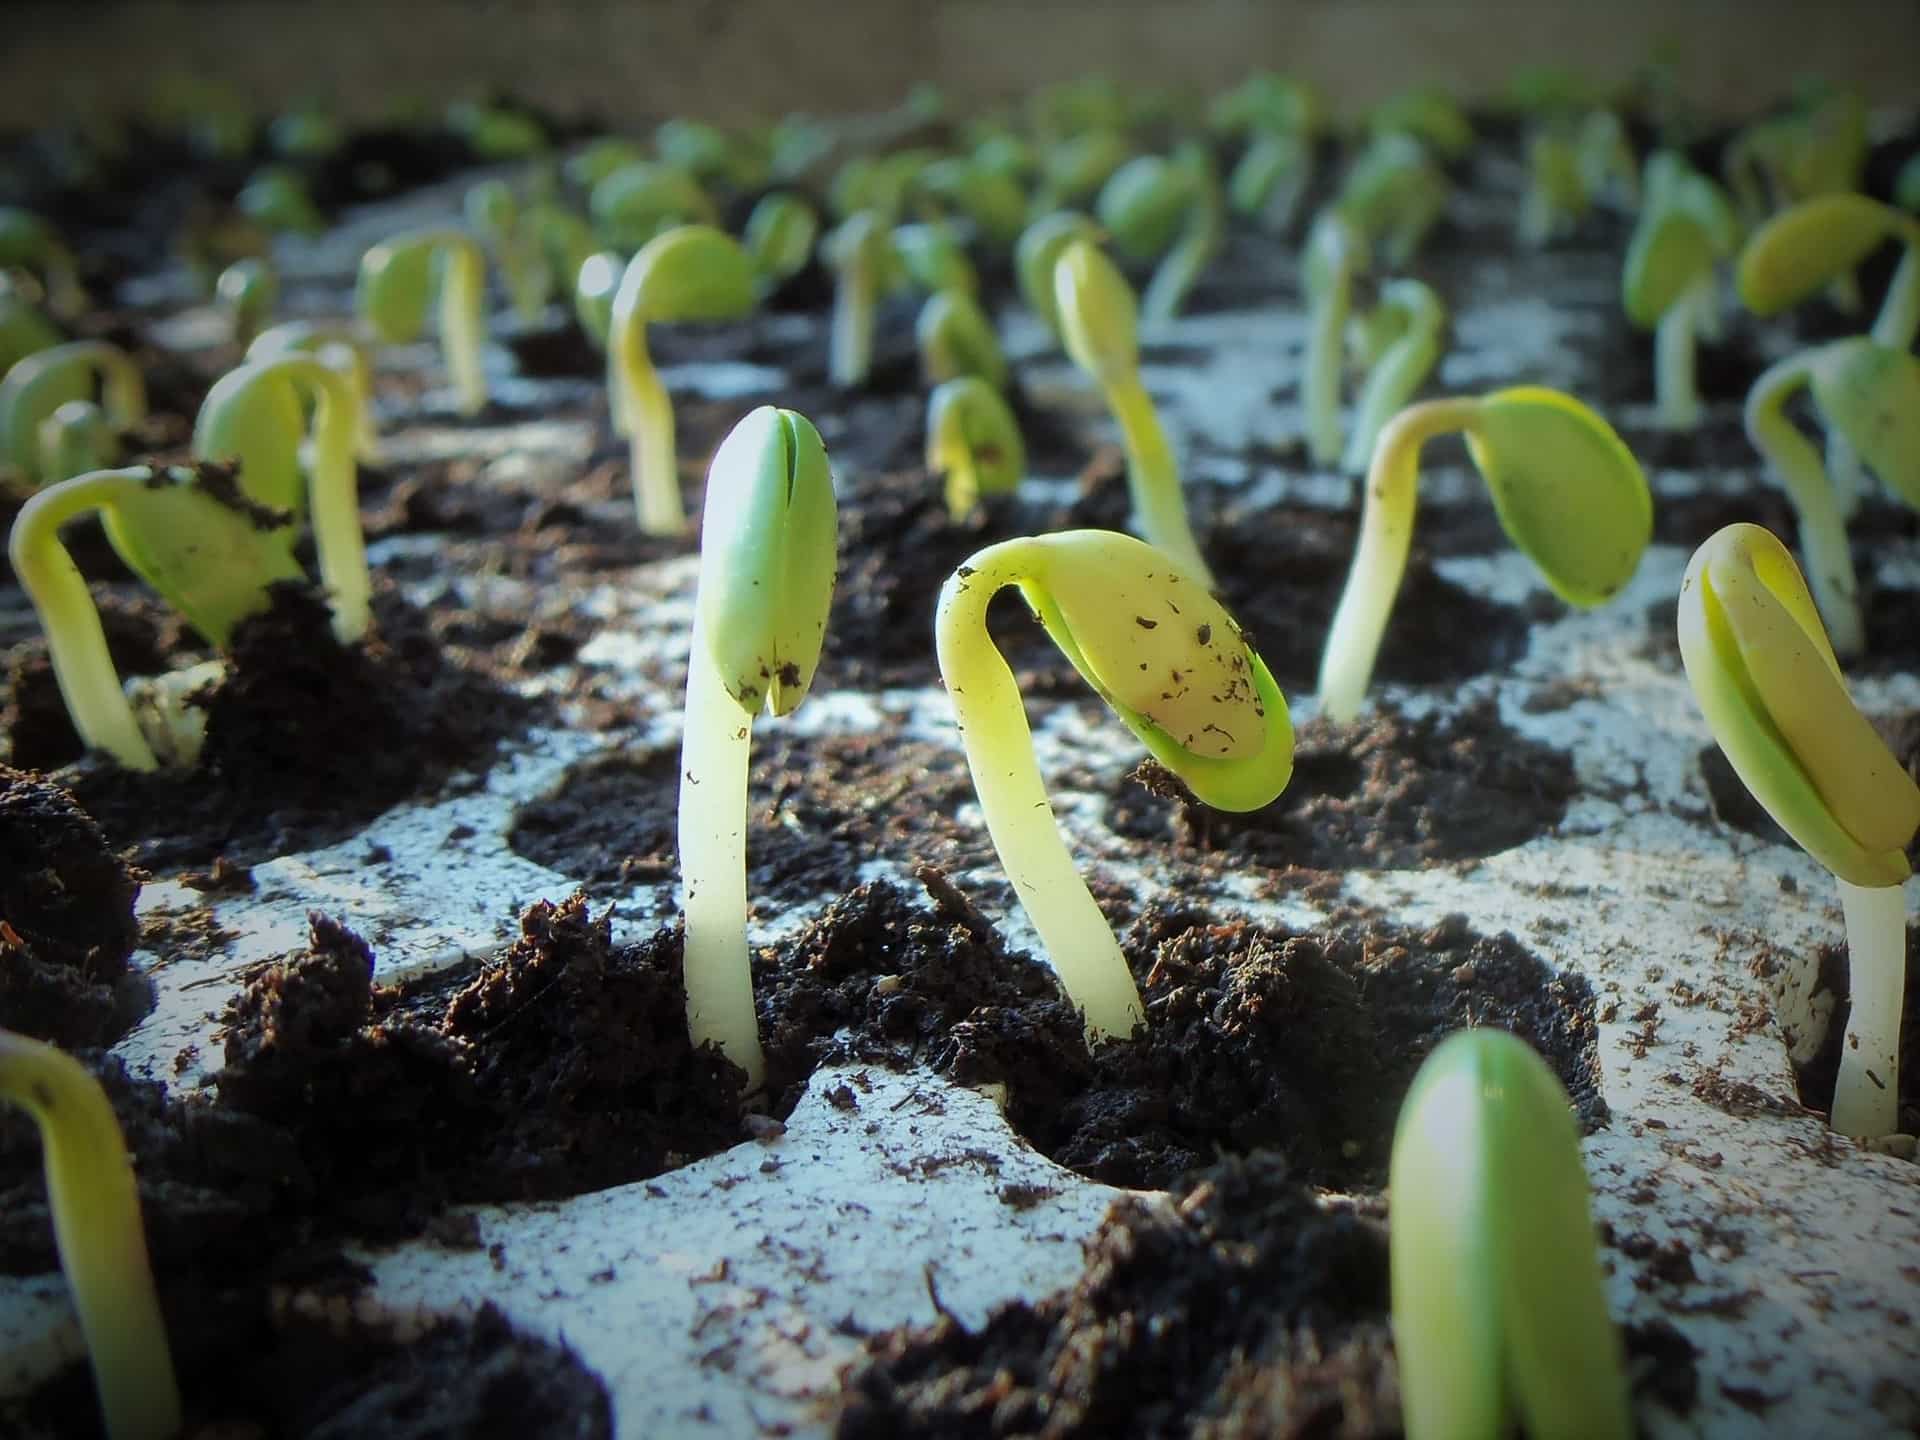
Tip #9: Sow at proper spacing and depth…
This may also sound pretty straightforward. However, you’d be surprised at how many seeds have a hard time because of improper seed depth and spacing. Basically, the bigger the seed, the more soil goes on top. The smaller seeds can sometimes be even just sprinkled on top of the soil and lightly pressed down to ensure good soil contact. As for spacing, follow the recommended spacing, but if the seeds are a medium to a smaller size, put a couple of seeds in each hole just to ensure that you will have at least one sprout. Then thin seedlings out to the proper spacing once they’ve sprouted.
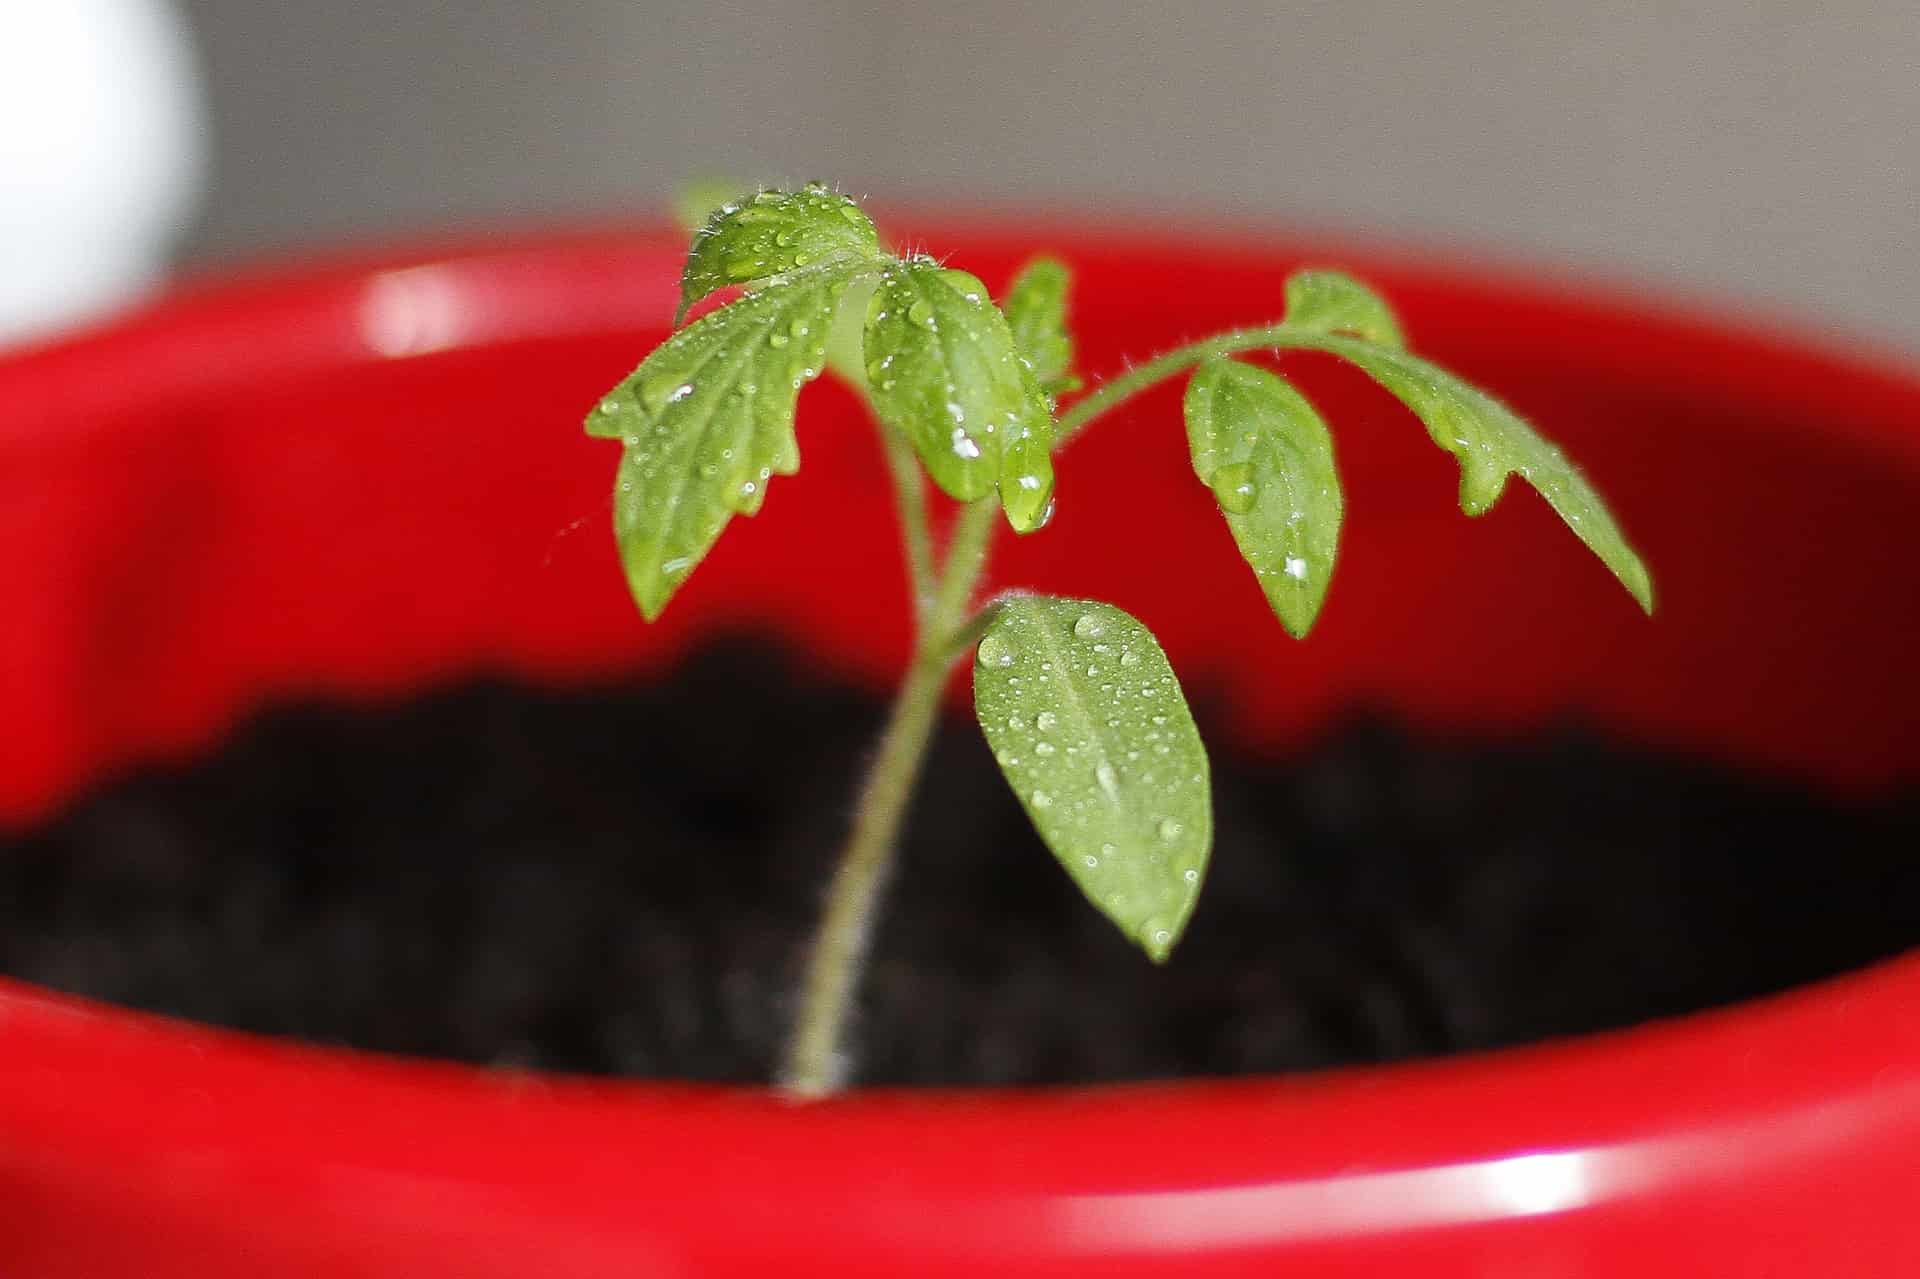
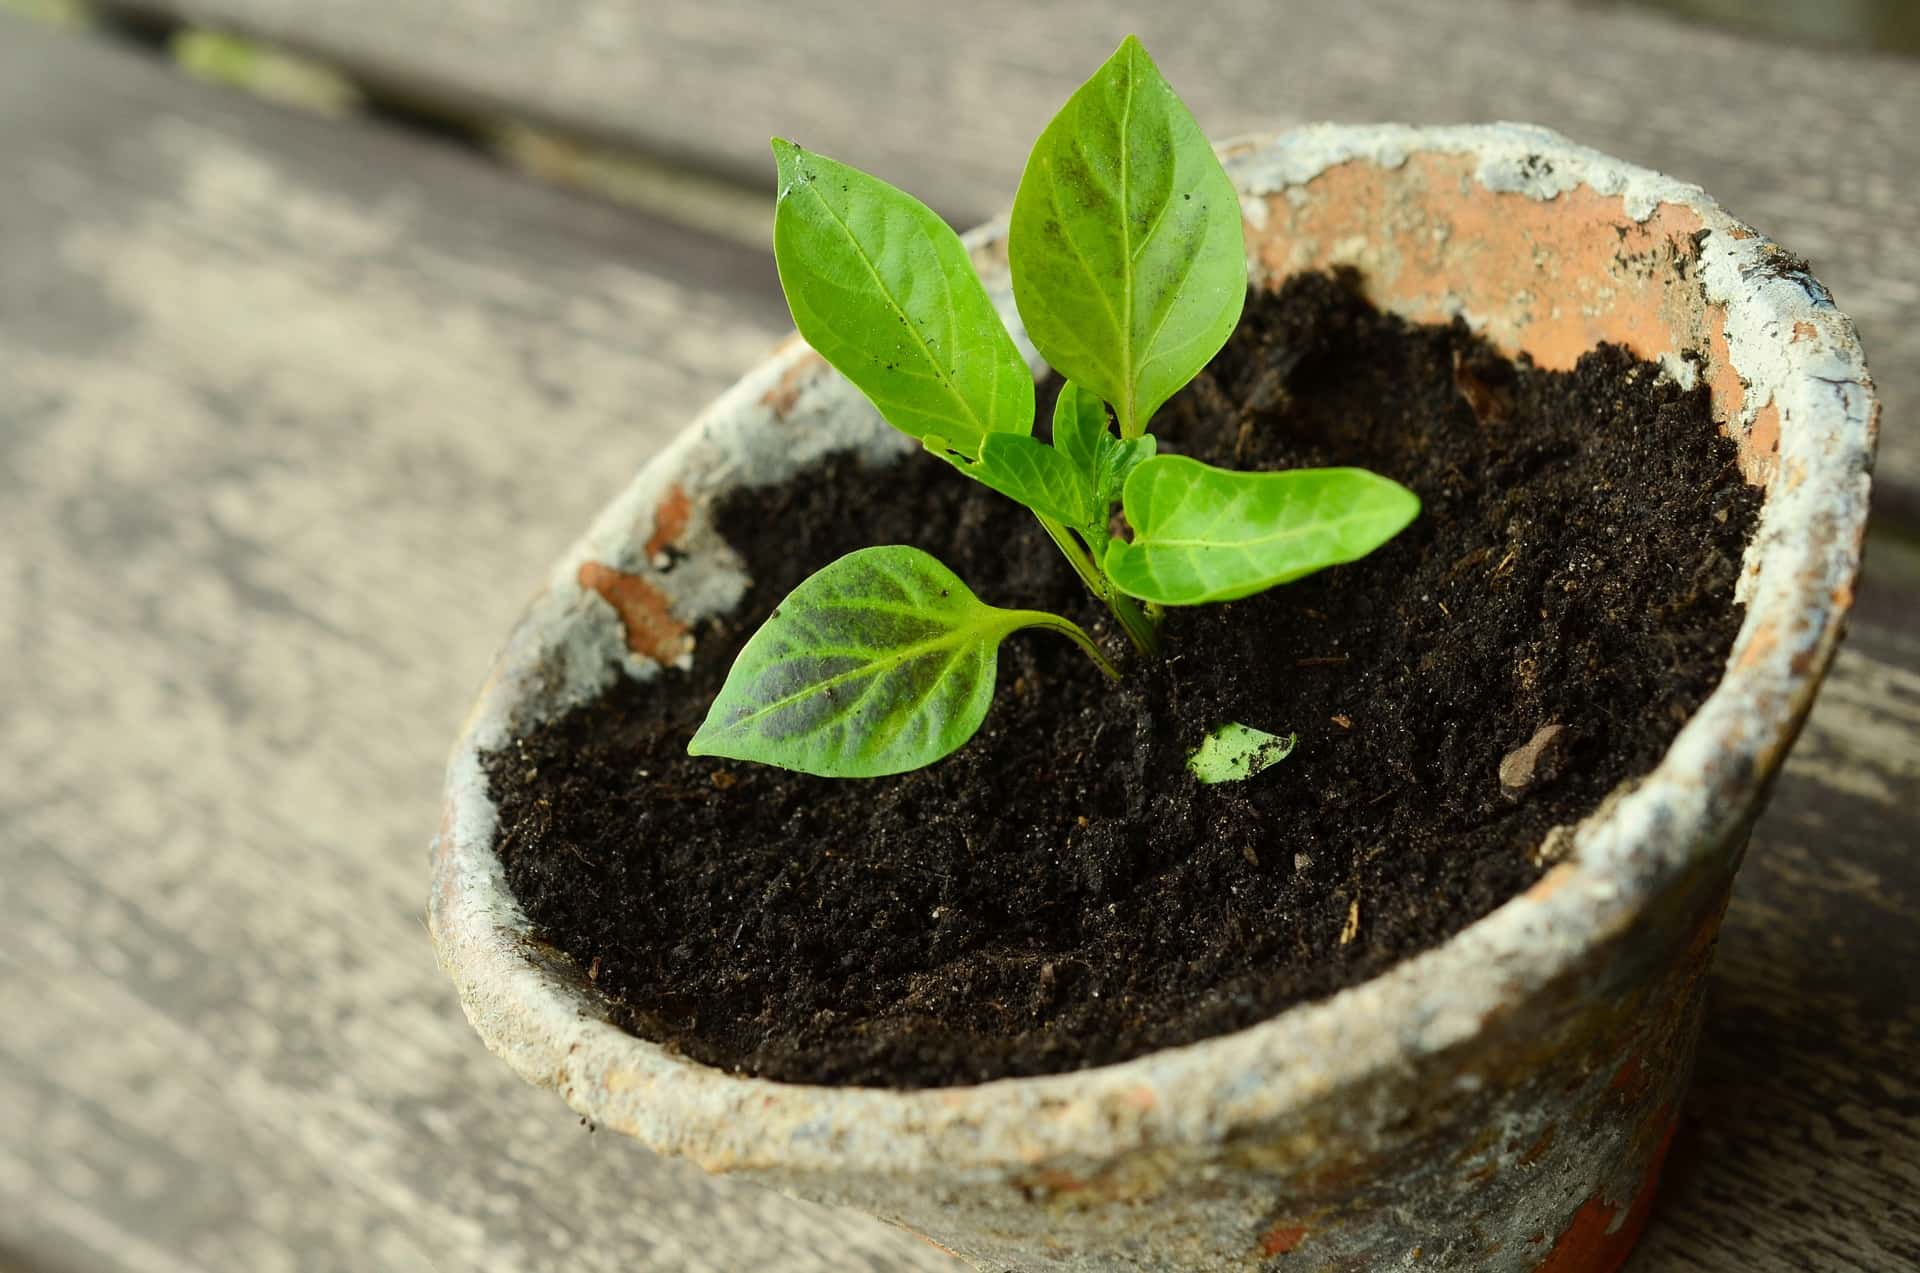
Tip #10: Transplant at the right time…
Even I’ve transplanted my seedlings too early, just to watch them die in the new soil. Basically, wait until they have two sets of true leaves to transplant into slightly larger pots, and then into the garden (weather and seasonal conditions permitting). So what exactly is two sets of true leaves? The first set of leaves are called the cotyledon leaves. They don’t count. The next set of leaves look different. They look more like whatever plant you’ve planted. This is the first set of true leaves. Then wait for a second set to grow. Once there are two sets of leaves (may be two leaves, may be four or more, depending on the type of plant) then these little guys are ready to be moved into a more permanent home.
I hope these tips have helped! Let me know if there are any other tips or tricks that you’ve found to be useful in the comments below! Then, for even easier growing, check out these 5 Effortless Indoor Herb Garden Kits!
And, for more information on starting seeds for an indoor herb garden, check out the Tips from Experts on Using Herbs and Spices at Home!
Happy digging!