Last month my mom was visiting to help me with my new little baby girl. While she was visiting, she asked me about one of her houseplants. It was a pretty interesting conversation… and I’ll admit, she’s struggled through the years as many people have with her plants dying. She wasn’t sure how to correctly water plants.
So… what was the first question that she asked me? She asked if yellow leaves were a sign of overwatering or underwatering.
My honest reply was that it can be a sign of either over-watering or under-watering.
With an exasperated sigh, she threw up her hands and said “Then how do I know if I need to water it more or if I need to stop?!”
“Well…” I replied, “is the soil wet?”
This question always seems to get people thinking. Hmm… Is the soil wet? Most people wouldn’t know. My mom didn’t remember. She said her plant had died a while back and she couldn’t remember if the soil was wet or dry…
So the moral of this story is that watering can be hard, but don’t worry, you’re not alone! Watering indoor plants can be a tricky business, and even the most experienced plant parents sometimes struggle to get it just right.
In this article, we’ll dive deep into the world of watering houseplants. We’ll explore the factors that affect your plants’ water needs, learn how to recognize the signs of overwatering and underwatering, and discover the best techniques for giving your plants the hydration they crave.
So, grab a cup of coffee (or a watering can!), and let’s get started on this journey to becoming the ultimate houseplant hydration hero!
Want to watch different watering techniques? Check out my youtube video below!
Understanding Your Houseplants’ Water Needs
Before we dive into the nitty-gritty of watering techniques, let’s take a step back and understand what factors influence your houseplants’ water requirements. After all, you wouldn’t give a cactus the same amount of water as a fern, right?
Here’s the rewritten section with more explanation for each bullet point:
Factors Affecting Water Requirements
Several key factors come into play when determining how much water your houseplants need:
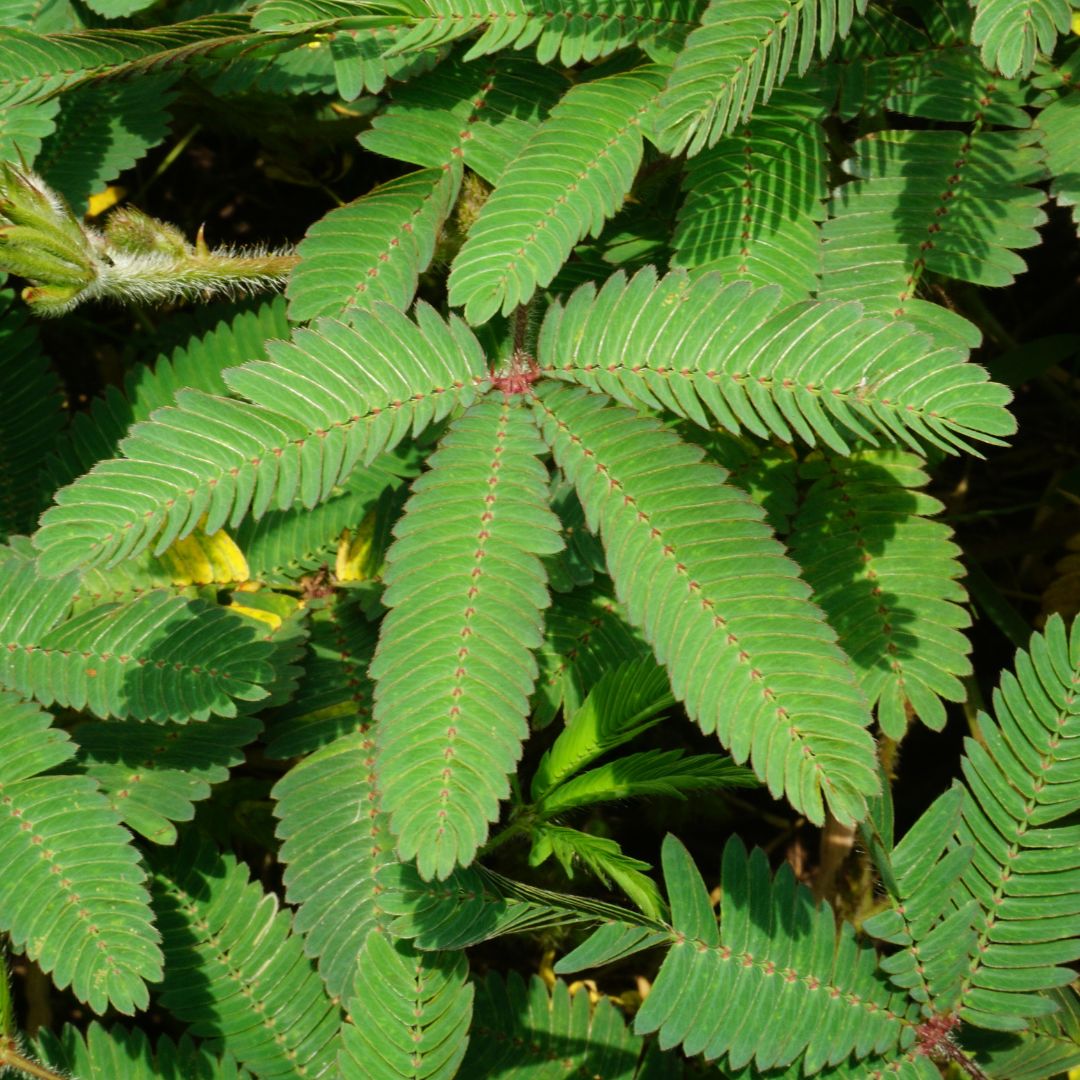
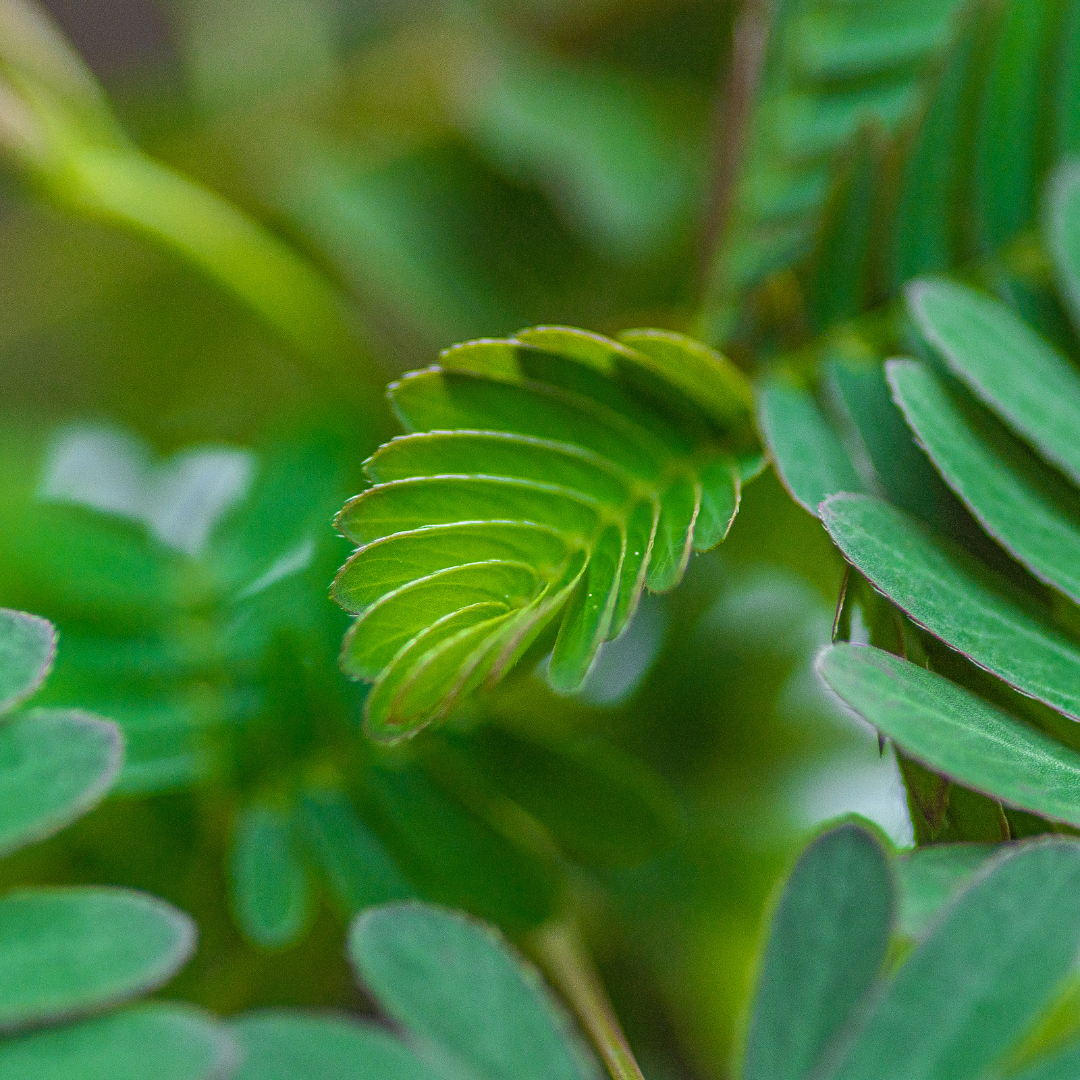
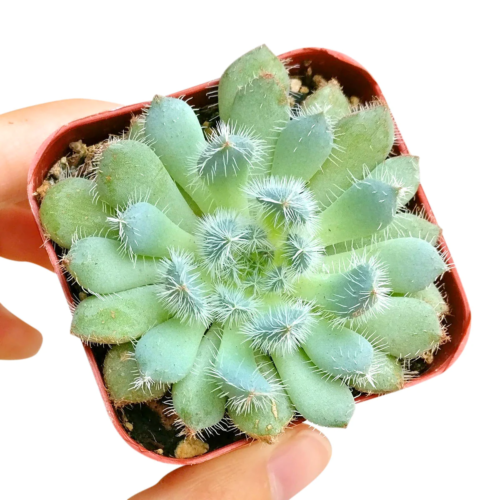
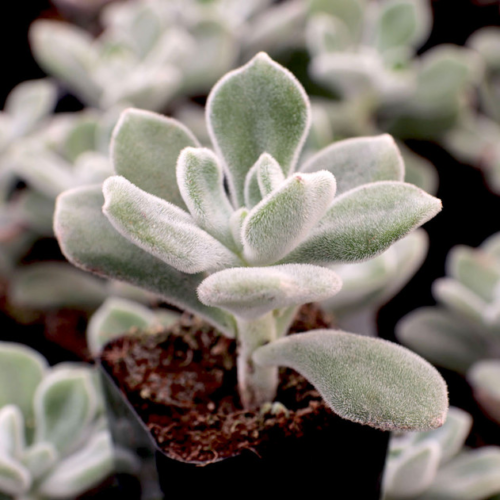
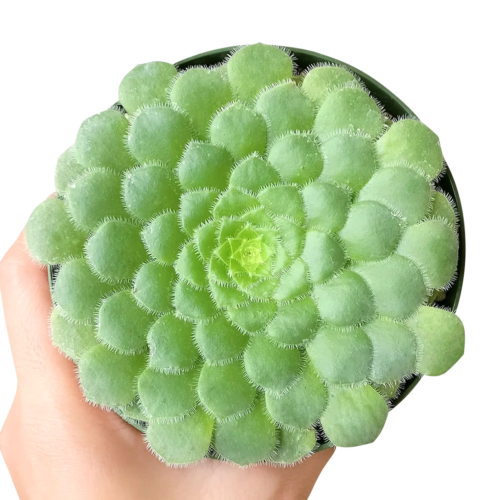
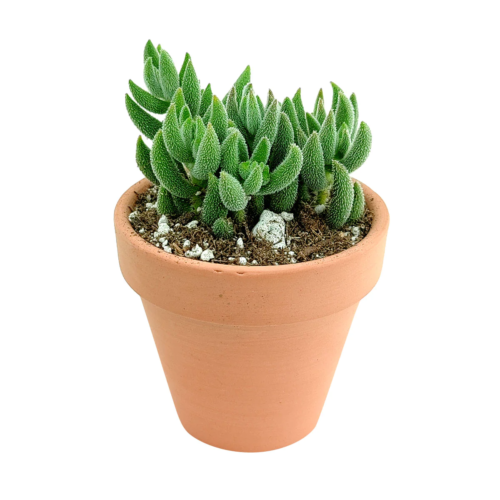
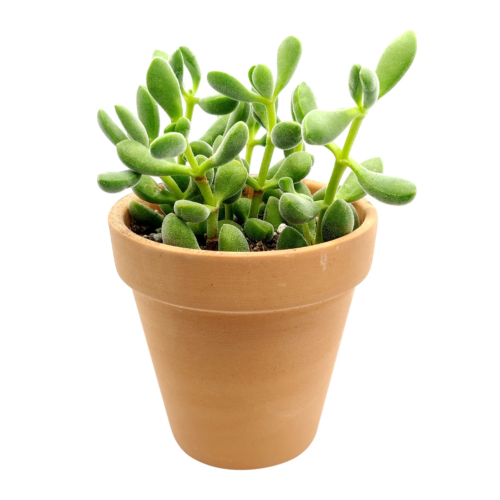
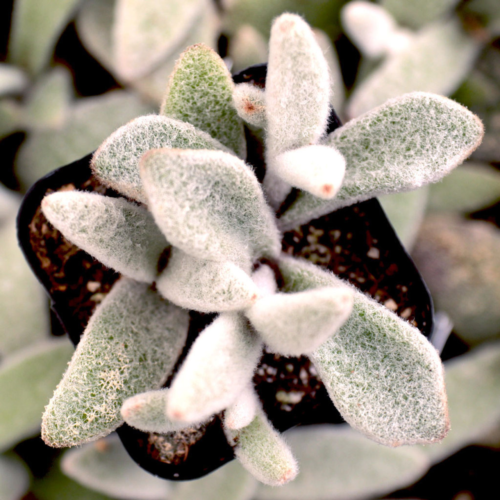
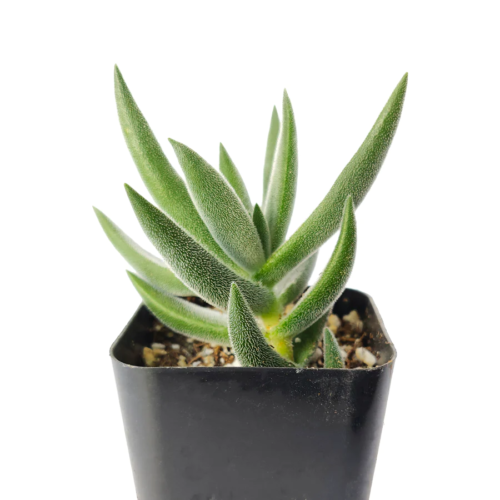
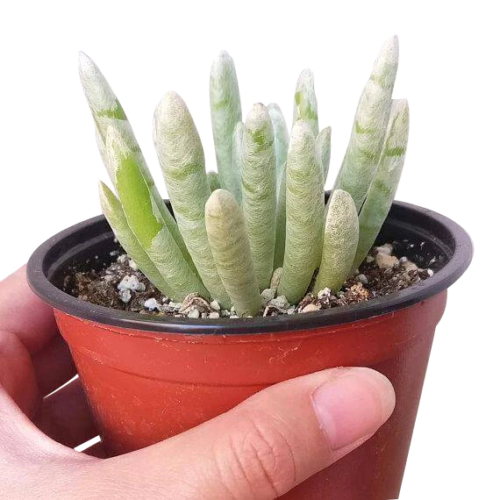
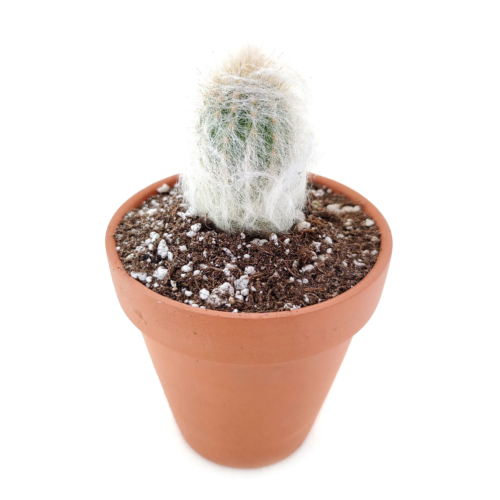
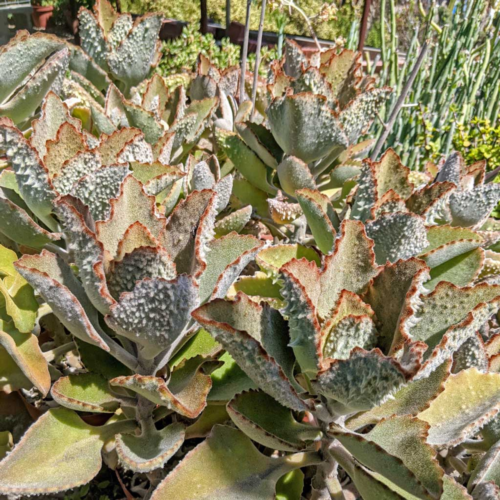
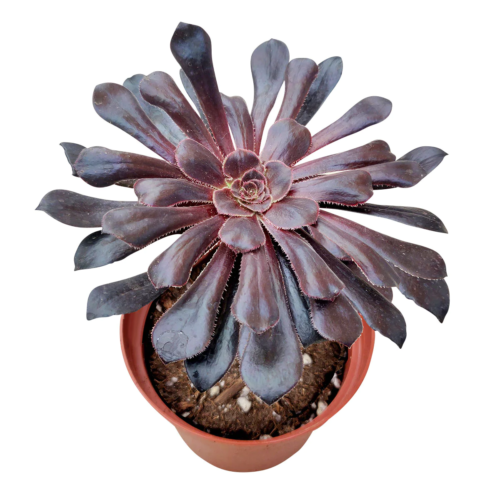
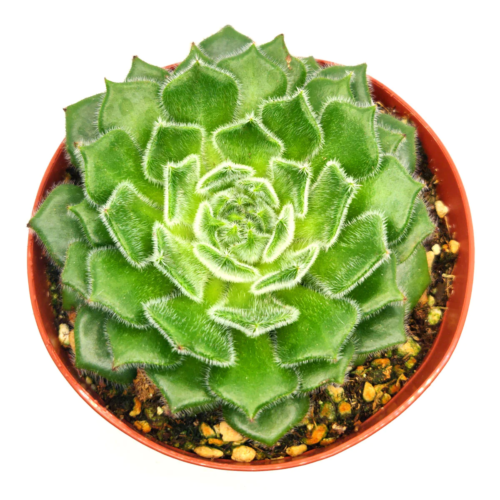
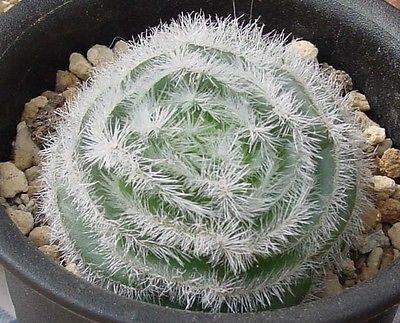
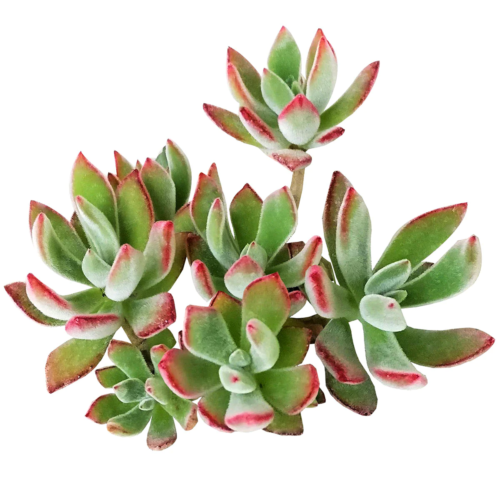
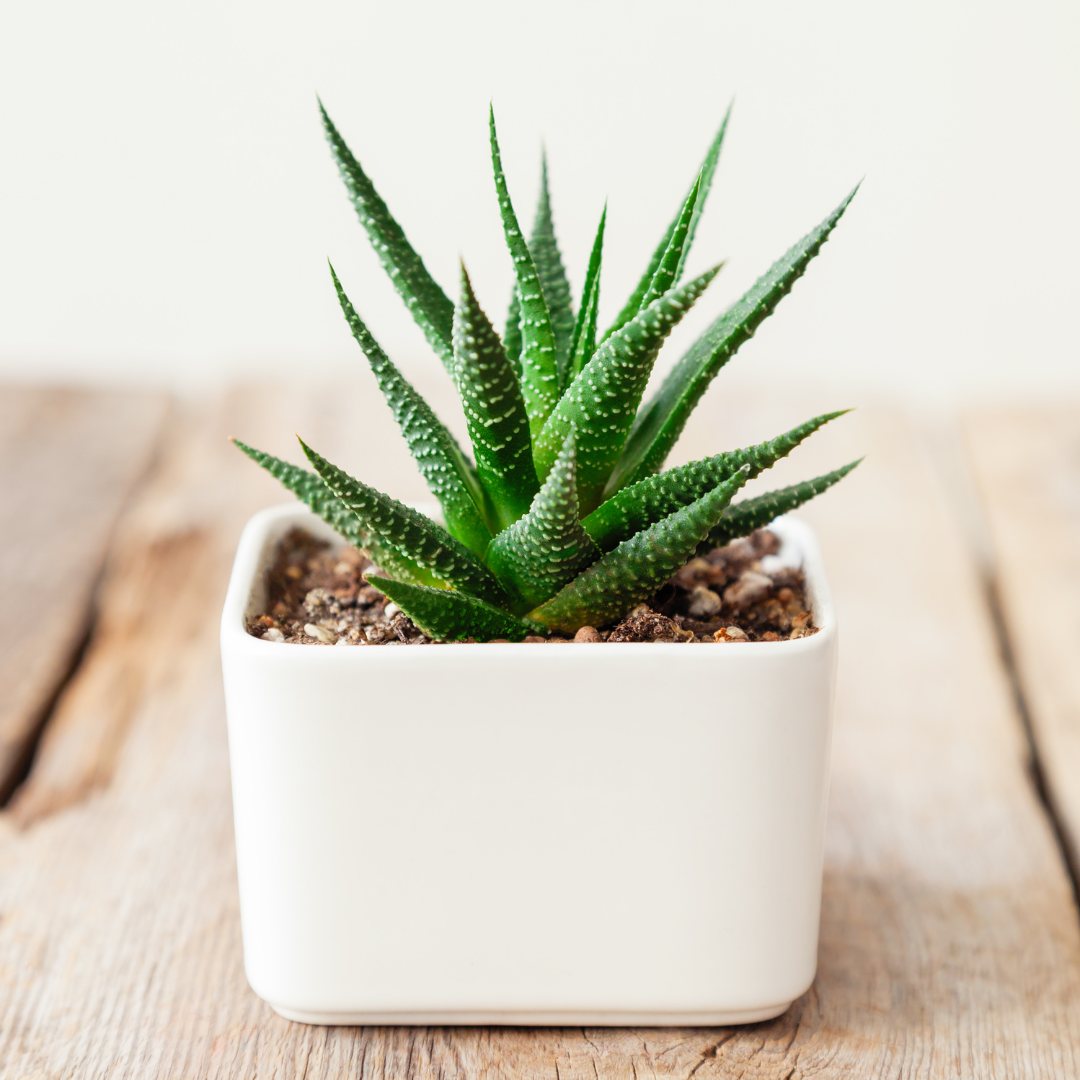
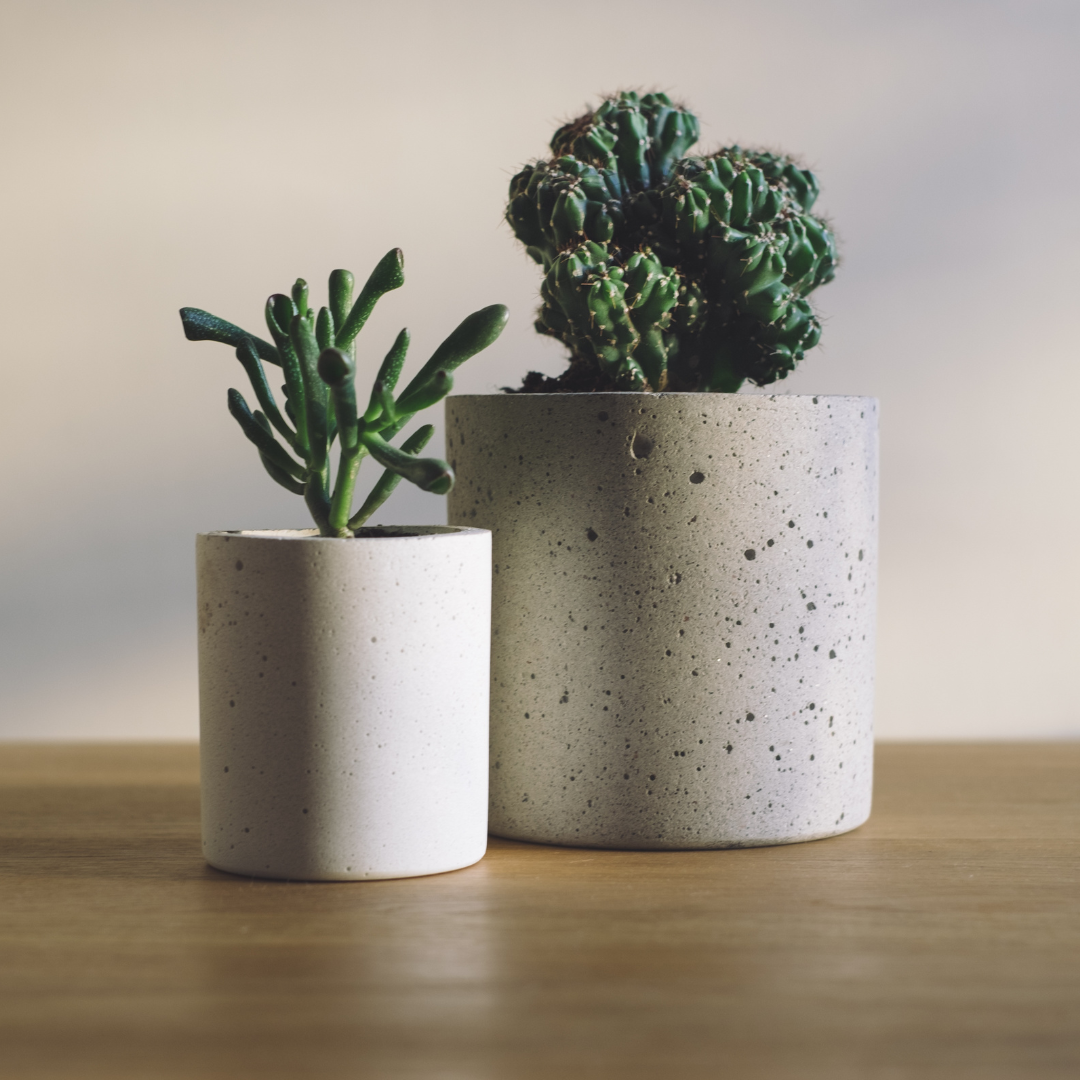
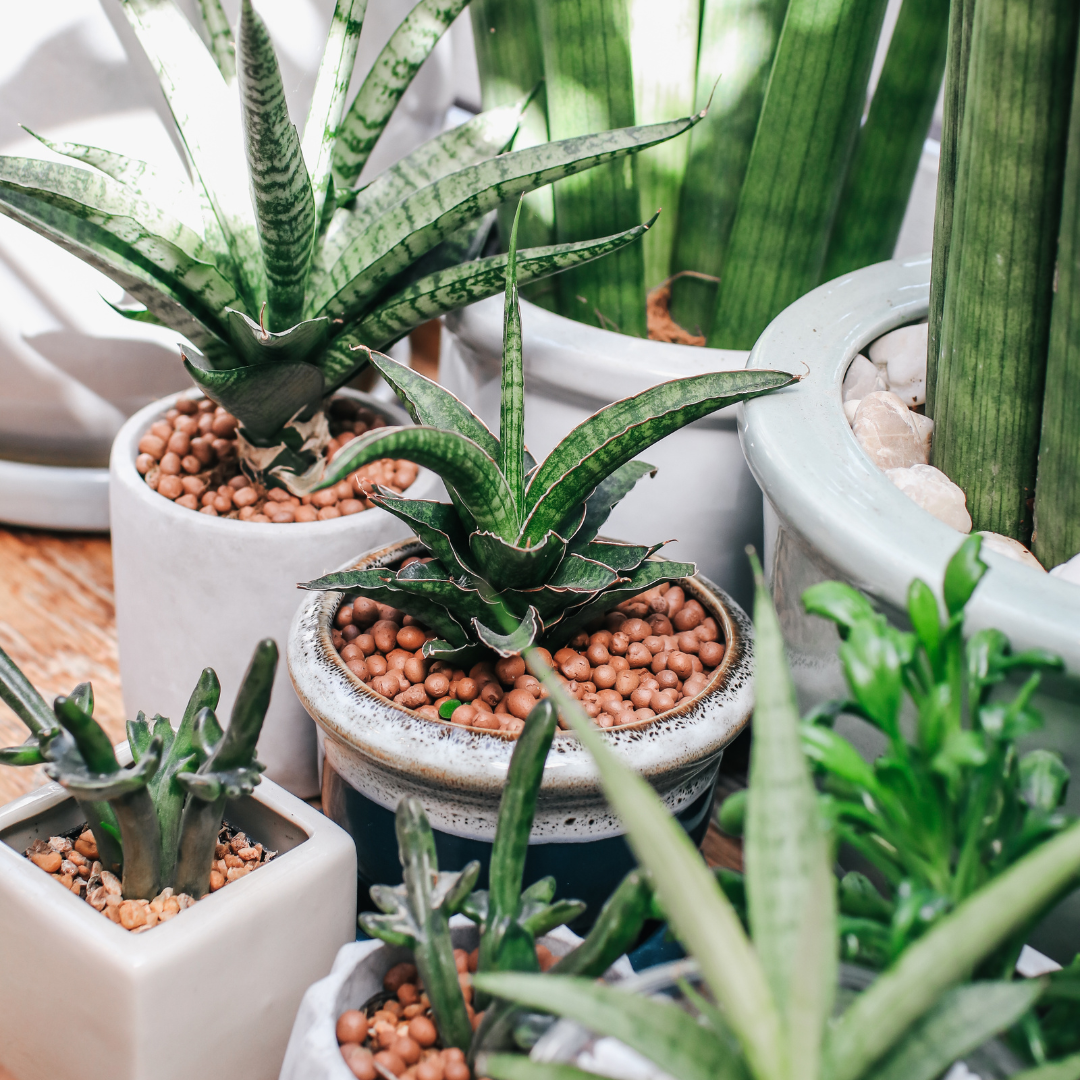
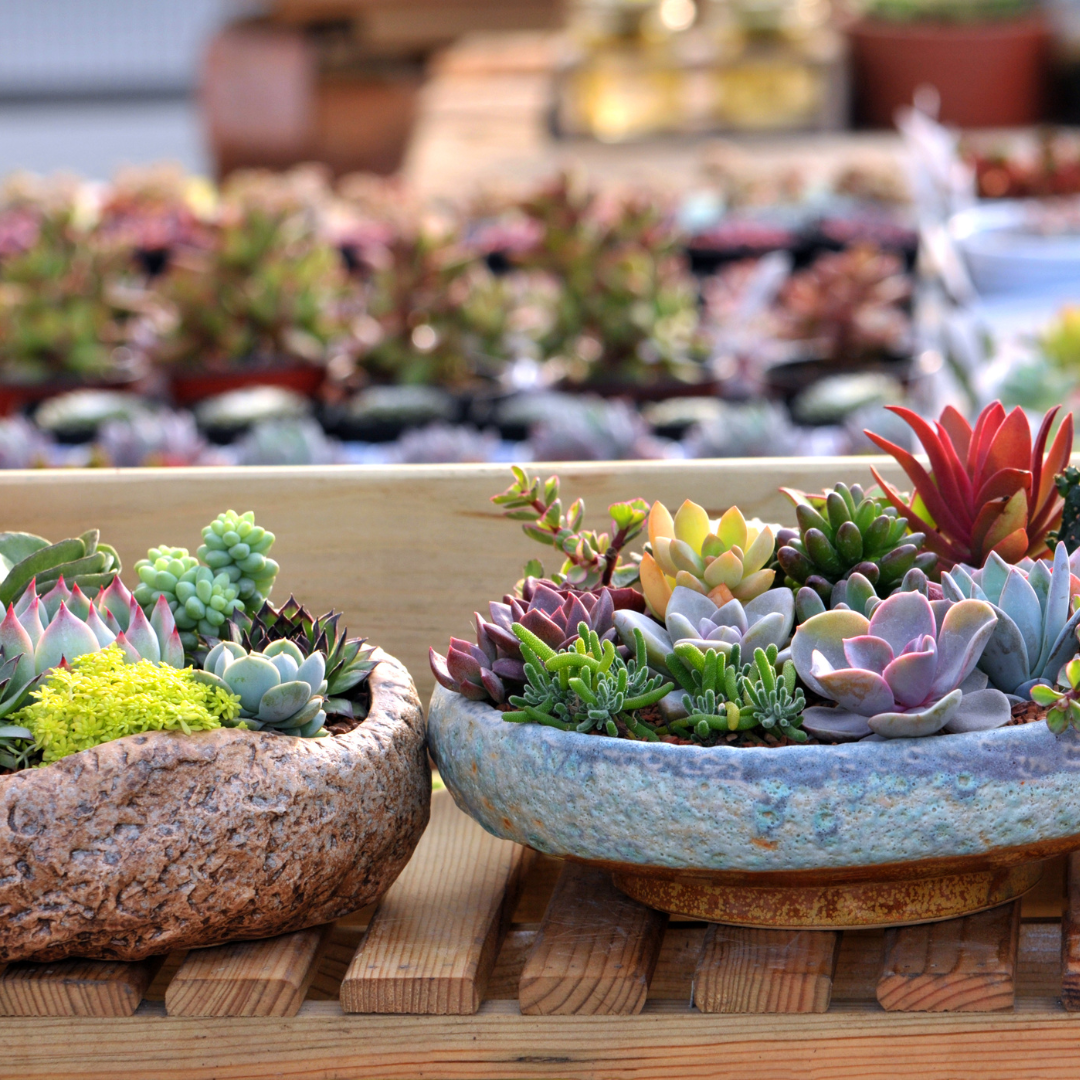
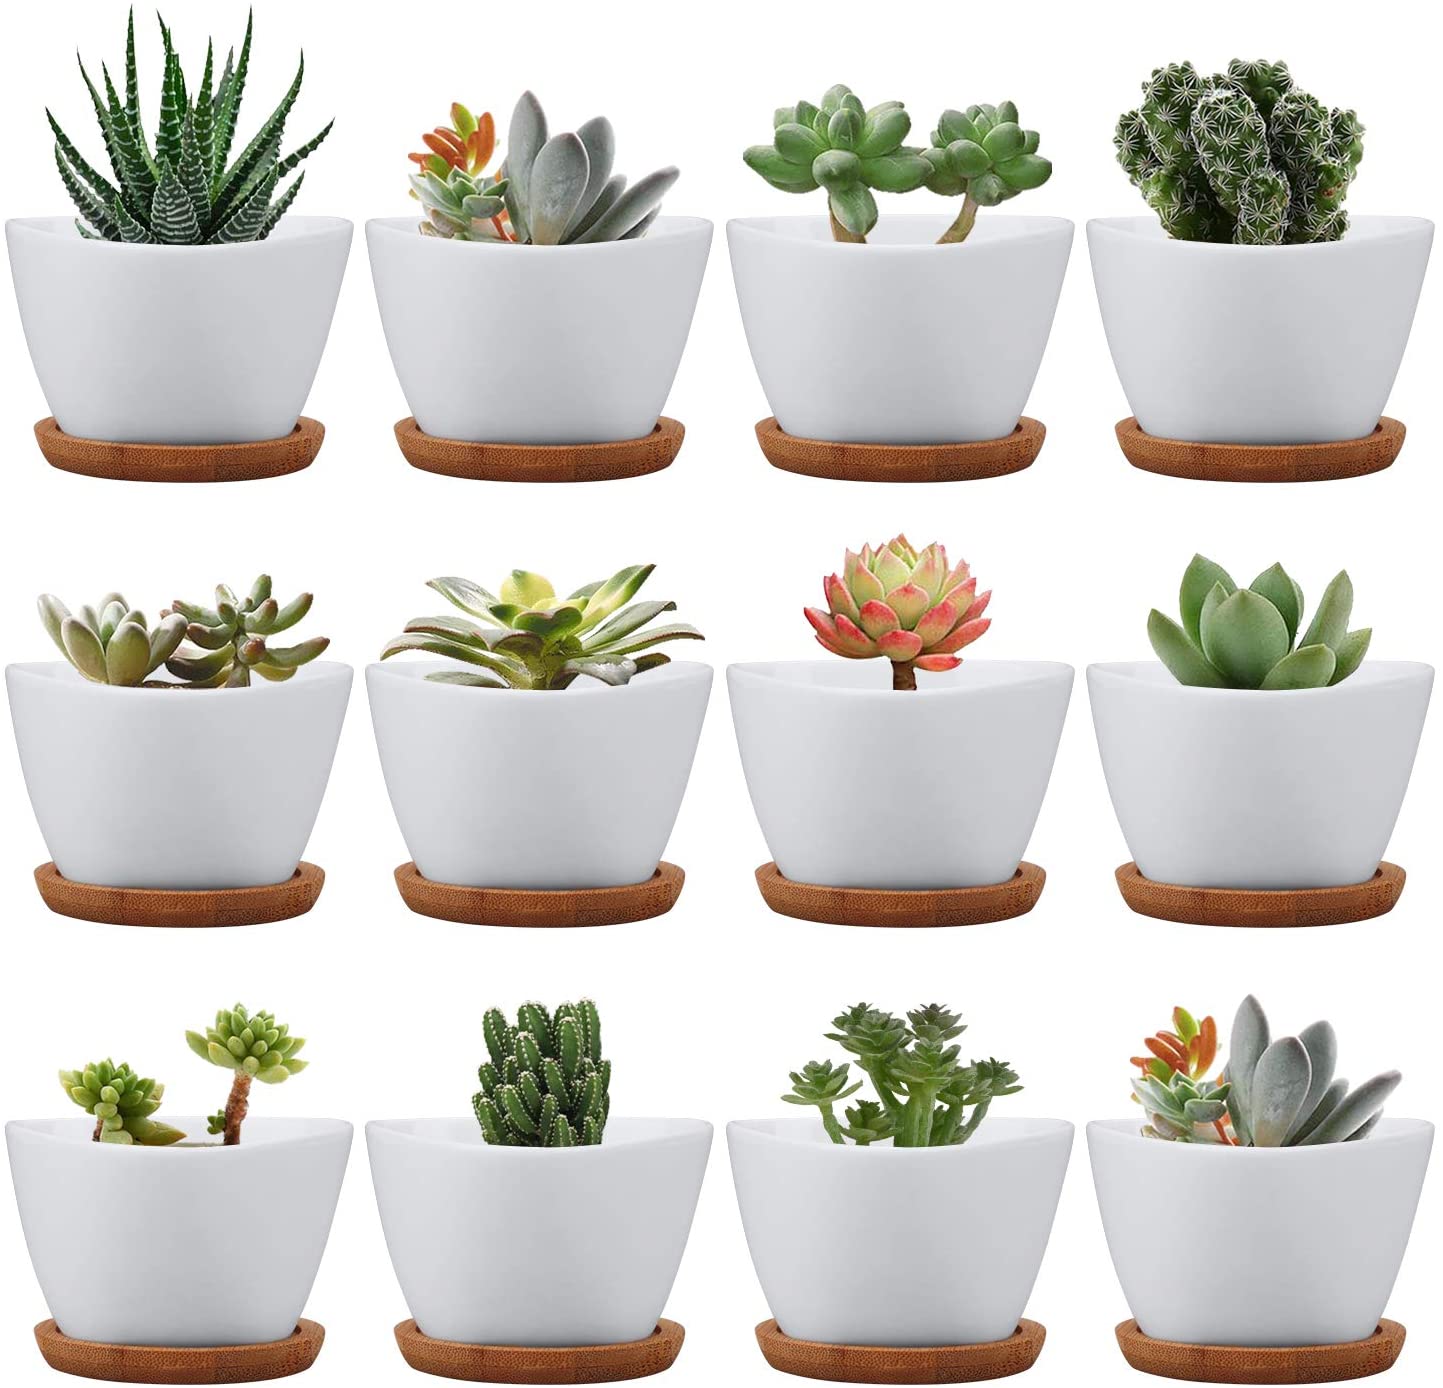
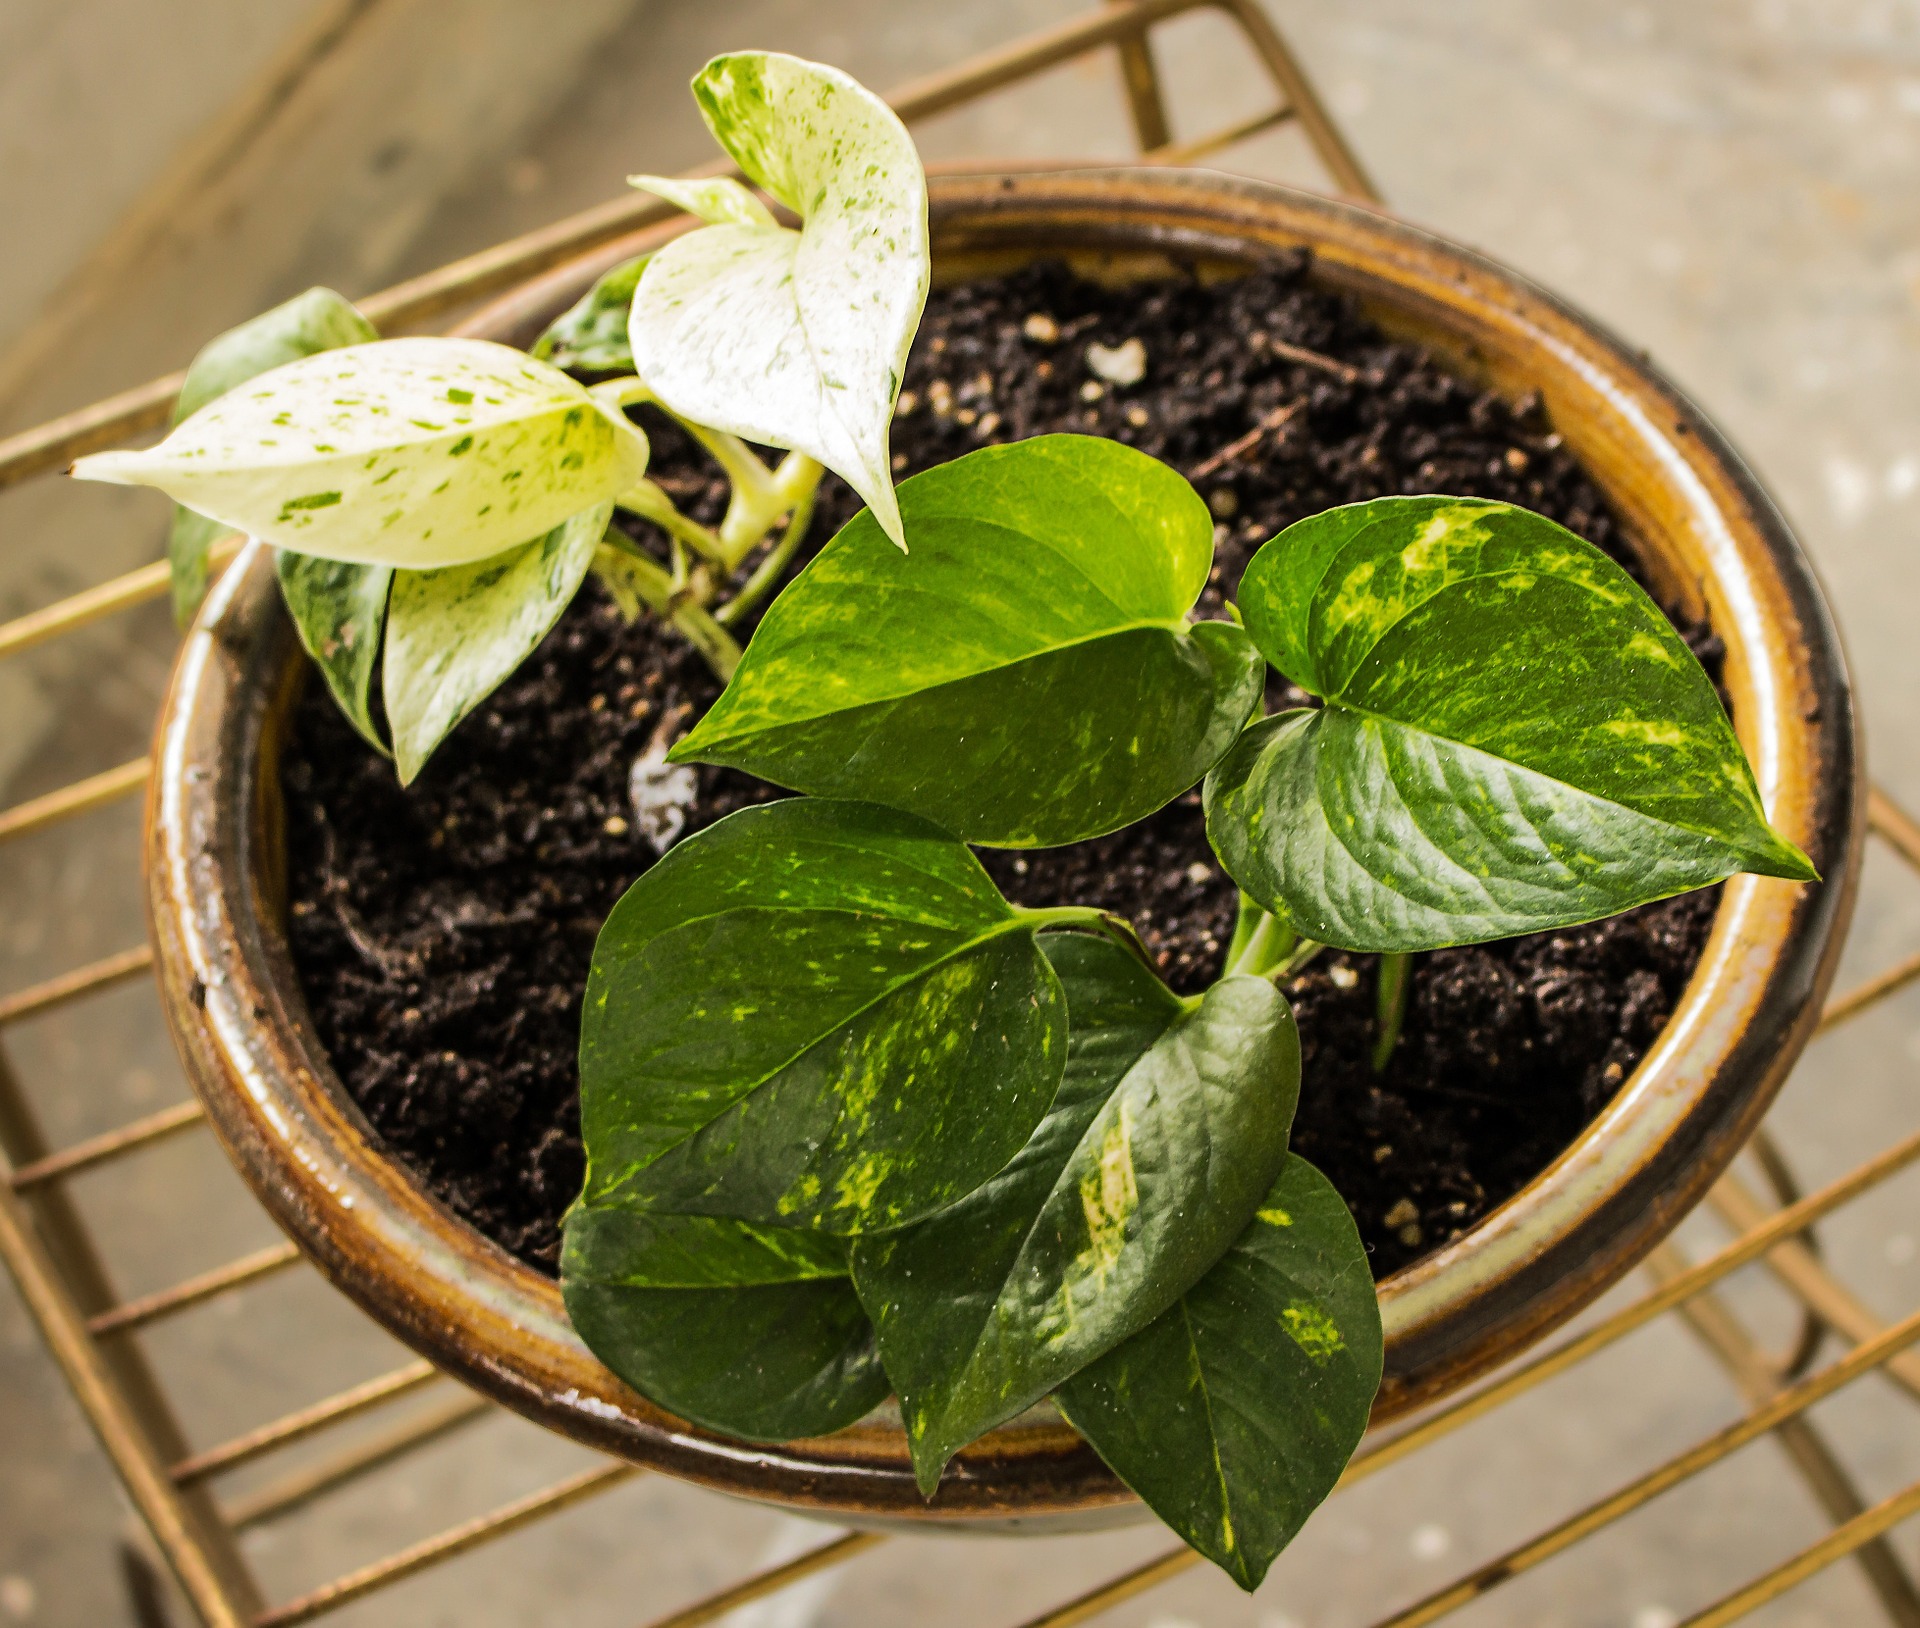
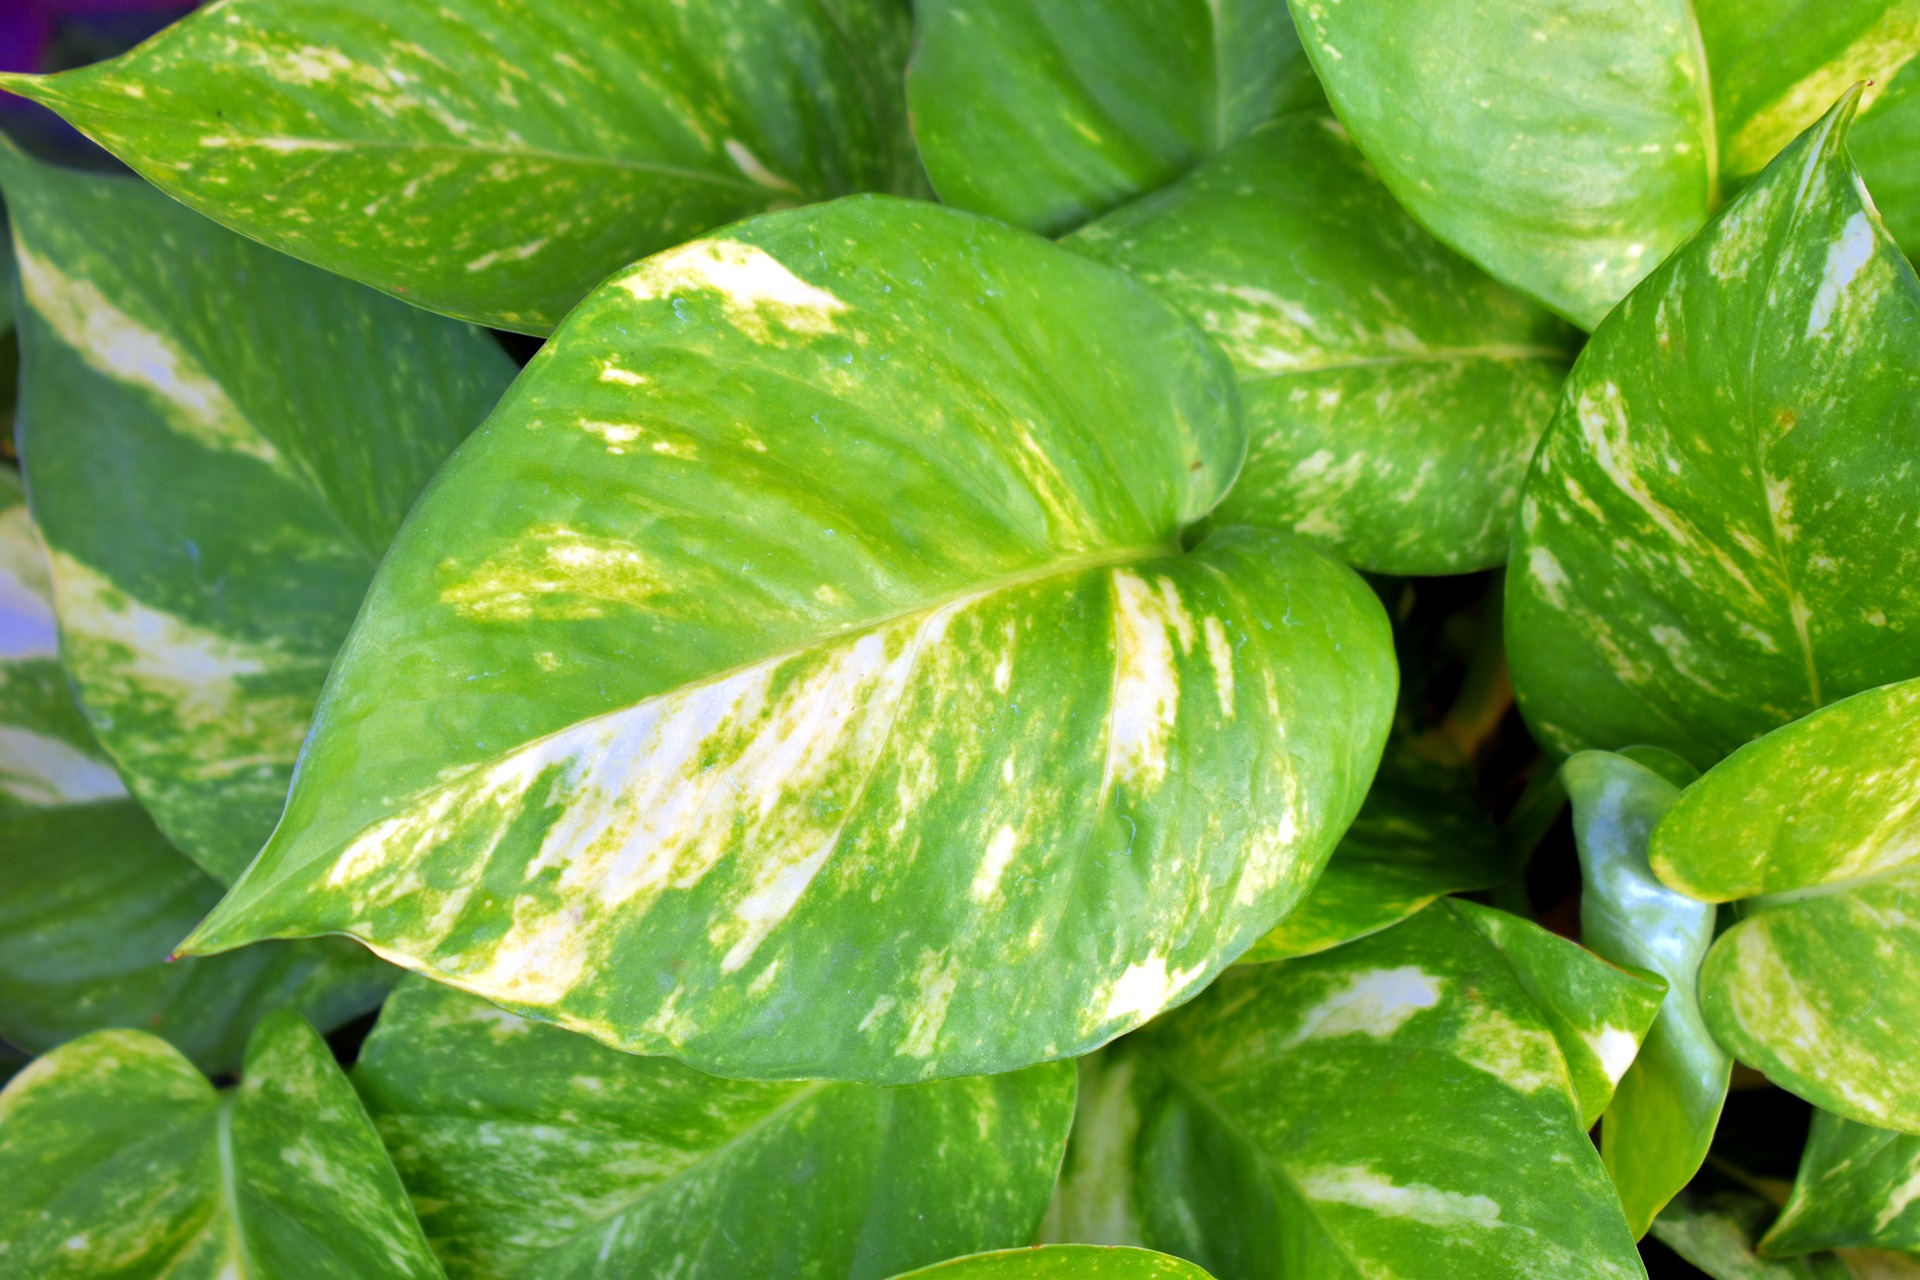
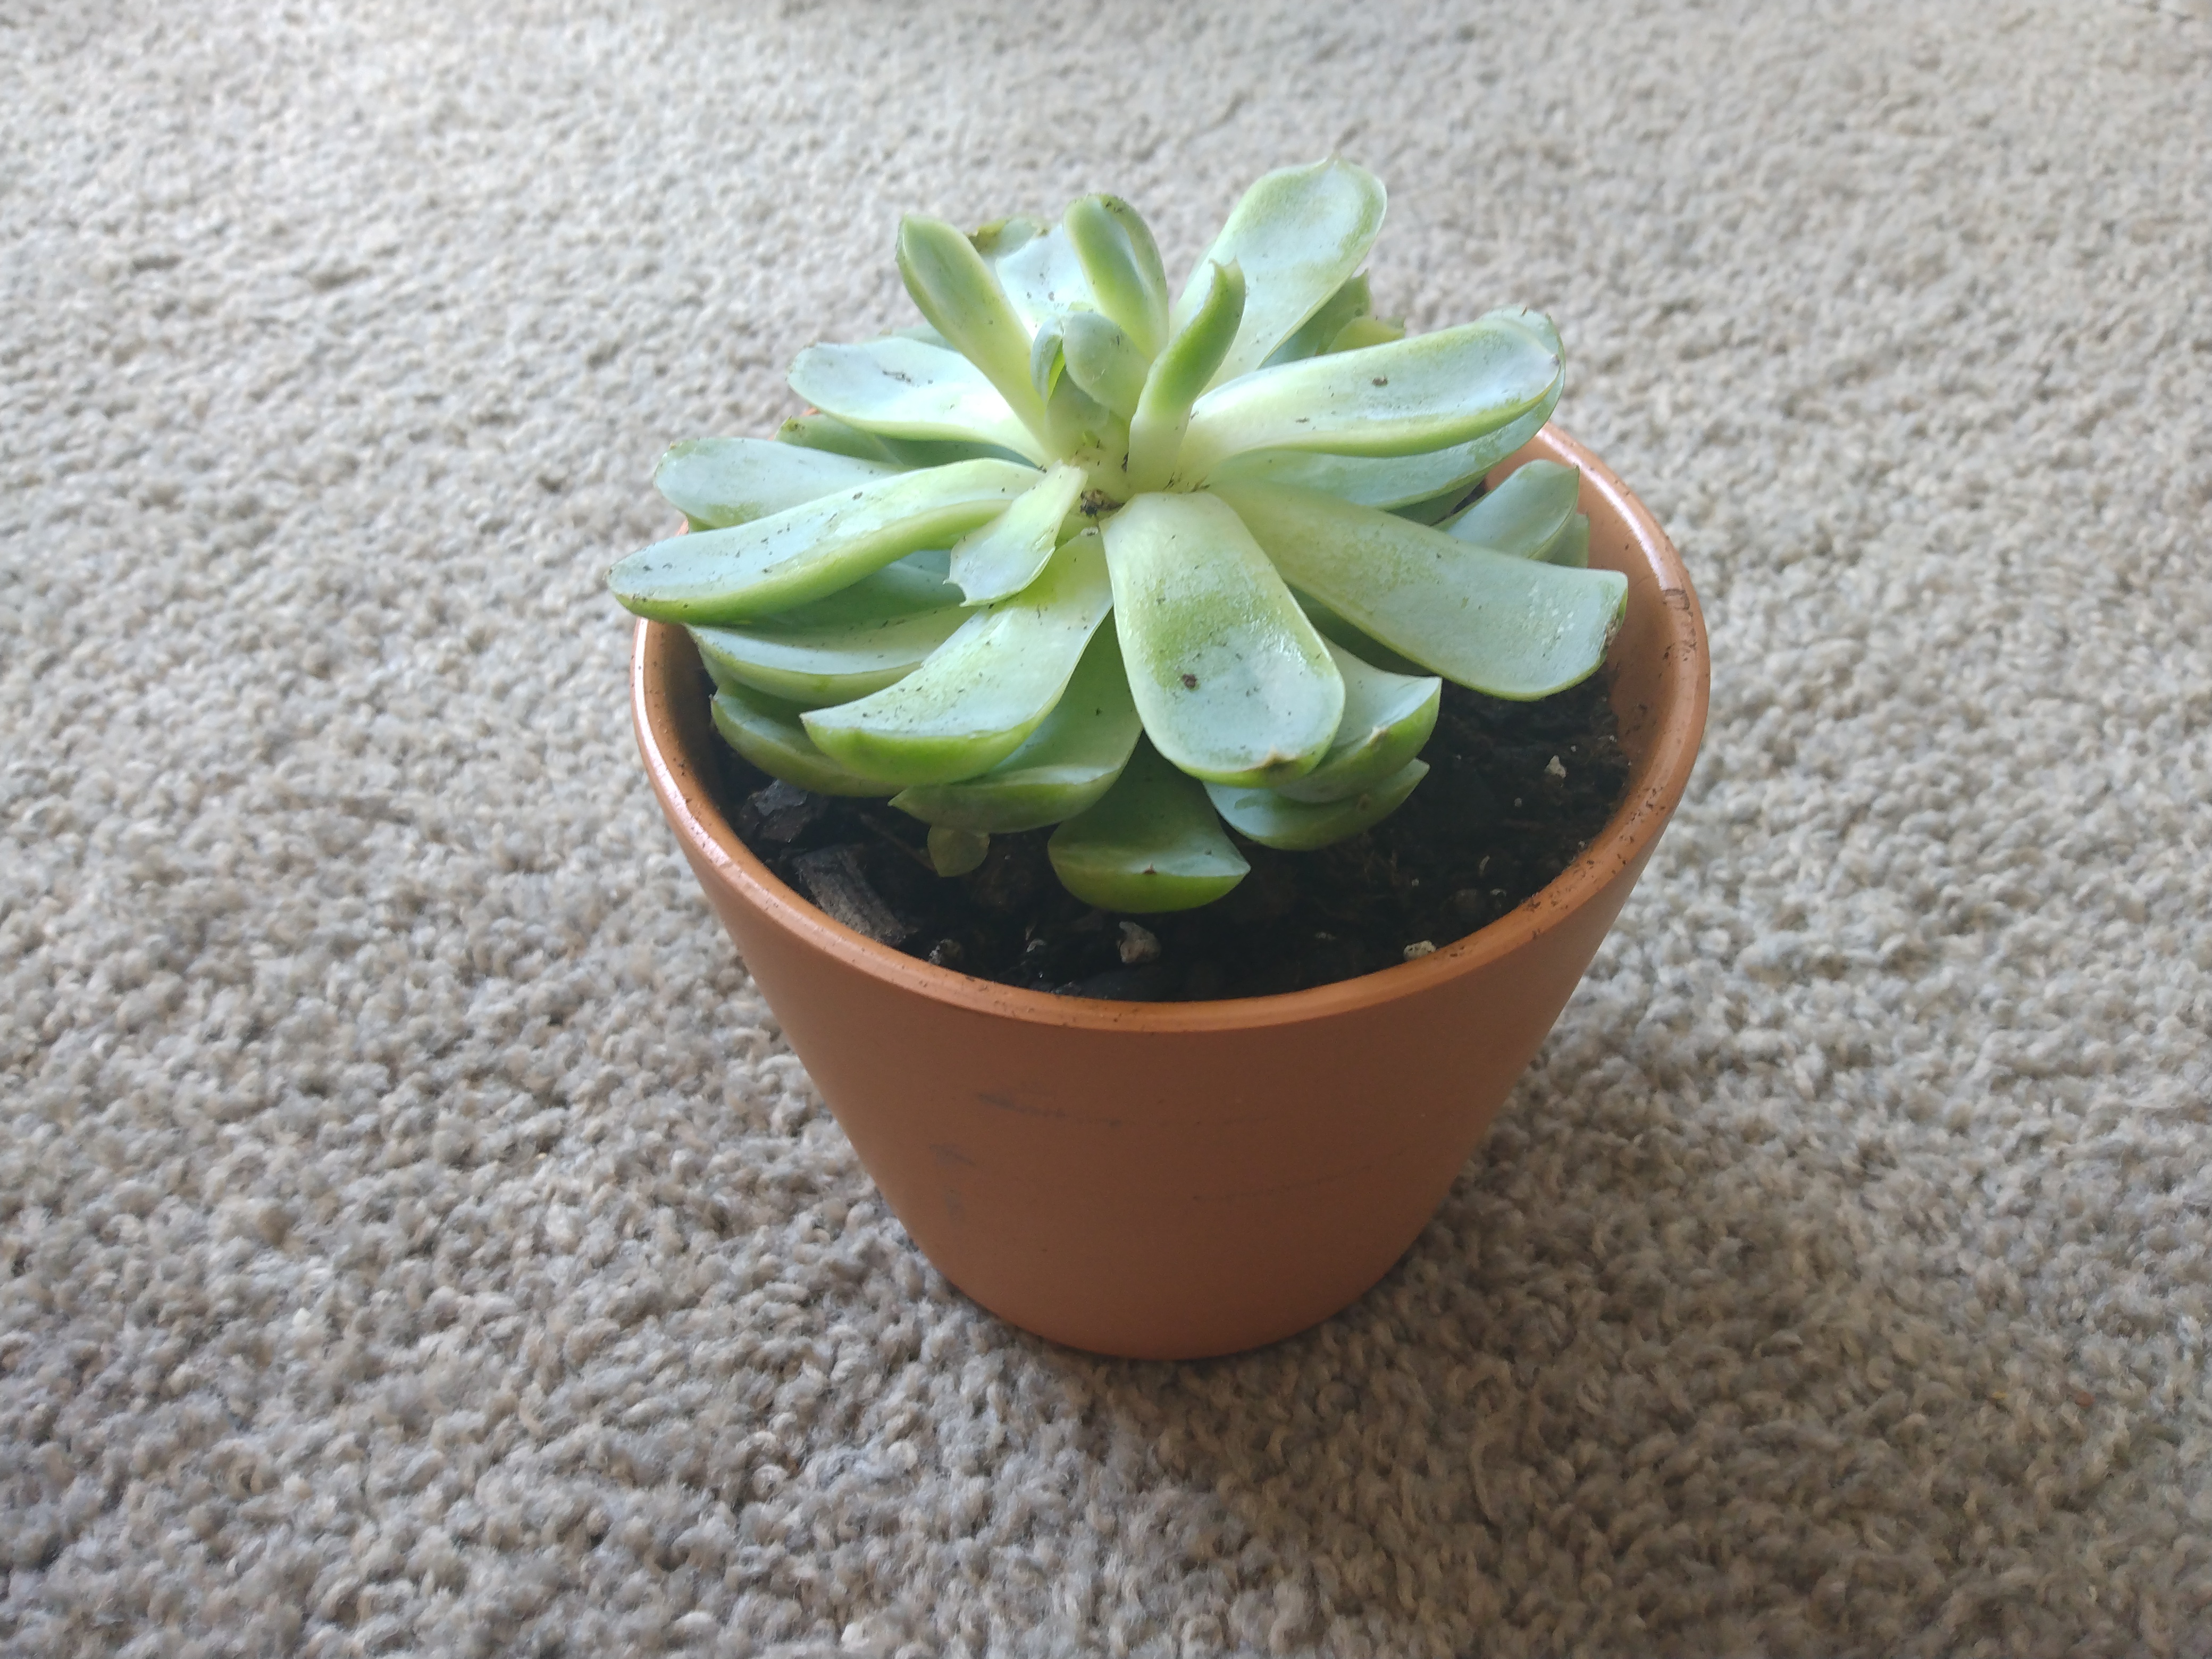
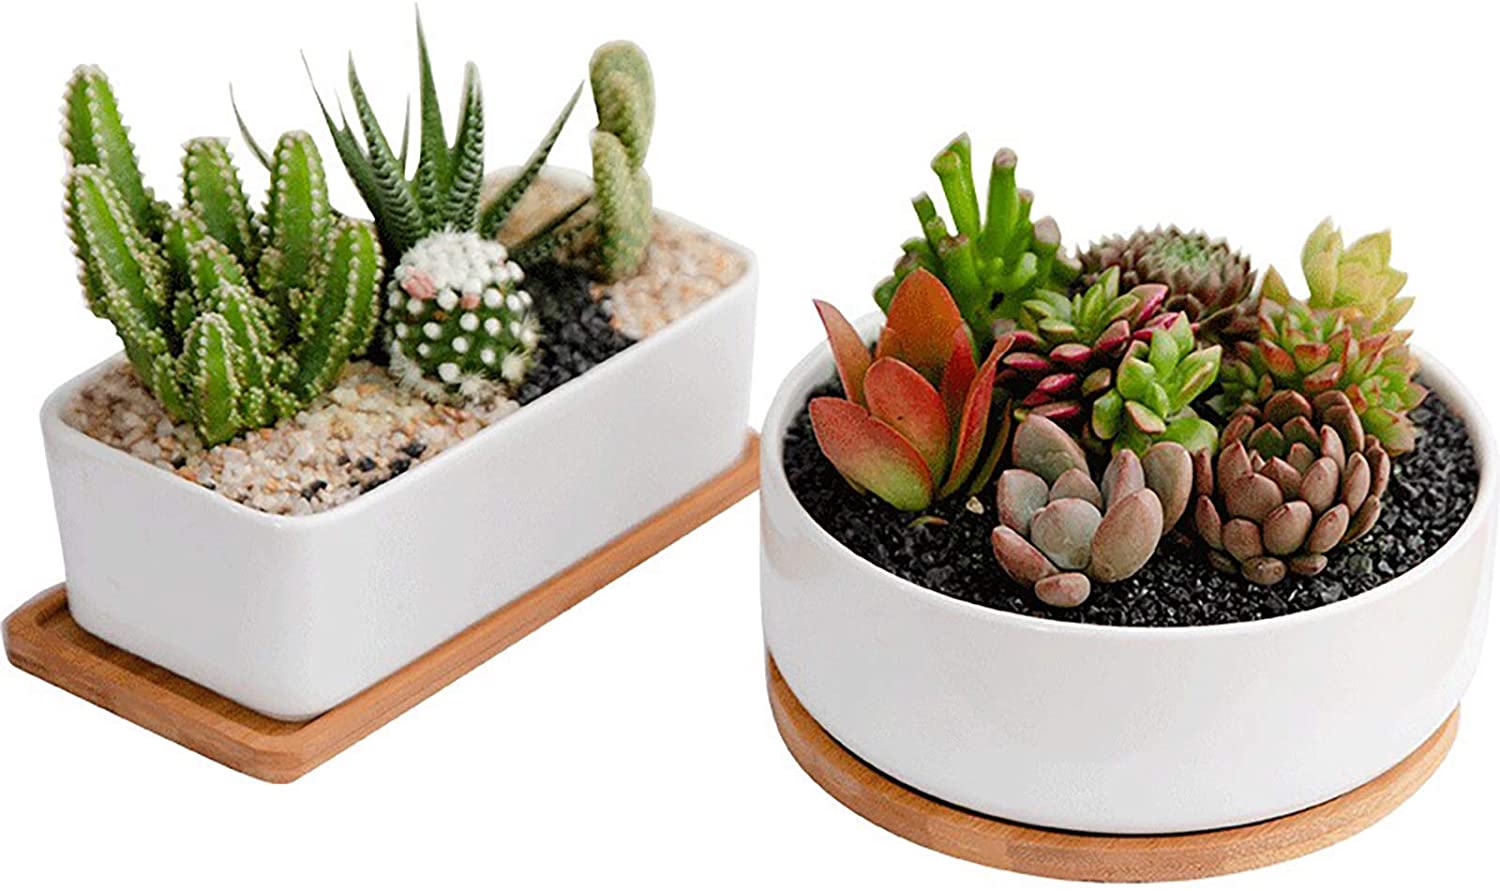
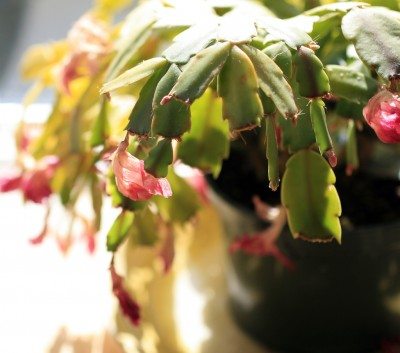
- Plant type: Different plant species have varying water needs. Succulents and cacti are adapted to arid environments, storing water in their fleshy leaves and stems, so they require less frequent watering. On the other hand, tropical plants such as ferns and calatheas originate from humid, wet regions of the world and prefer consistently moist soil to thrive.
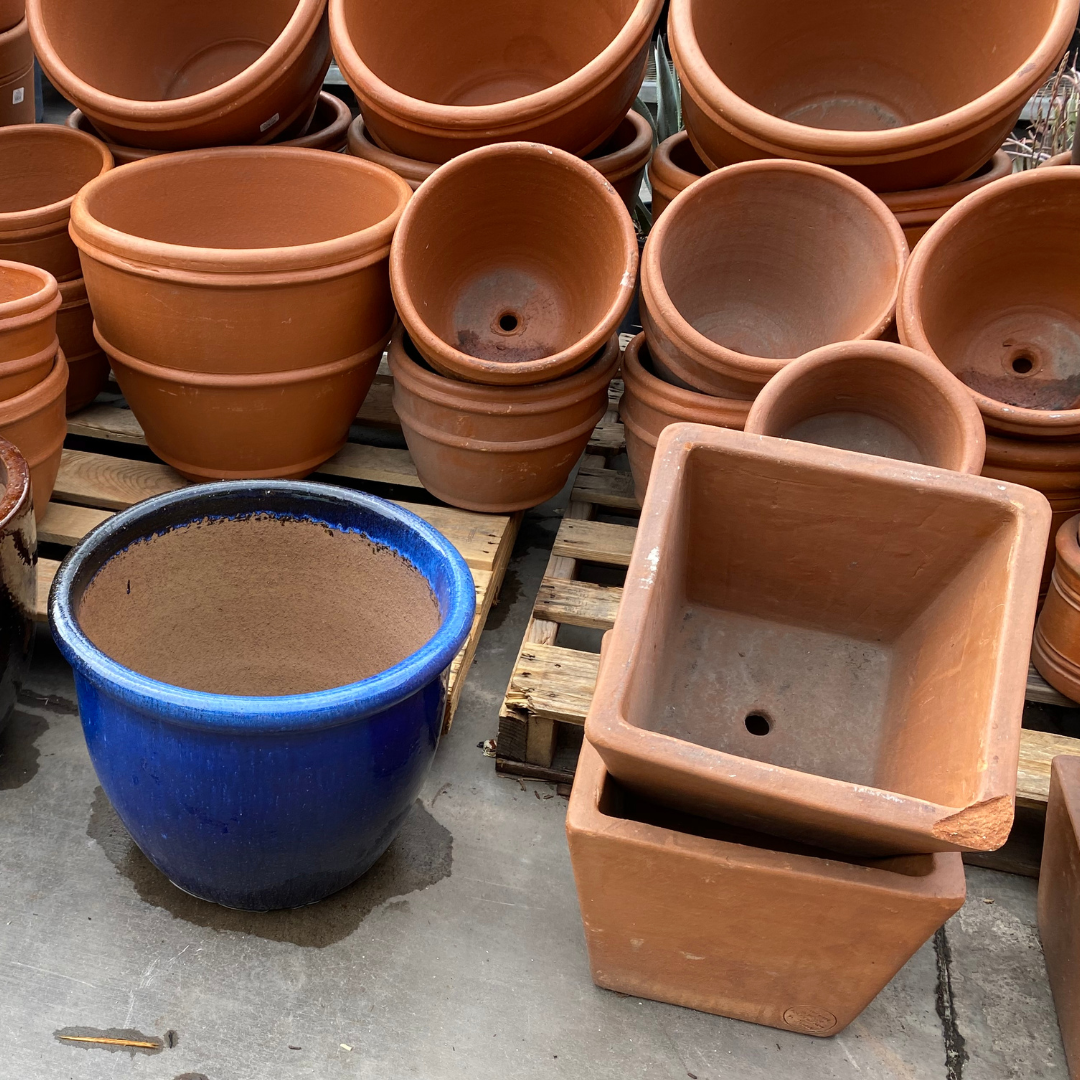
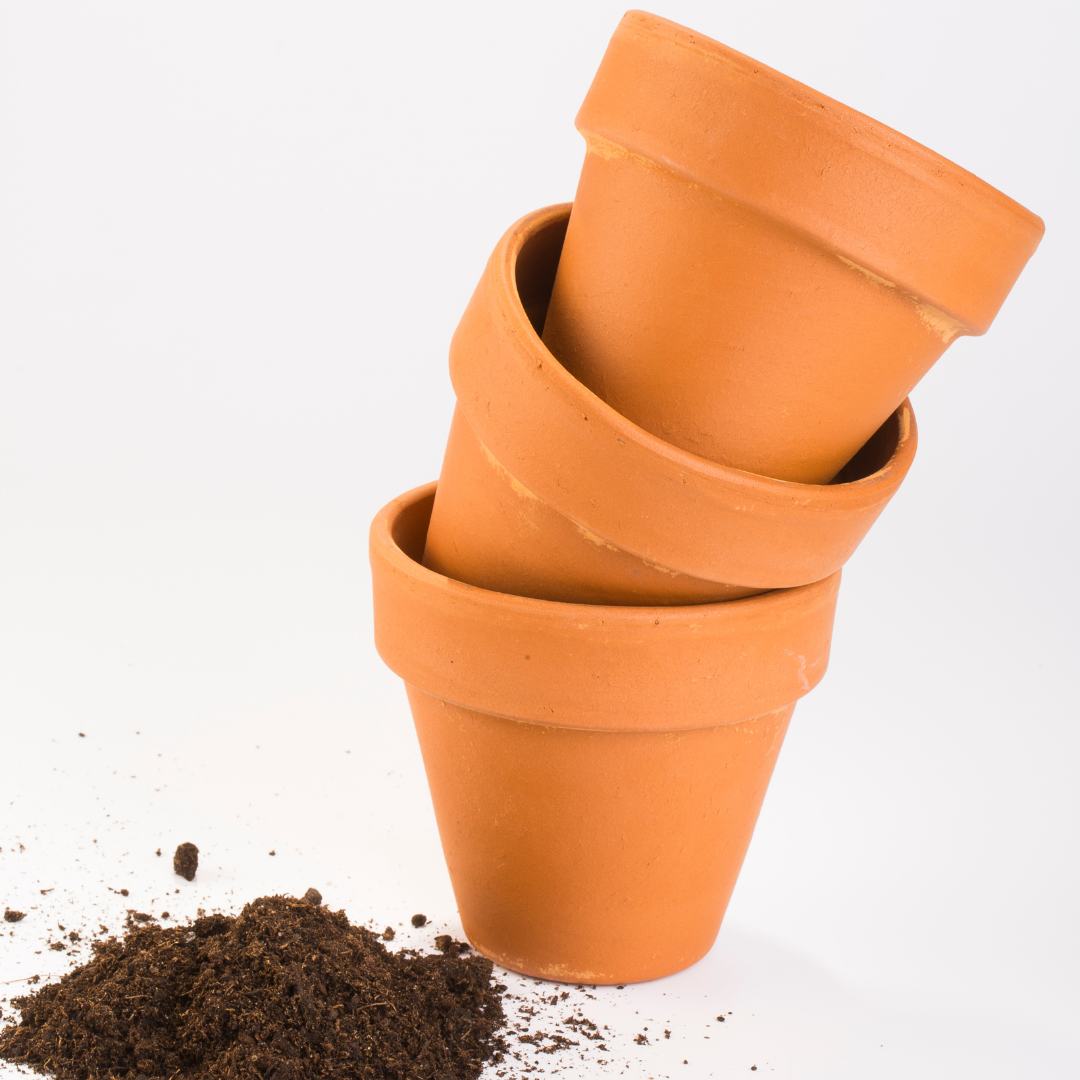
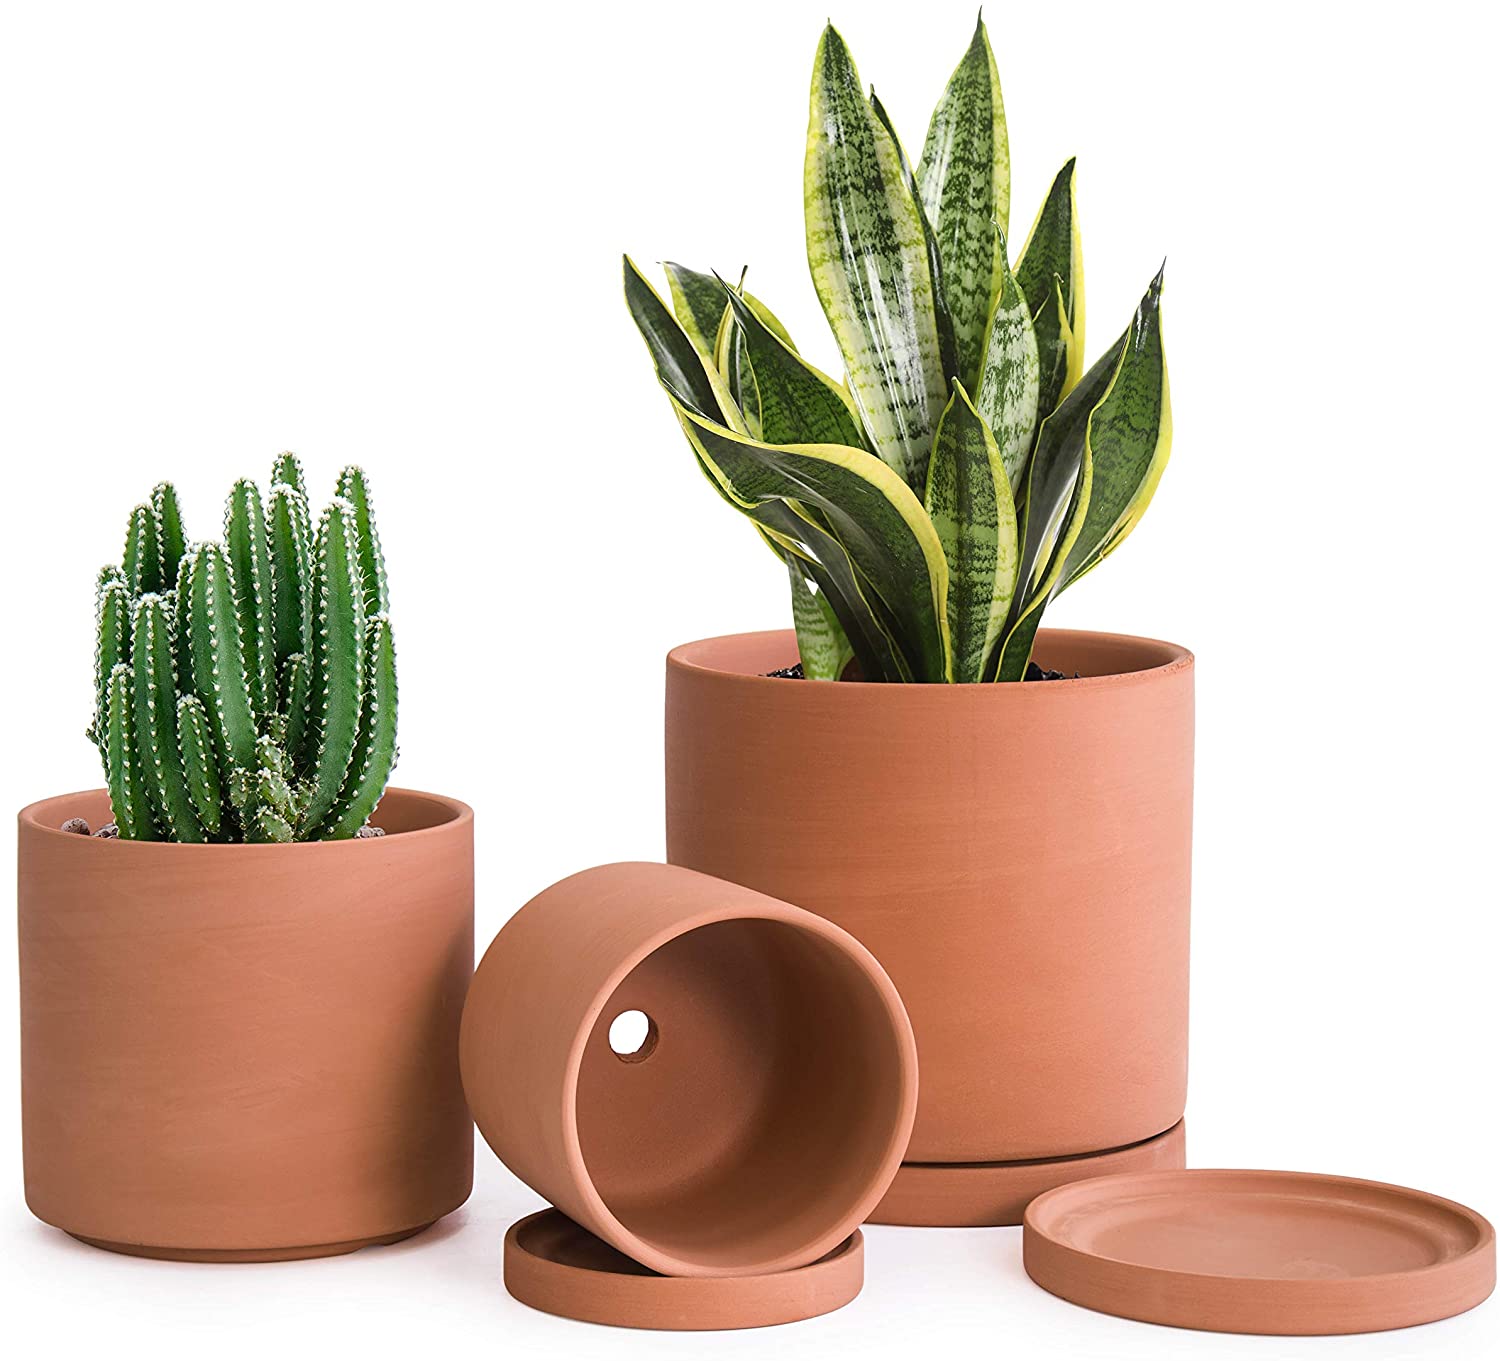
- Pot size and material: The size of the pot affects how quickly the soil dries out. Smaller pots have less soil volume, causing them to dry out faster than a larger pot. Additionally, the pot material plays a role. Porous materials like terracotta allow for better air circulation and faster water evaporation, requiring more frequent watering compared to non-porous materials like plastic or glazed ceramic.

- Root-to-soil ratio: Root-to-soil ratio, or basically the size of your pot can have an effect on your frequency of watering as well. Small plants in small pots use a typical amount of water, but large plants (with lots of roots) in small pots will dry out much faster than the average houseplant. This is why if your plant’s soil starts to dry out quickly, it is a sign that you need to repot your plant into a larger pot. (aka, increase the amount of soil, so you have a more balanced root-to-soil ratio.
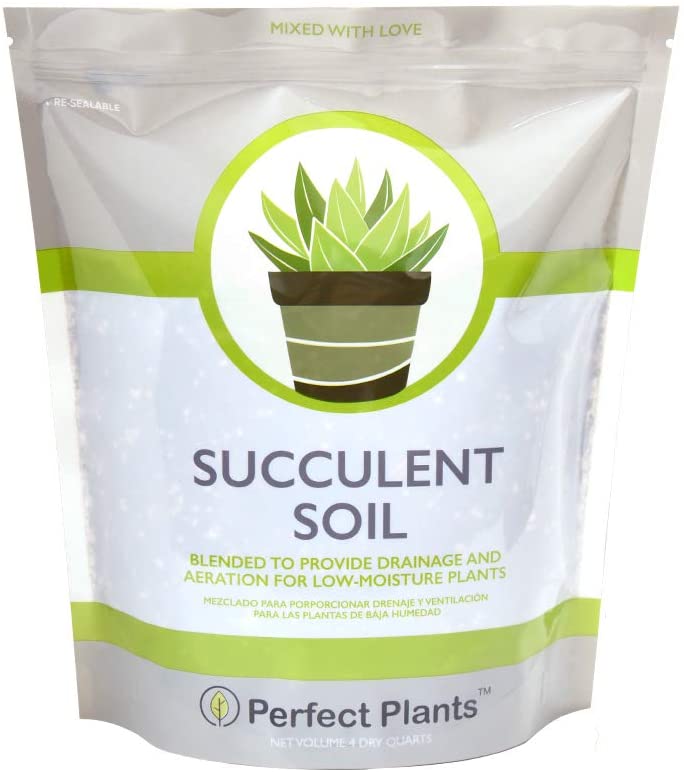
- Soil type: Well-draining potting soil is essential for most houseplants to prevent waterlogging and root rot. A good potting mix should contain ingredients like perlite, vermiculite, or bark chips to improve drainage and aeration.
- Light and temperature: Plants in brighter, warmer environments tend to dry out faster due to increased transpiration (water loss through leaves) and evaporation from the soil surface. Those in cooler, lower-light conditions will require less frequent watering.
- Humidity: High humidity levels in the air can slow down water evaporation from the soil, reducing the need for frequent watering. Conversely, low humidity environments may cause the soil to dry out more quickly.
By considering these factors, you can start to develop a better understanding of your houseplants’ unique water needs.

Signs of Underwatering and Overwatering
Even with the best intentions, it’s easy to miss the mark when it comes to watering. Here are some telltale signs that your indoor plants are crying out for help:
Underwatering:
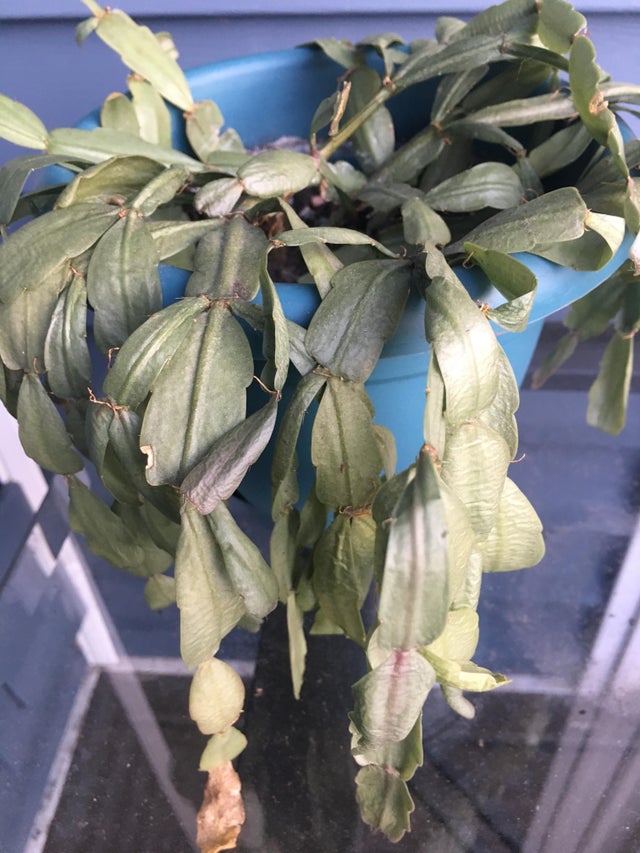
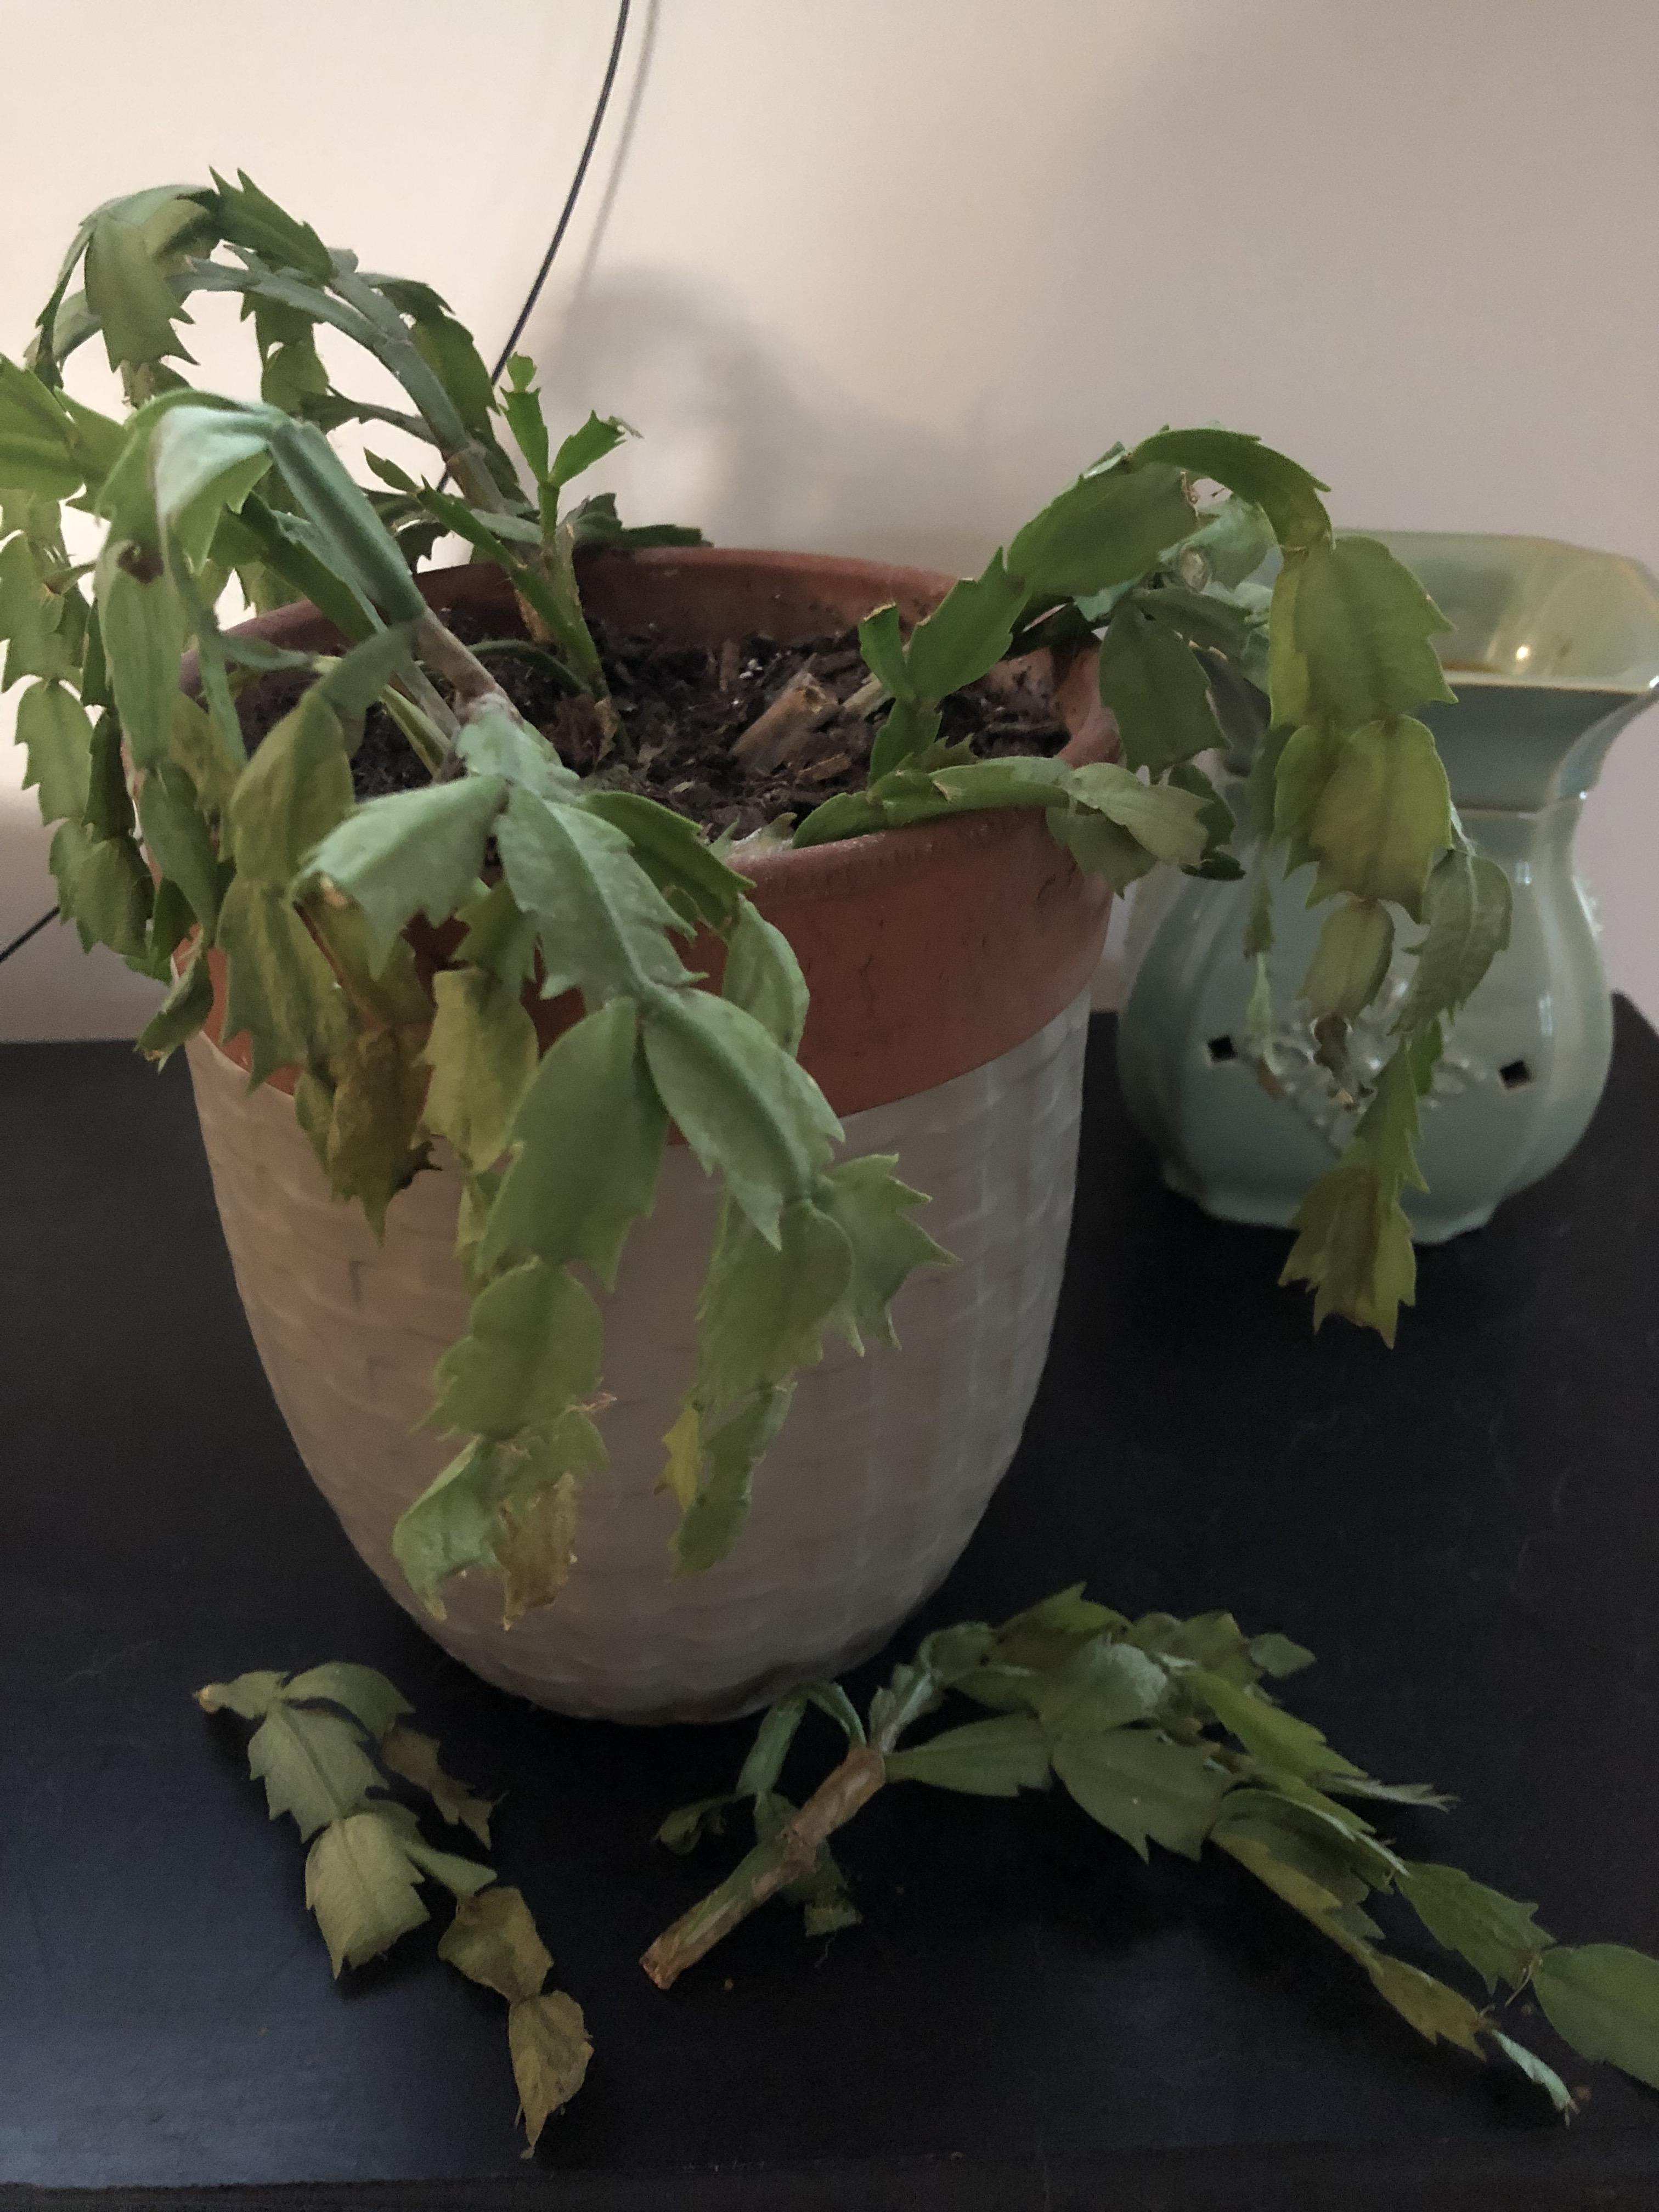
- Drooping or wilting leaves
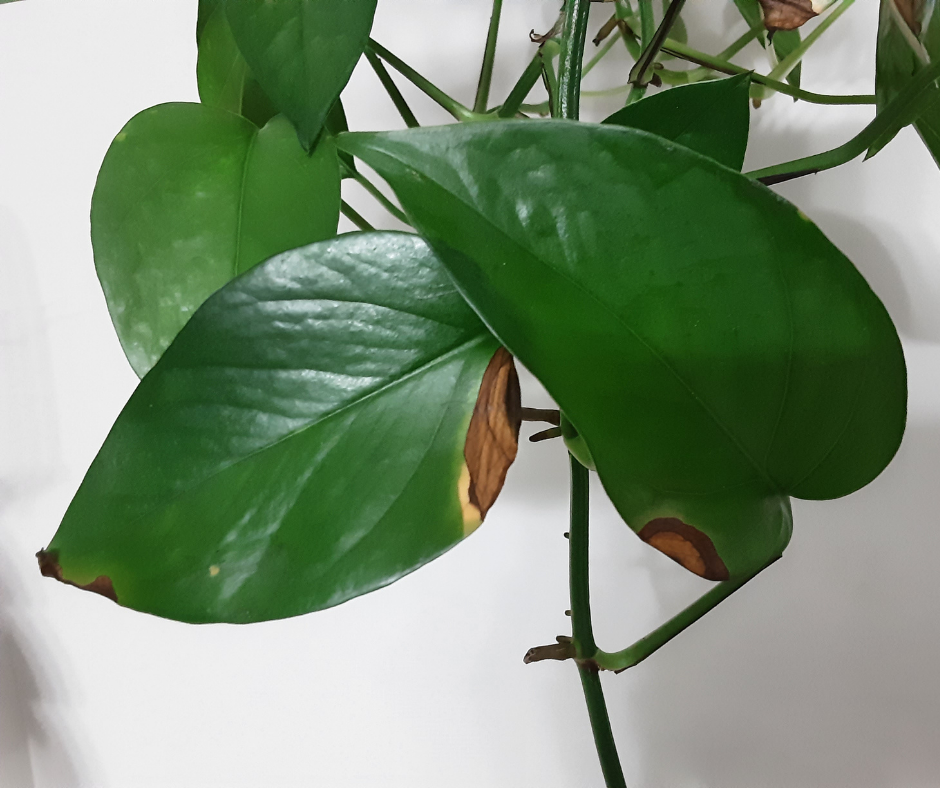
- Crispy, brown leaf edges
- Dry, hard soil that pulls away from the pot’s edges
- Slow growth or leaf drop
Overwatering:
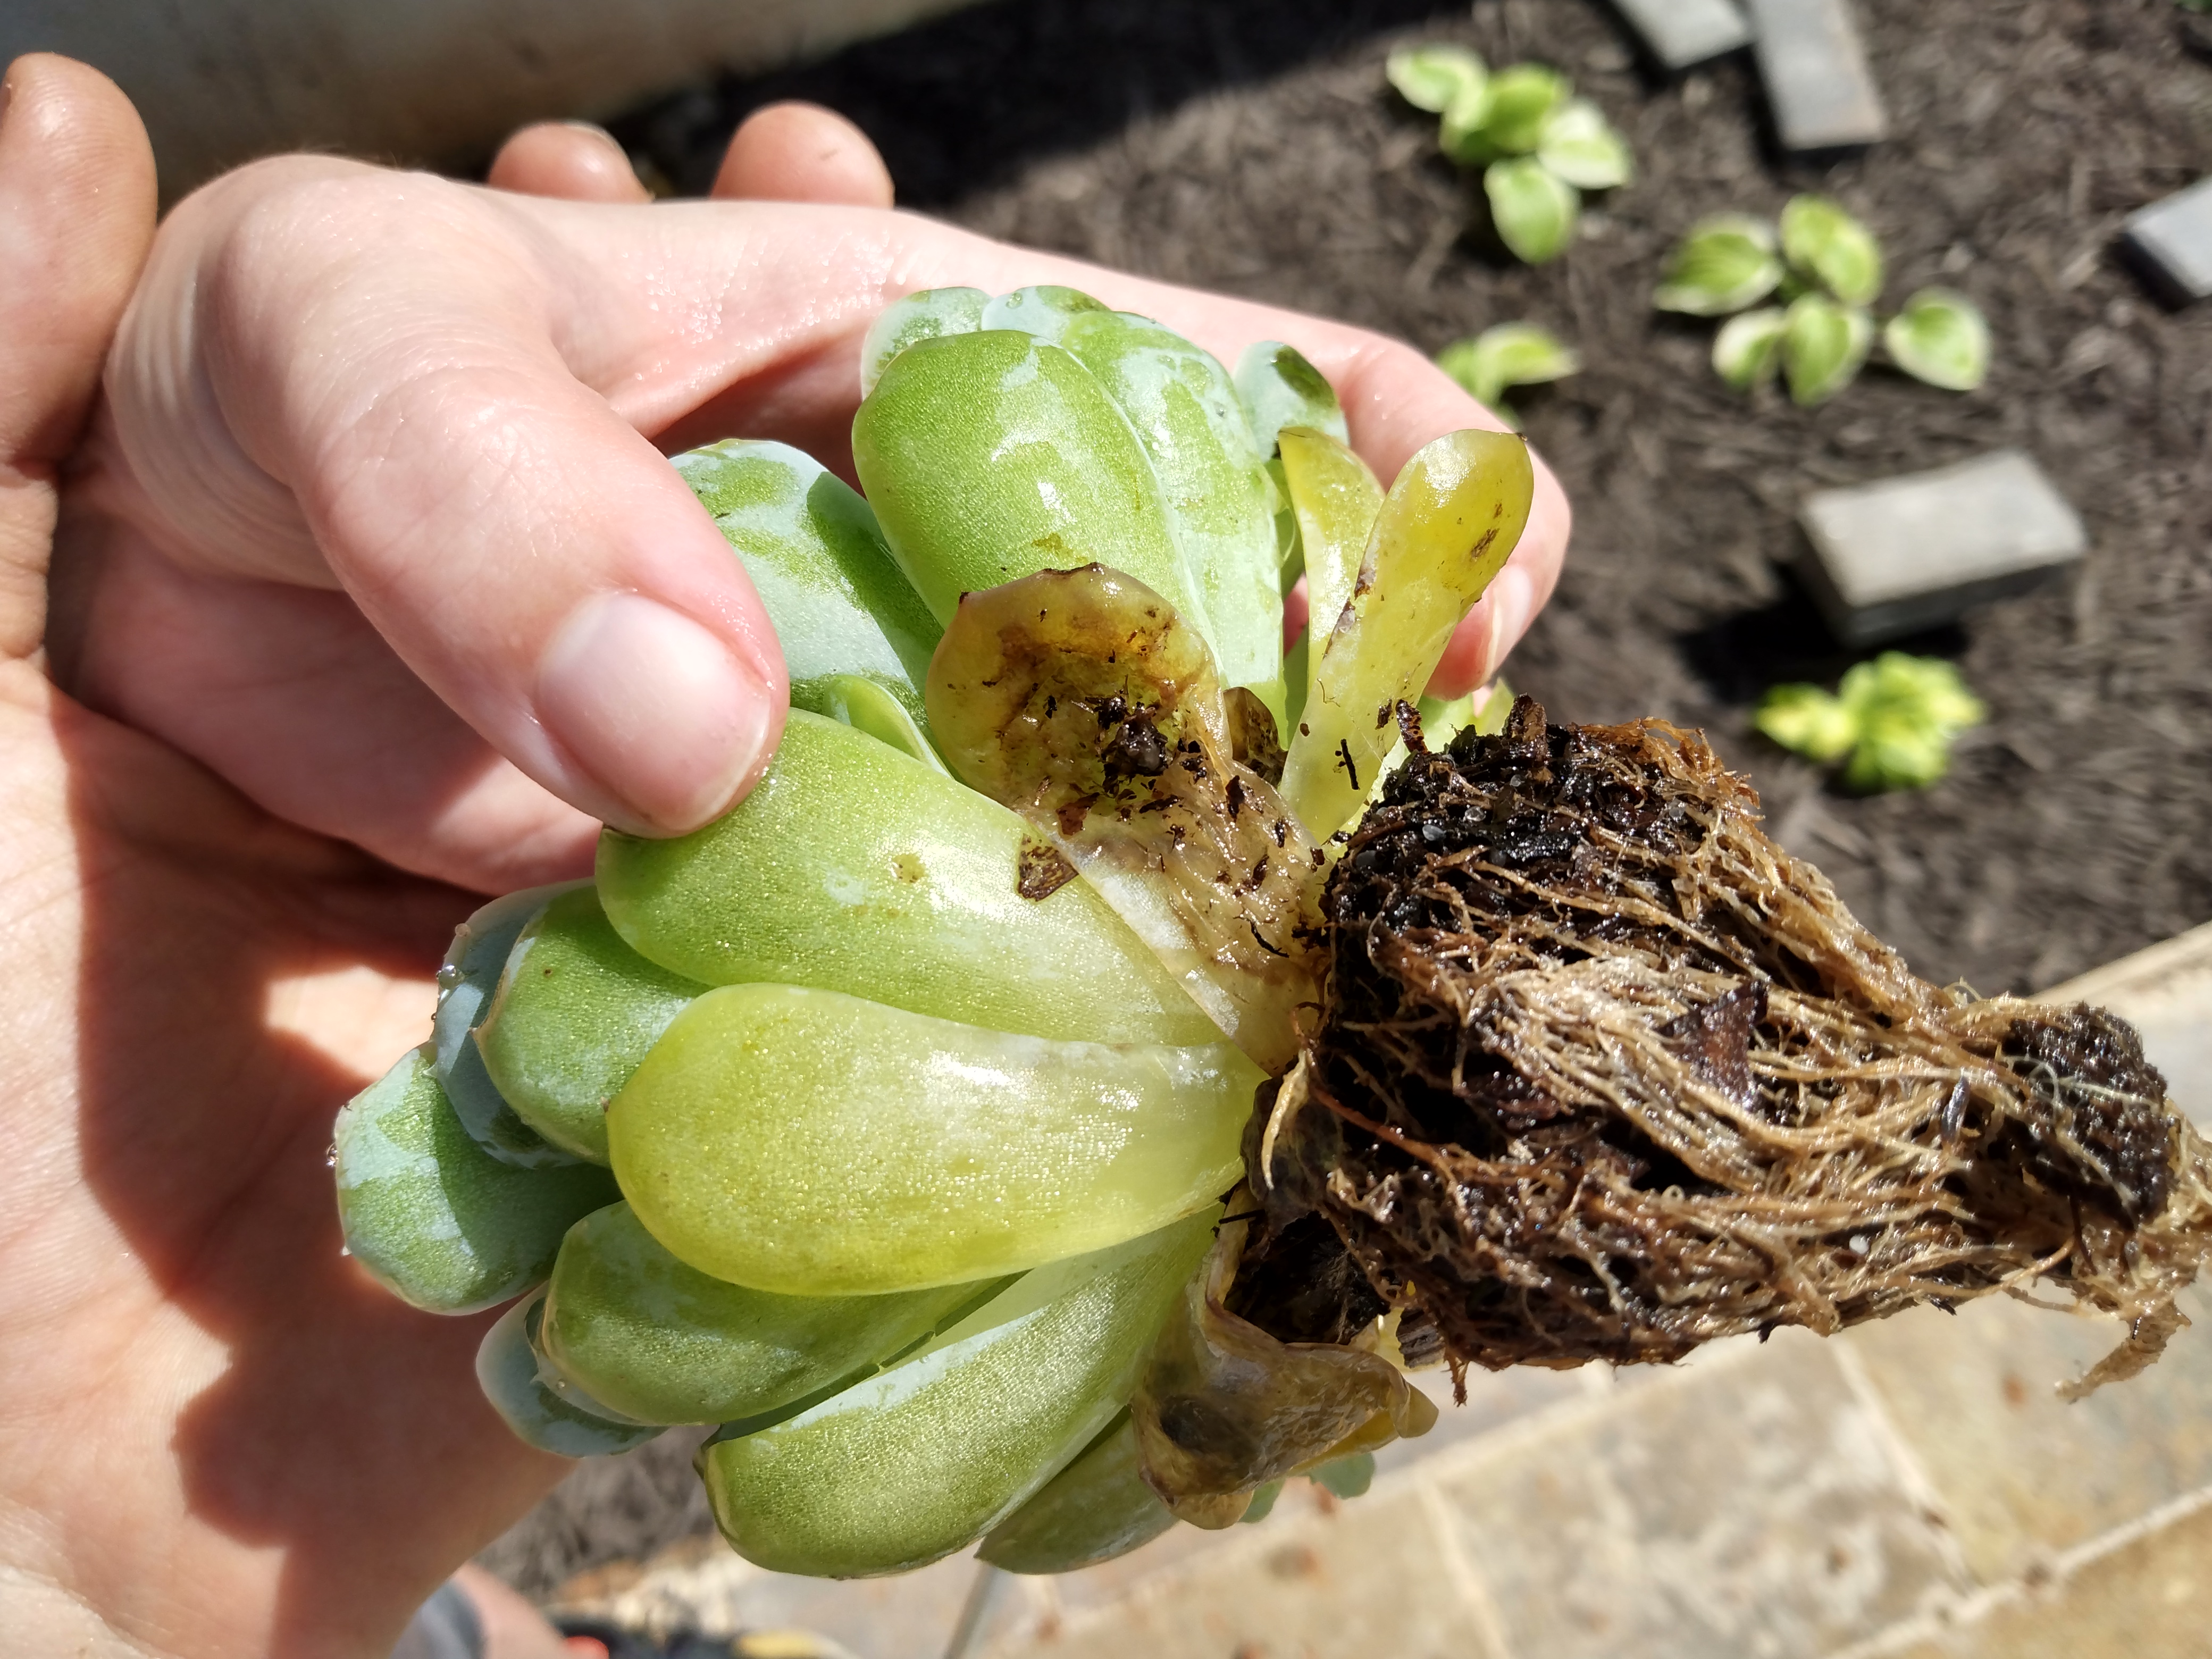
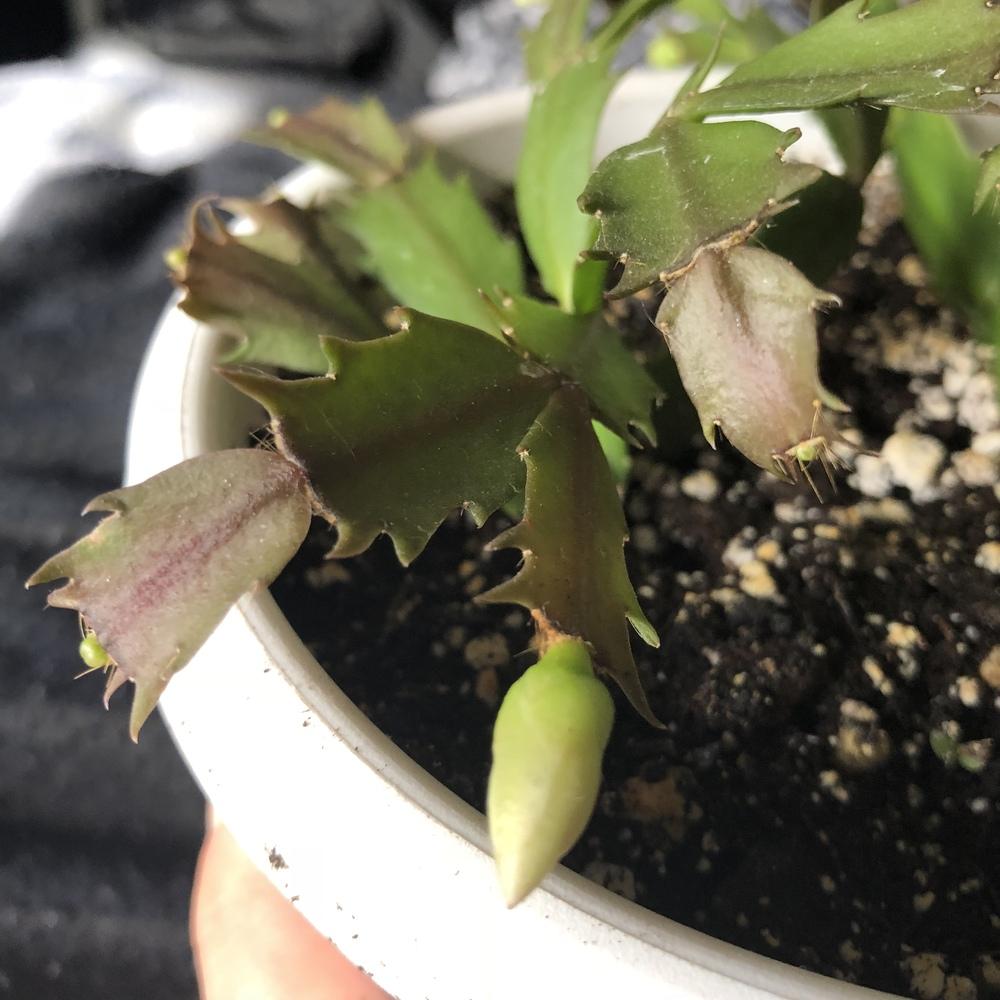
- Yellow, mushy, or falling leaves
- Moldy or smelly soil
- Fungus gnats flying around the plant
- Brown, soft, or rotting roots

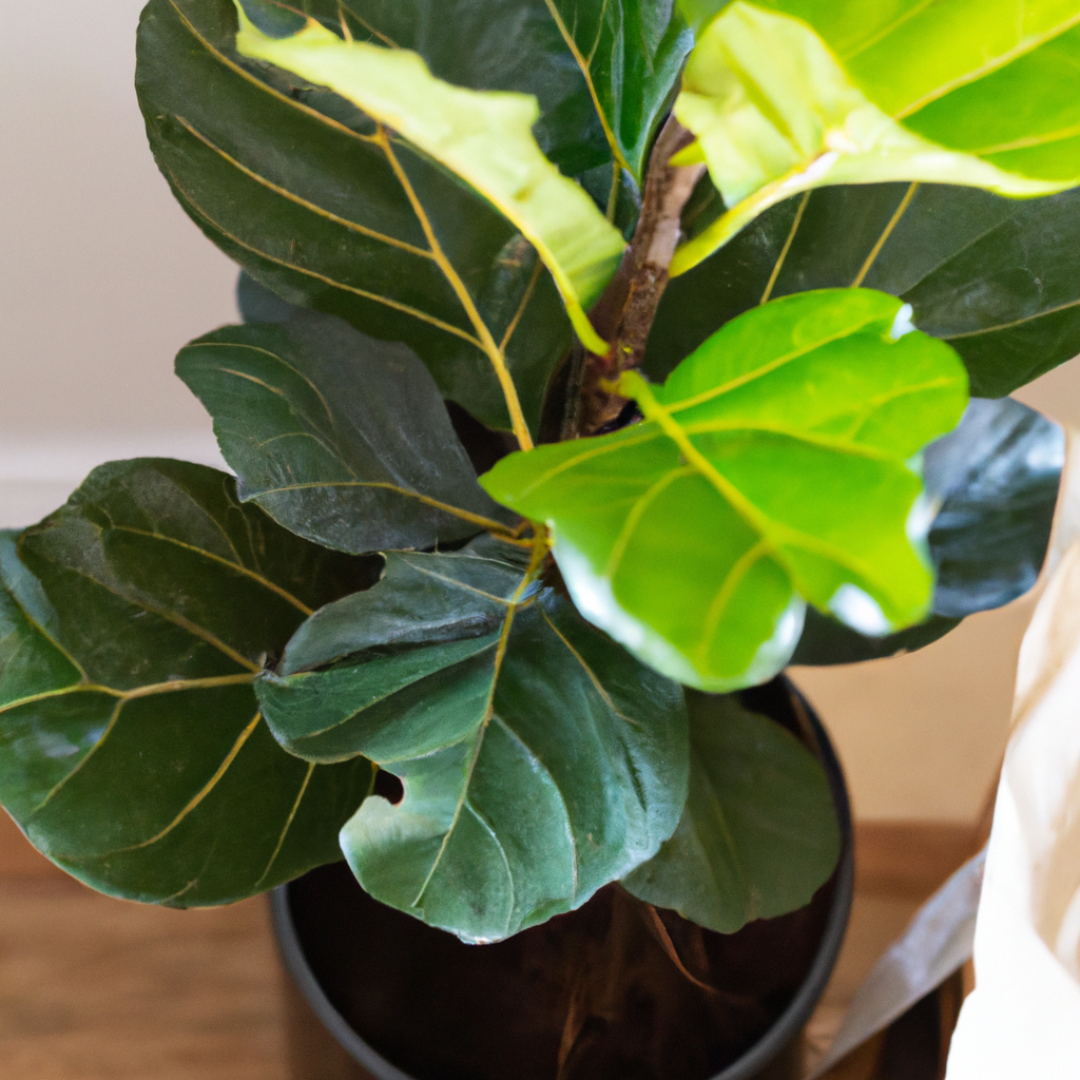
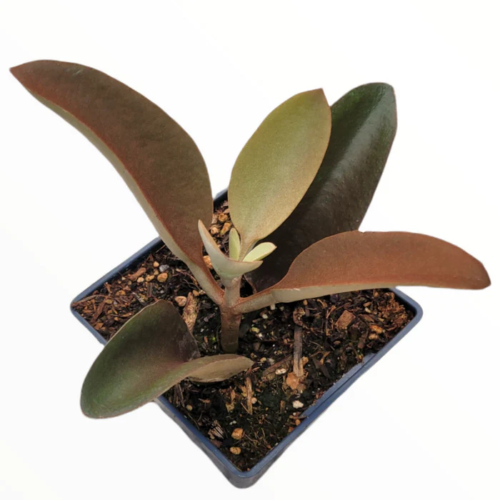
Signs of overwatering and underwatering can sometimes look similar, but a telltale sign to look at is if the yellowing leaf is fat and mushy, like it has water inside, or if it is becoming dry and crinkly like all the water in the leaf is gone.
If you spot any of these signs, don’t panic! In most cases, adjusting your watering routine and letting the soil dry out a bit can help your plants bounce back.
Now that you have a better grasp on the factors affecting your houseplants’ water needs and the signs of watering woes, let’s explore when and how to water your green friends for optimal health and happiness.
When to Water Your Houseplants
Picture this: it’s a sunny Saturday morning, and you’re standing in front of your beloved houseplants, watering can in hand. But wait! Before you start dousing your leafy friends, let’s talk about when to water them.
Checking Soil Moisture Levels
The most foolproof way to determine if your plants need water is to check the soil moisture levels. Here are a few methods to try:
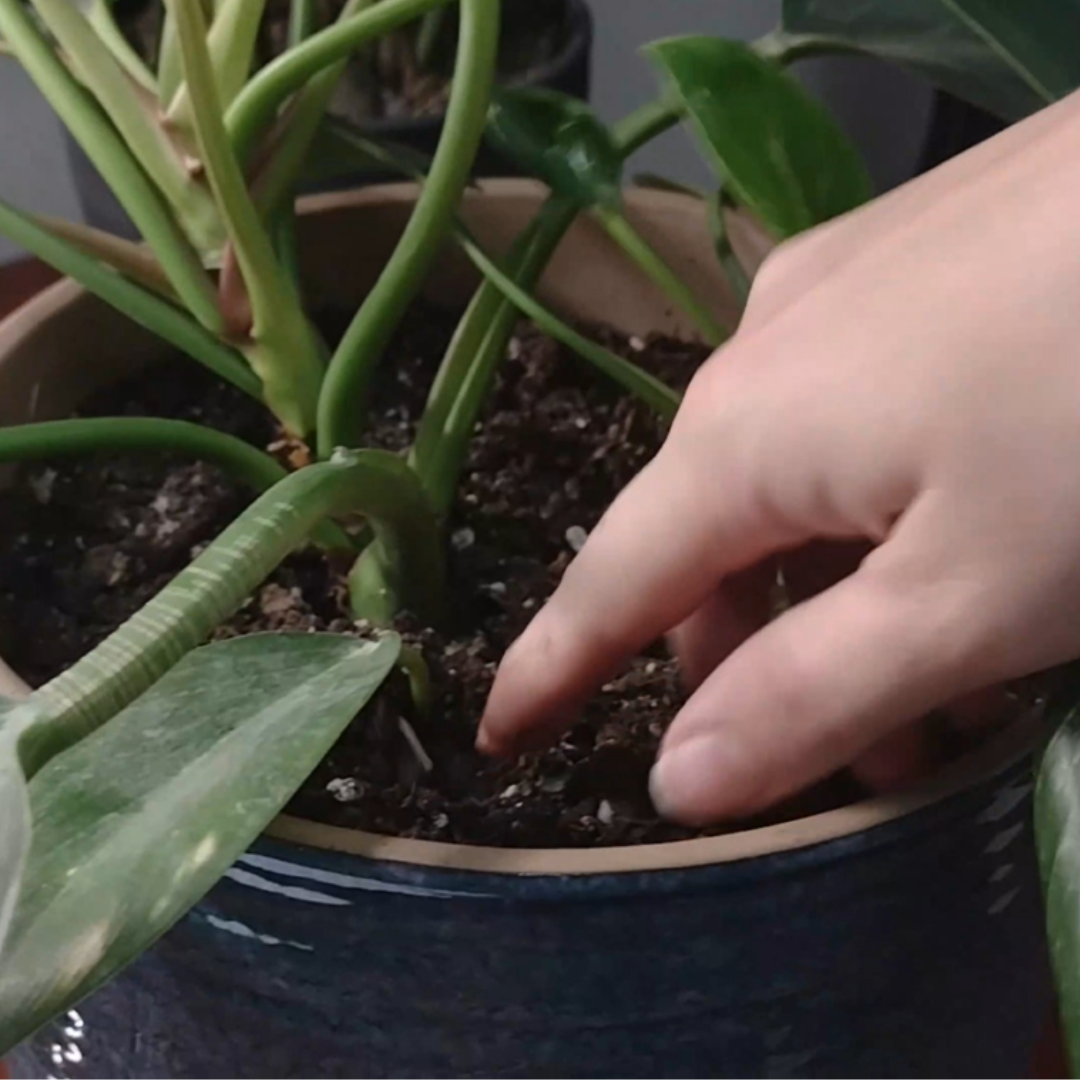
The finger test: Stick your finger about an inch deep into the soil. If it feels dry, it’s time to water. If it’s still damp, hold off for a day or two.
The chopstick method: Insert a wooden chopstick or skewer into the soil, then remove it. If it comes out clean and dry, your plant is thirsty. If it’s covered in damp soil, wait a bit longer.
Moisture meters: These handy tools measure soil moisture levels with a simple probe, taking the guesswork out of watering.

The weight test: When soil is dry, it is much lighter than when it is full of a lot of heavy water. One way you can test roughly how much water is in your soil is by doing a weight test. You basically lift the pot and see how light or heavy it is. For those who only have a few plants and who can get used to the plants’ weight, this can be a simple, quick guage for how much moisture is still in your pot.

Remember, the goal is to keep the soil consistently moist but not soggy. Overwatering can be just as harmful as underwatering!
Establishing a Watering Schedule
Once you’ve got a handle on your plants’ moisture needs, it’s time to create a watering schedule. Here are some tips to keep in mind:
- Water in the morning: This gives your plants plenty of time to absorb the water before the heat of the day sets in.
- Be consistent: Try to water your plants on the same days each week, adjusting as needed based on soil moisture levels.
- Group plants with similar needs: Place plants with comparable watering requirements together to make your watering routine more efficient.
I like to keep a simple calendar reminder on my phone to help me stay on track with my watering schedule. It’s a small step that makes a big difference in keeping my plants happy and healthy!
When to Adjust Your Watering Schedule
As the seasons change and your plants grow, their watering needs may shift. Here are a few scenarios where you might need to adjust your watering routine:
- Seasonal changes: Plants typically require less water in the cooler months (in the fall and winter months) when they’re not actively growing. Conversely, they may need more frequent watering during the hot, bright summer months.
- Changes in light: If you move your plants to a brighter or dimmer spot, their water needs may change accordingly.
- Plant growth: As your plants grow larger, they’ll likely require more water to sustain their increased size.
It’s a good idea to test your plants’ moisture levels each time you water. By staying attuned to your plants’ needs and making small adjustments to your watering schedule as necessary, you’ll be able to keep your plants watered correctly.
How to Water Houseplants Properly
Alright, you’ve figured out when to water your plants, but now you might be wondering, “How do I actually do it?” Don’t worry, I’ve got you covered! Let’s explore the best ways to keep your plants perfectly hydrated.
Choosing the Right Water Source
Not all water is created equal when it comes to your houseplants. Here are some tips for selecting the best water source:
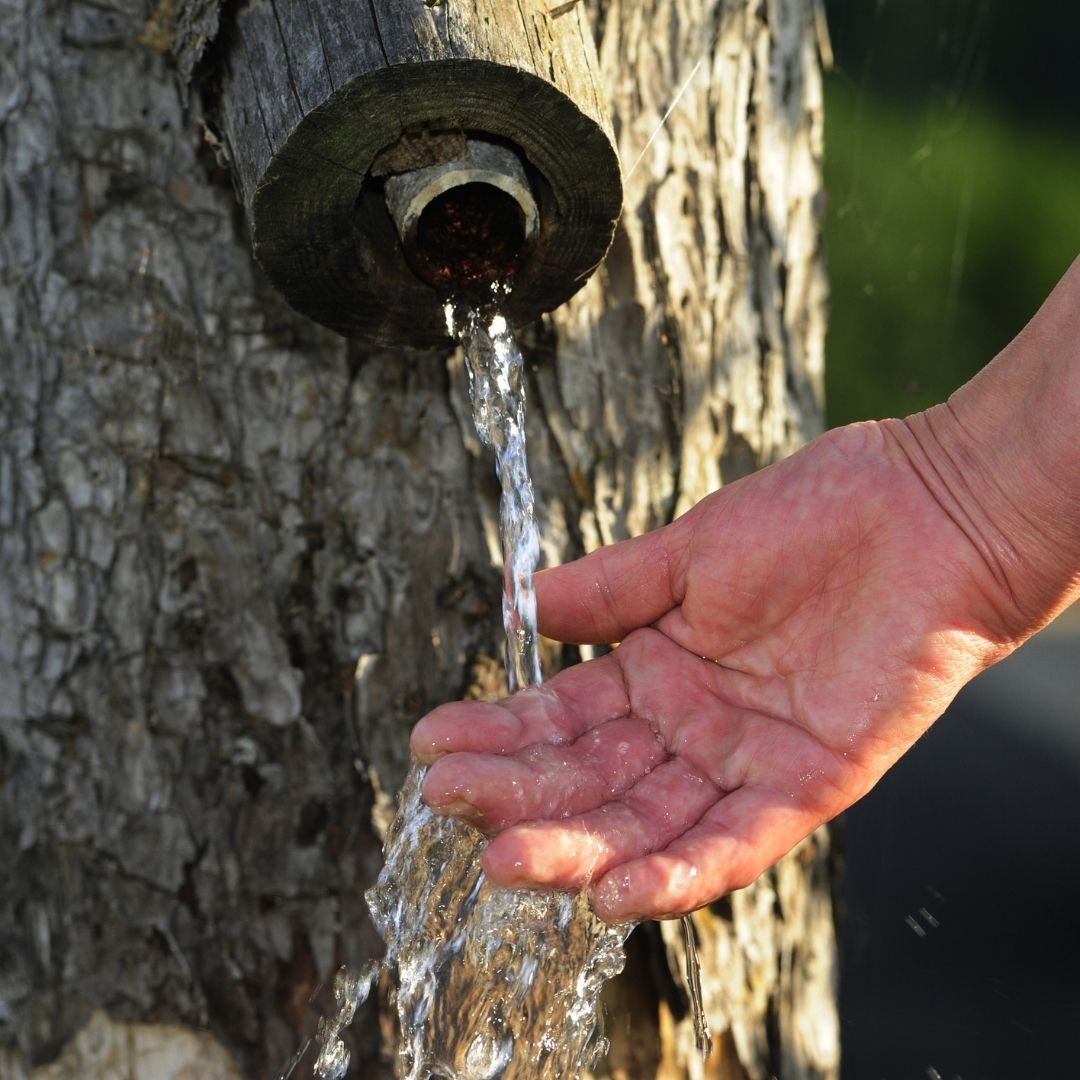
- Rain water or filtered water: These are the ideal choices, as they’re free from harmful chemicals and minerals that can build up in the soil over time.
- Tap water: If you must use tap water, let it sit out for 24 hours before watering to allow any chlorine to evaporate.
- Avoid softened water: Softened water contains salt, which can harm your plants in the long run.
- Room temperature is best: Avoid giving your indoor plants water that is too hot or too cold. Room temperature (or around there) is best.
I typically water my plants with filtered water just because with all the kids I have around the house, if I leave a jug of tap water out to evaporate, it WILL get knocked over within 24 hours! Haha! So I have my plants’ water filter under my sink, ready to go whenever it’s watering time. So make sure that you find the type of water source that works for you and your plants!
You can check out my post on 5 Signs your Plants need Filtered Water if you’re unsure.
You can also check out my video where I tested my own water filter to see if it really removed the chemicals or not…
But now it’s time for knowing exactly HOW to water. Here are the two best methods of watering:
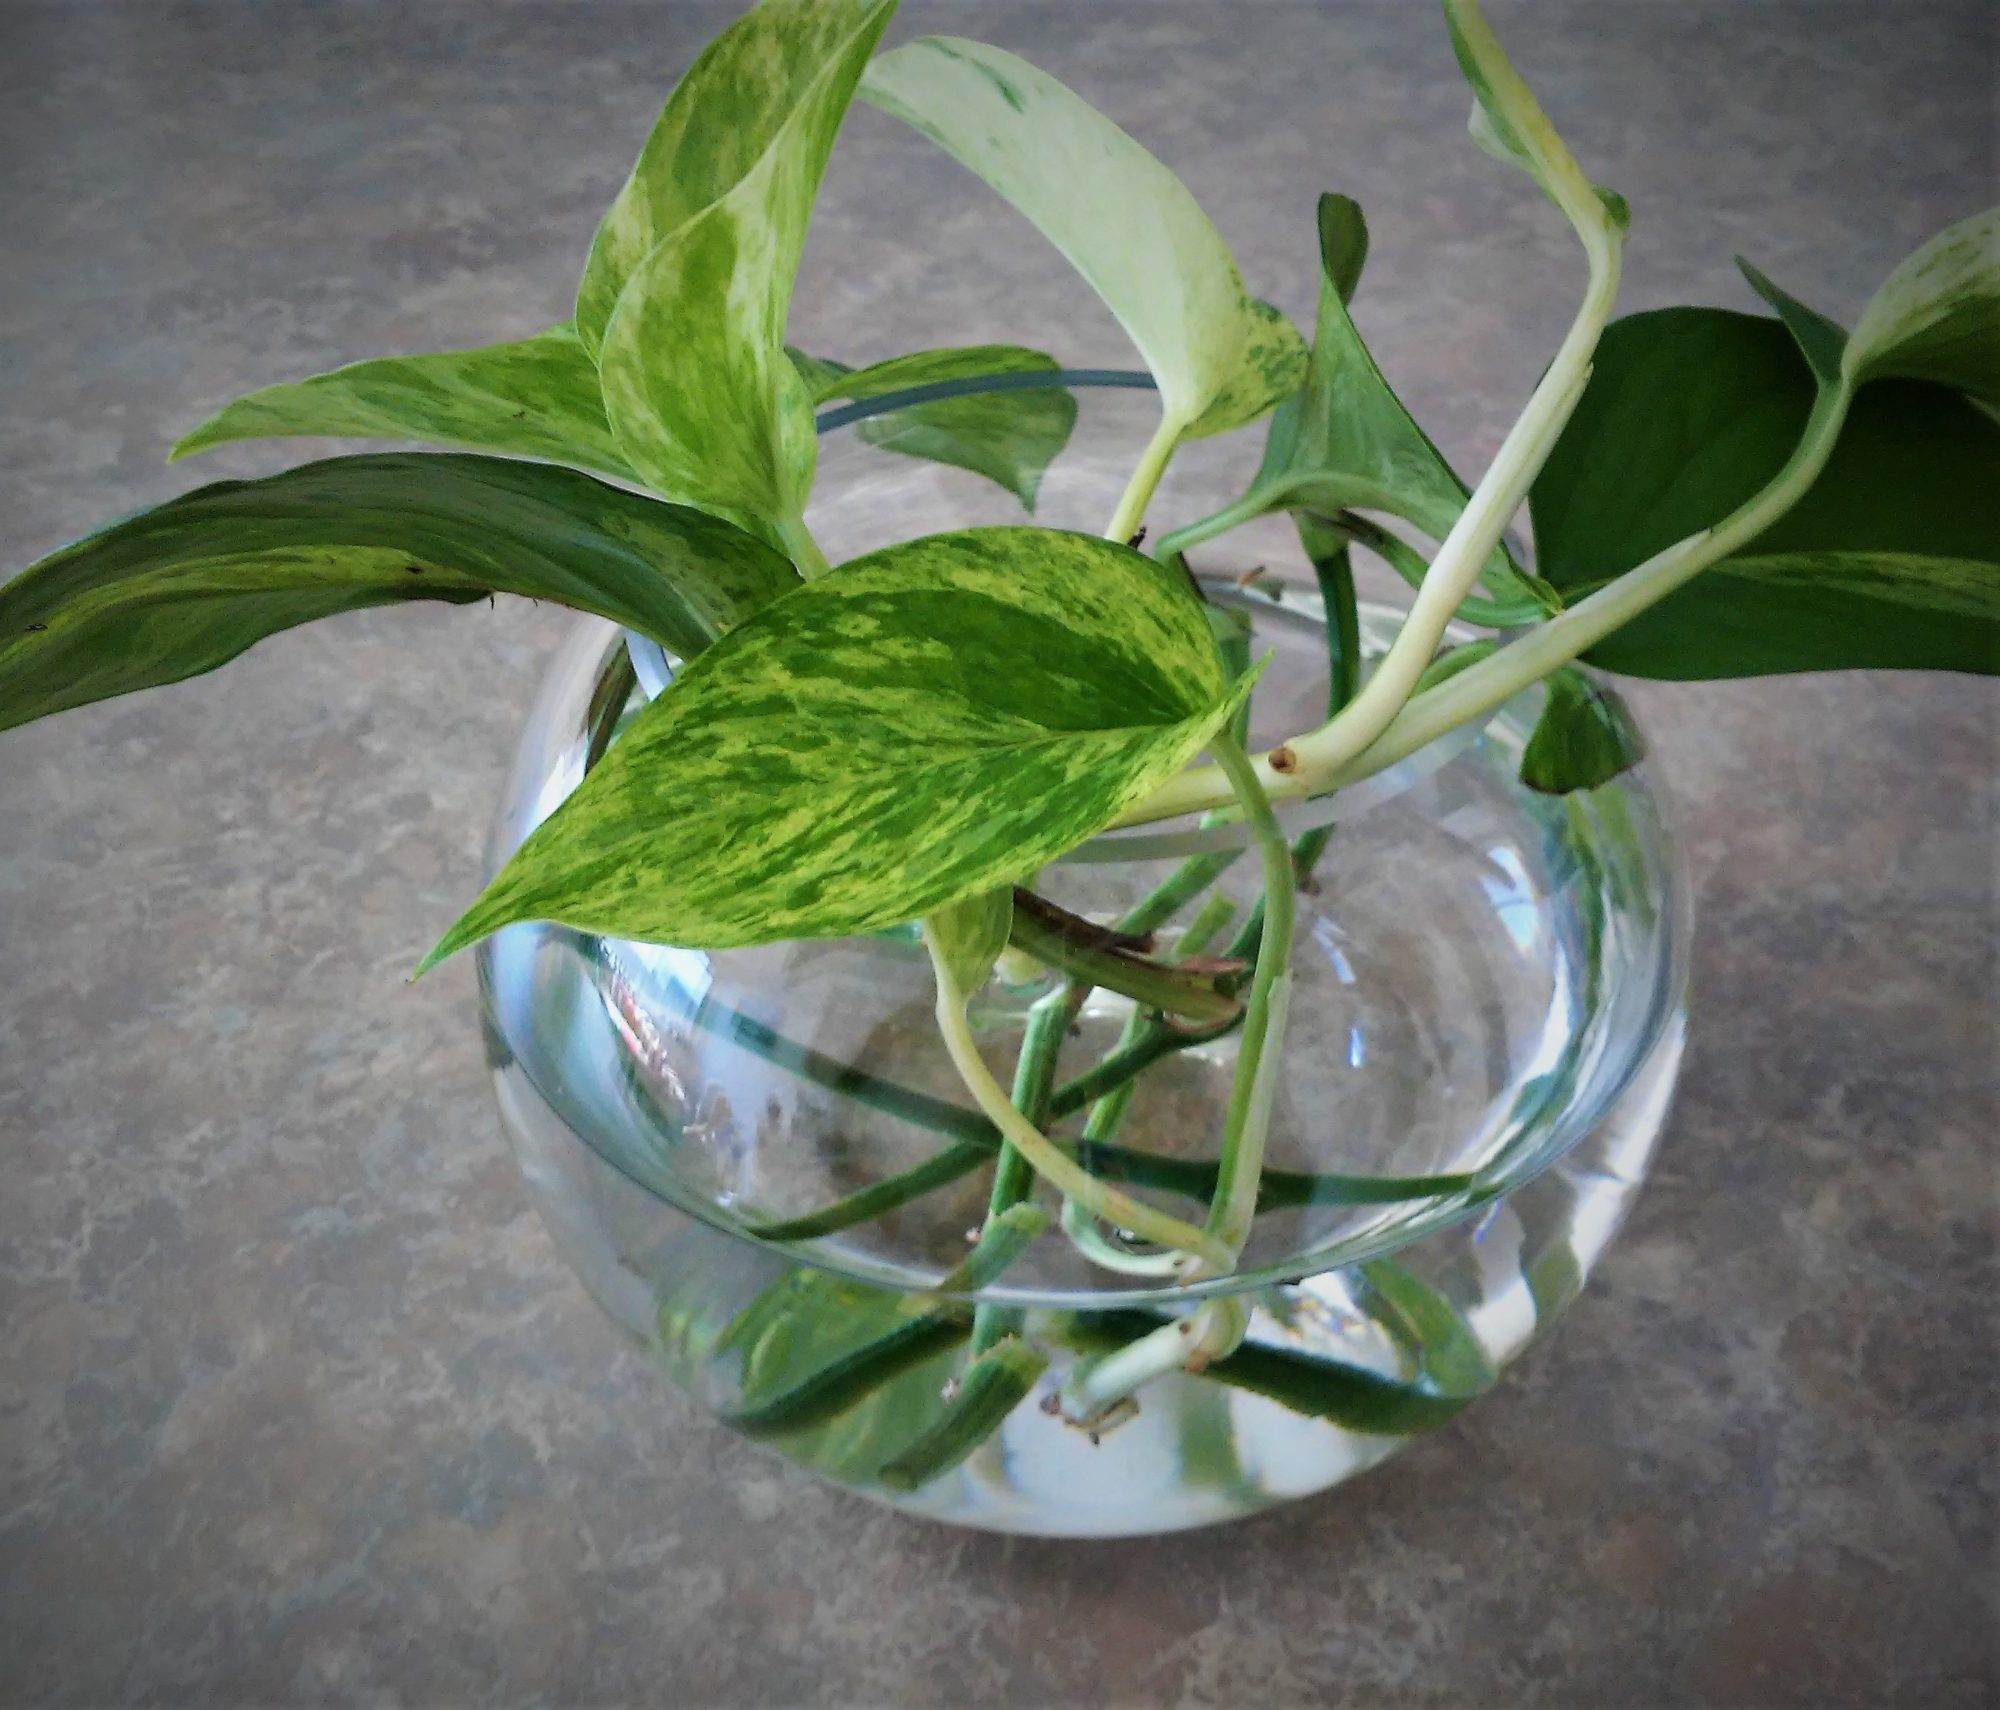
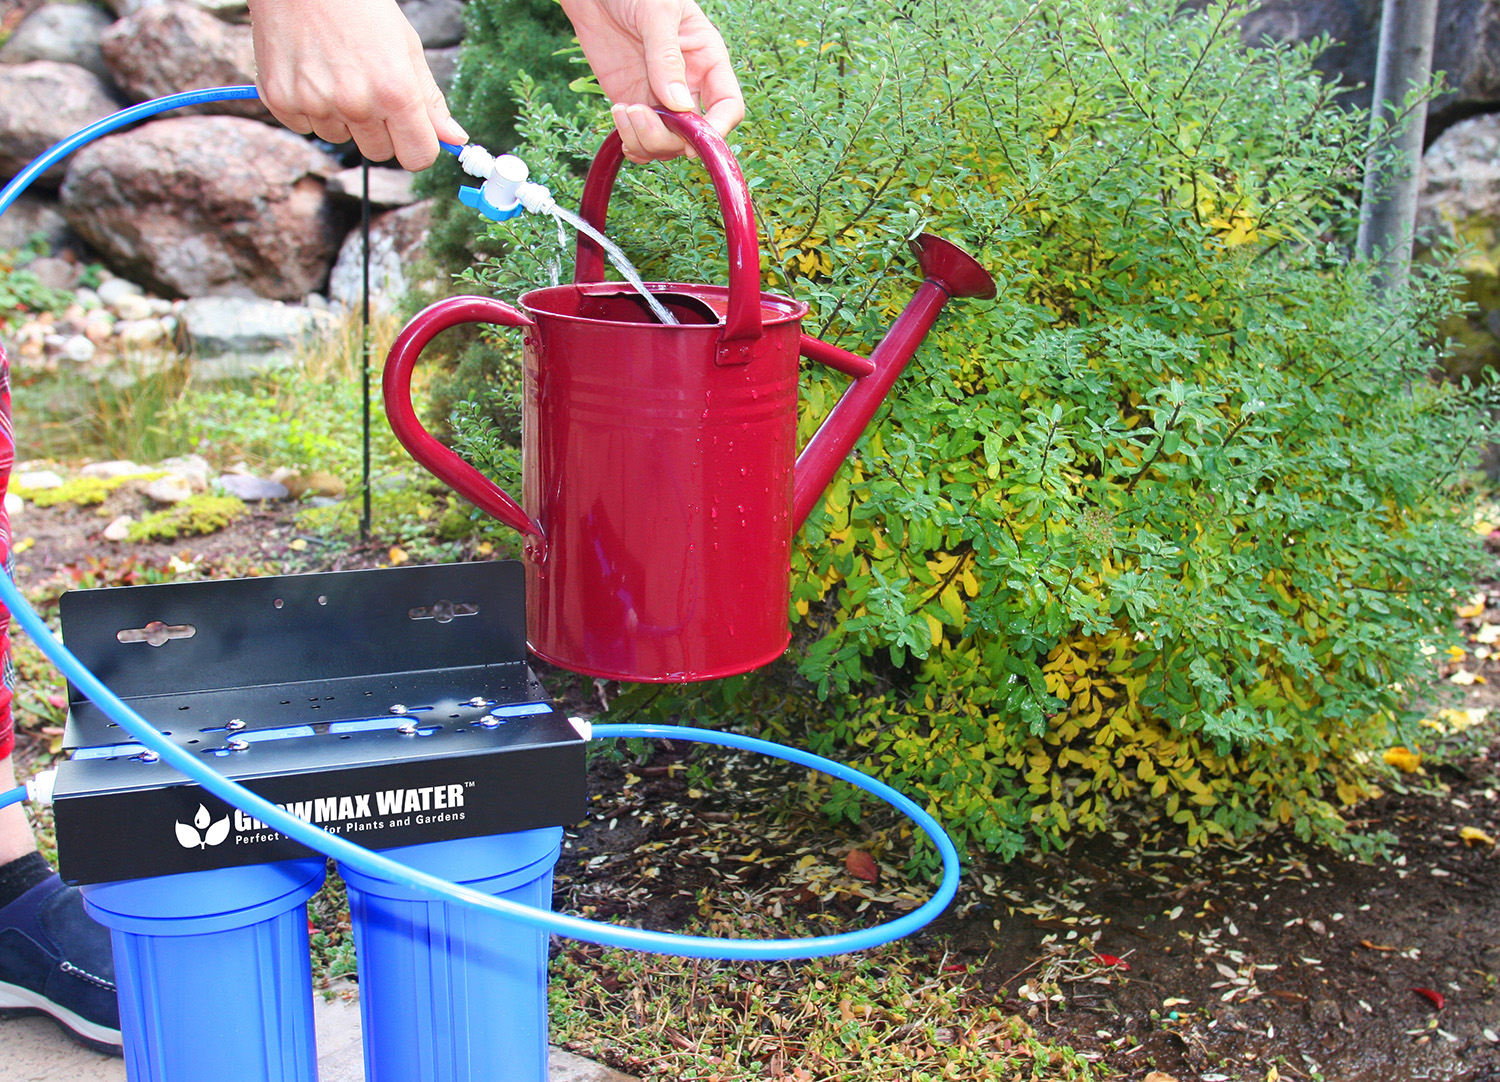
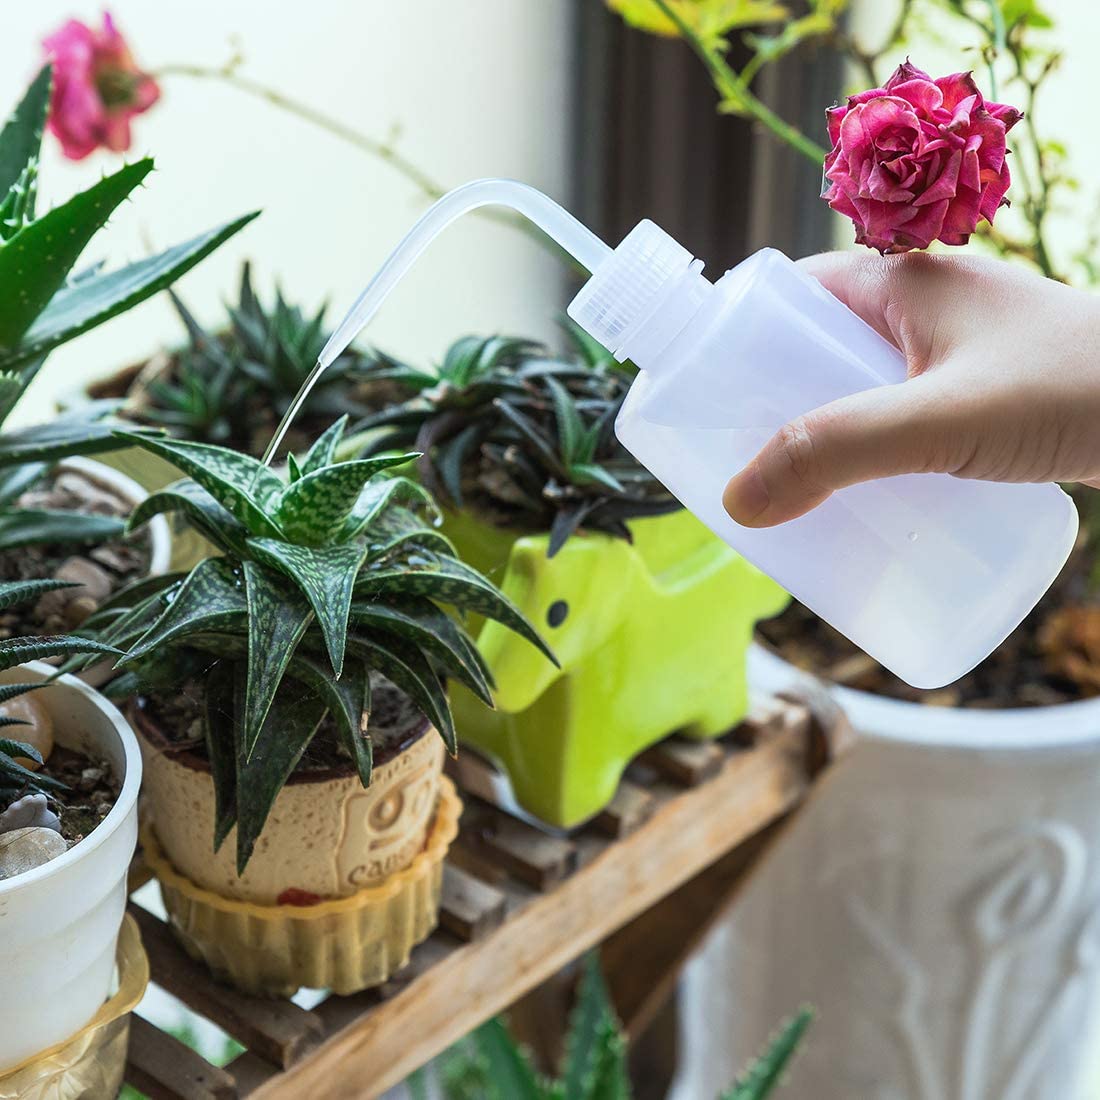
- The Soak and Drain Method (also known as Bottom-Watering): Place your plant’s pot on a tray or basin and slowly pour water into the tray, allowing the soil to absorb the water from the bottom up. Stop adding water once the soil surface is moist. Let the plant sit and soak for twenty minutes to a few hours, depending on the size of the pot, then discard any remaining water in the tray.
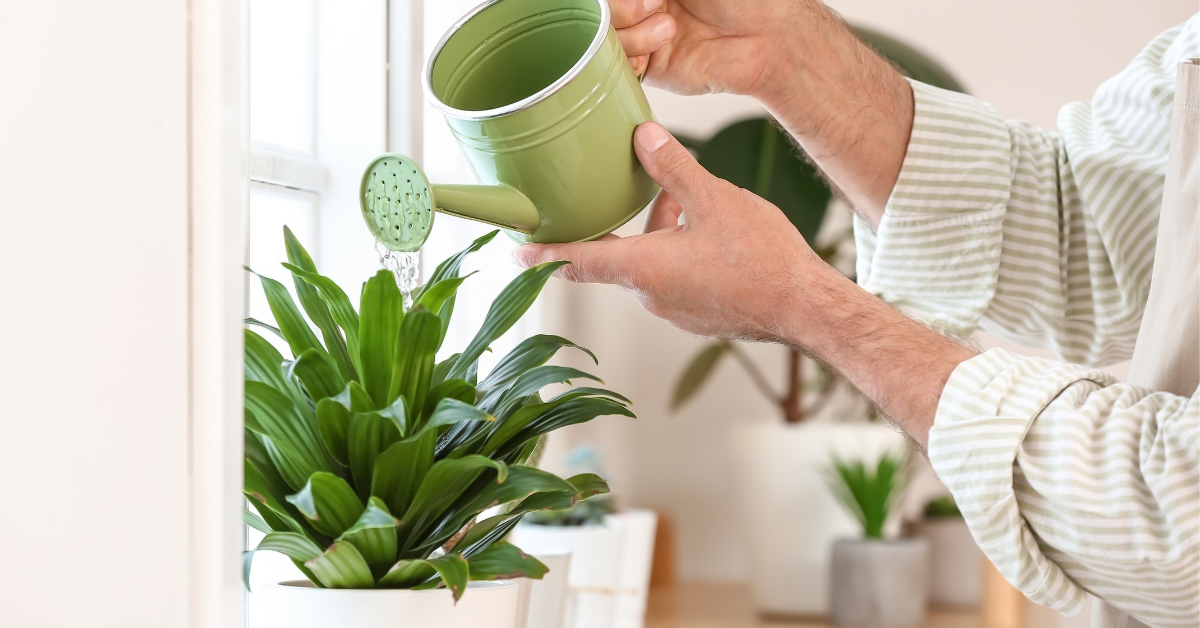
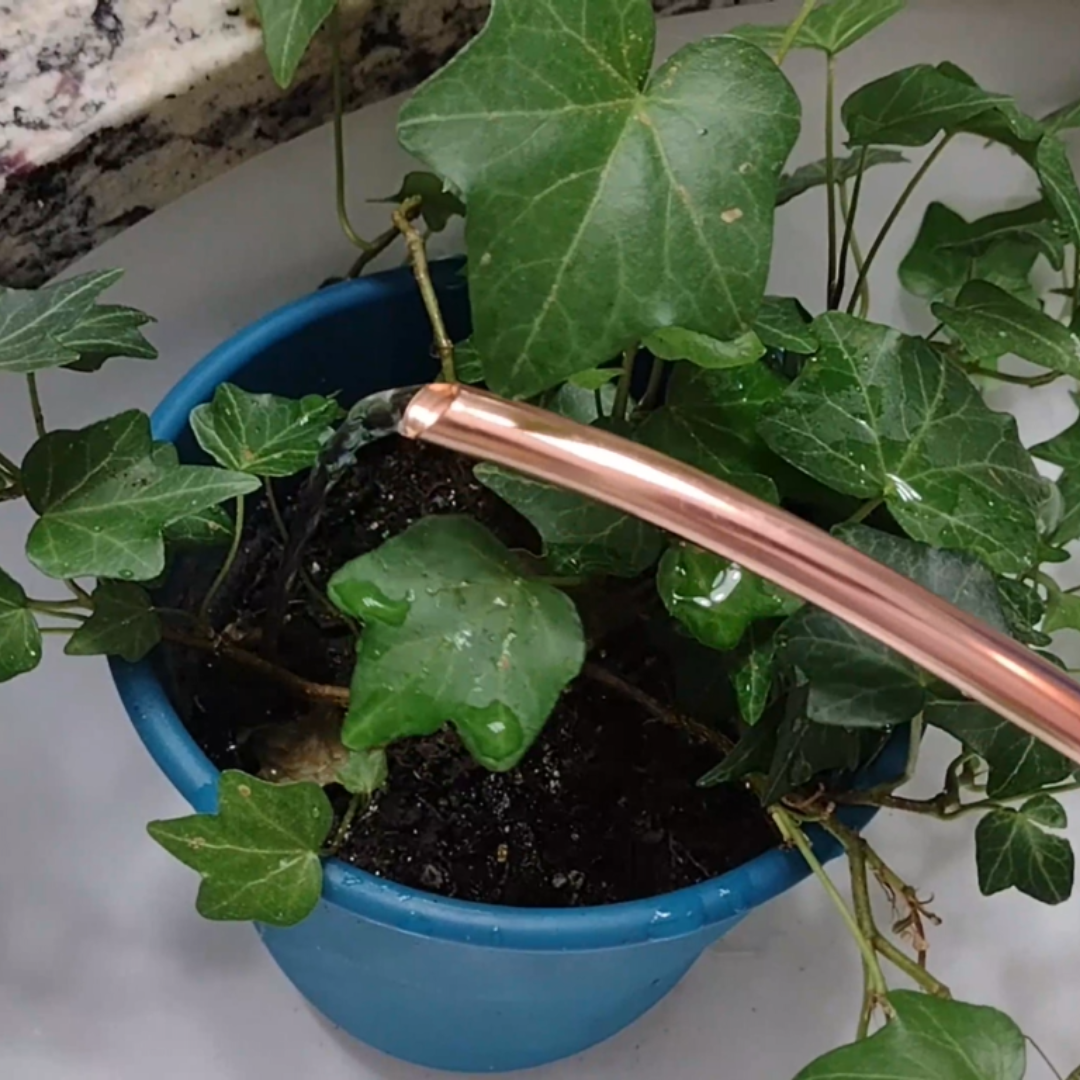
- The Top Watering Method: Use a watering can with a narrow spout to slowly pour water over the top of the soil, starting around the edge of the pot and working your way inward. Keep watering until you see water beginning to drain from the bottom of the pot.
Whichever method you choose, be sure to water slowly and evenly, giving the soil time to absorb the moisture. And don’t forget to empty any excess water from the saucer or tray to prevent root rot!
Want more information on which watering method you should choose? Check out my video below!
Avoiding Common Watering Mistakes
Even with the best intentions, it’s easy to make mistakes when watering your houseplants. Here are a few common pitfalls to avoid:
- Overwatering: As tempting as it may be to give your plants a little extra love, resist the urge to water too frequently. Stick to your watering schedule and always check the soil moisture levels before watering.
- Underwatering: On the flip side, don’t let your plants go too long without water (Or avoid only giving them little water sips at a time). If you notice drooping leaves or dry soil, it’s time to give them a good drink.
- Watering at night: Avoid watering your plants in the evening, as the cooler temperatures and lack of evaporation can lead to fungal growth and root rot.
By choosing the right water source, avoiding improper watering techniques, and steering clear of common mistakes, you’ll be well on your way to becoming an indoor plant expert!
Caring for Houseplants After Watering
Congratulations, you’ve successfully watered your houseplants! But wait, there’s more! Proper post-watering care is just as crucial as the watering itself. Let’s dive into how to keep your plants thriving after they’ve had a good drink.
Allowing Proper Drainage
Picture this: you’ve just given your beloved fiddle leaf fig a thorough watering, but you notice water pooling in the saucer beneath the pot. What do you do?
The answer is simple: remove the extra water. Allowing your plants to sit in standing water can lead to a host of problems, including root rot and fungal growth. Here’s what you can do:
- Use pots with drainage holes to allow excess water to escape.
- Empty saucers or trays beneath your pots after watering.
- If your pot doesn’t have drainage holes, use a moisture meter to avoid overwatering, or consider repotting your plant into a container with proper drainage.
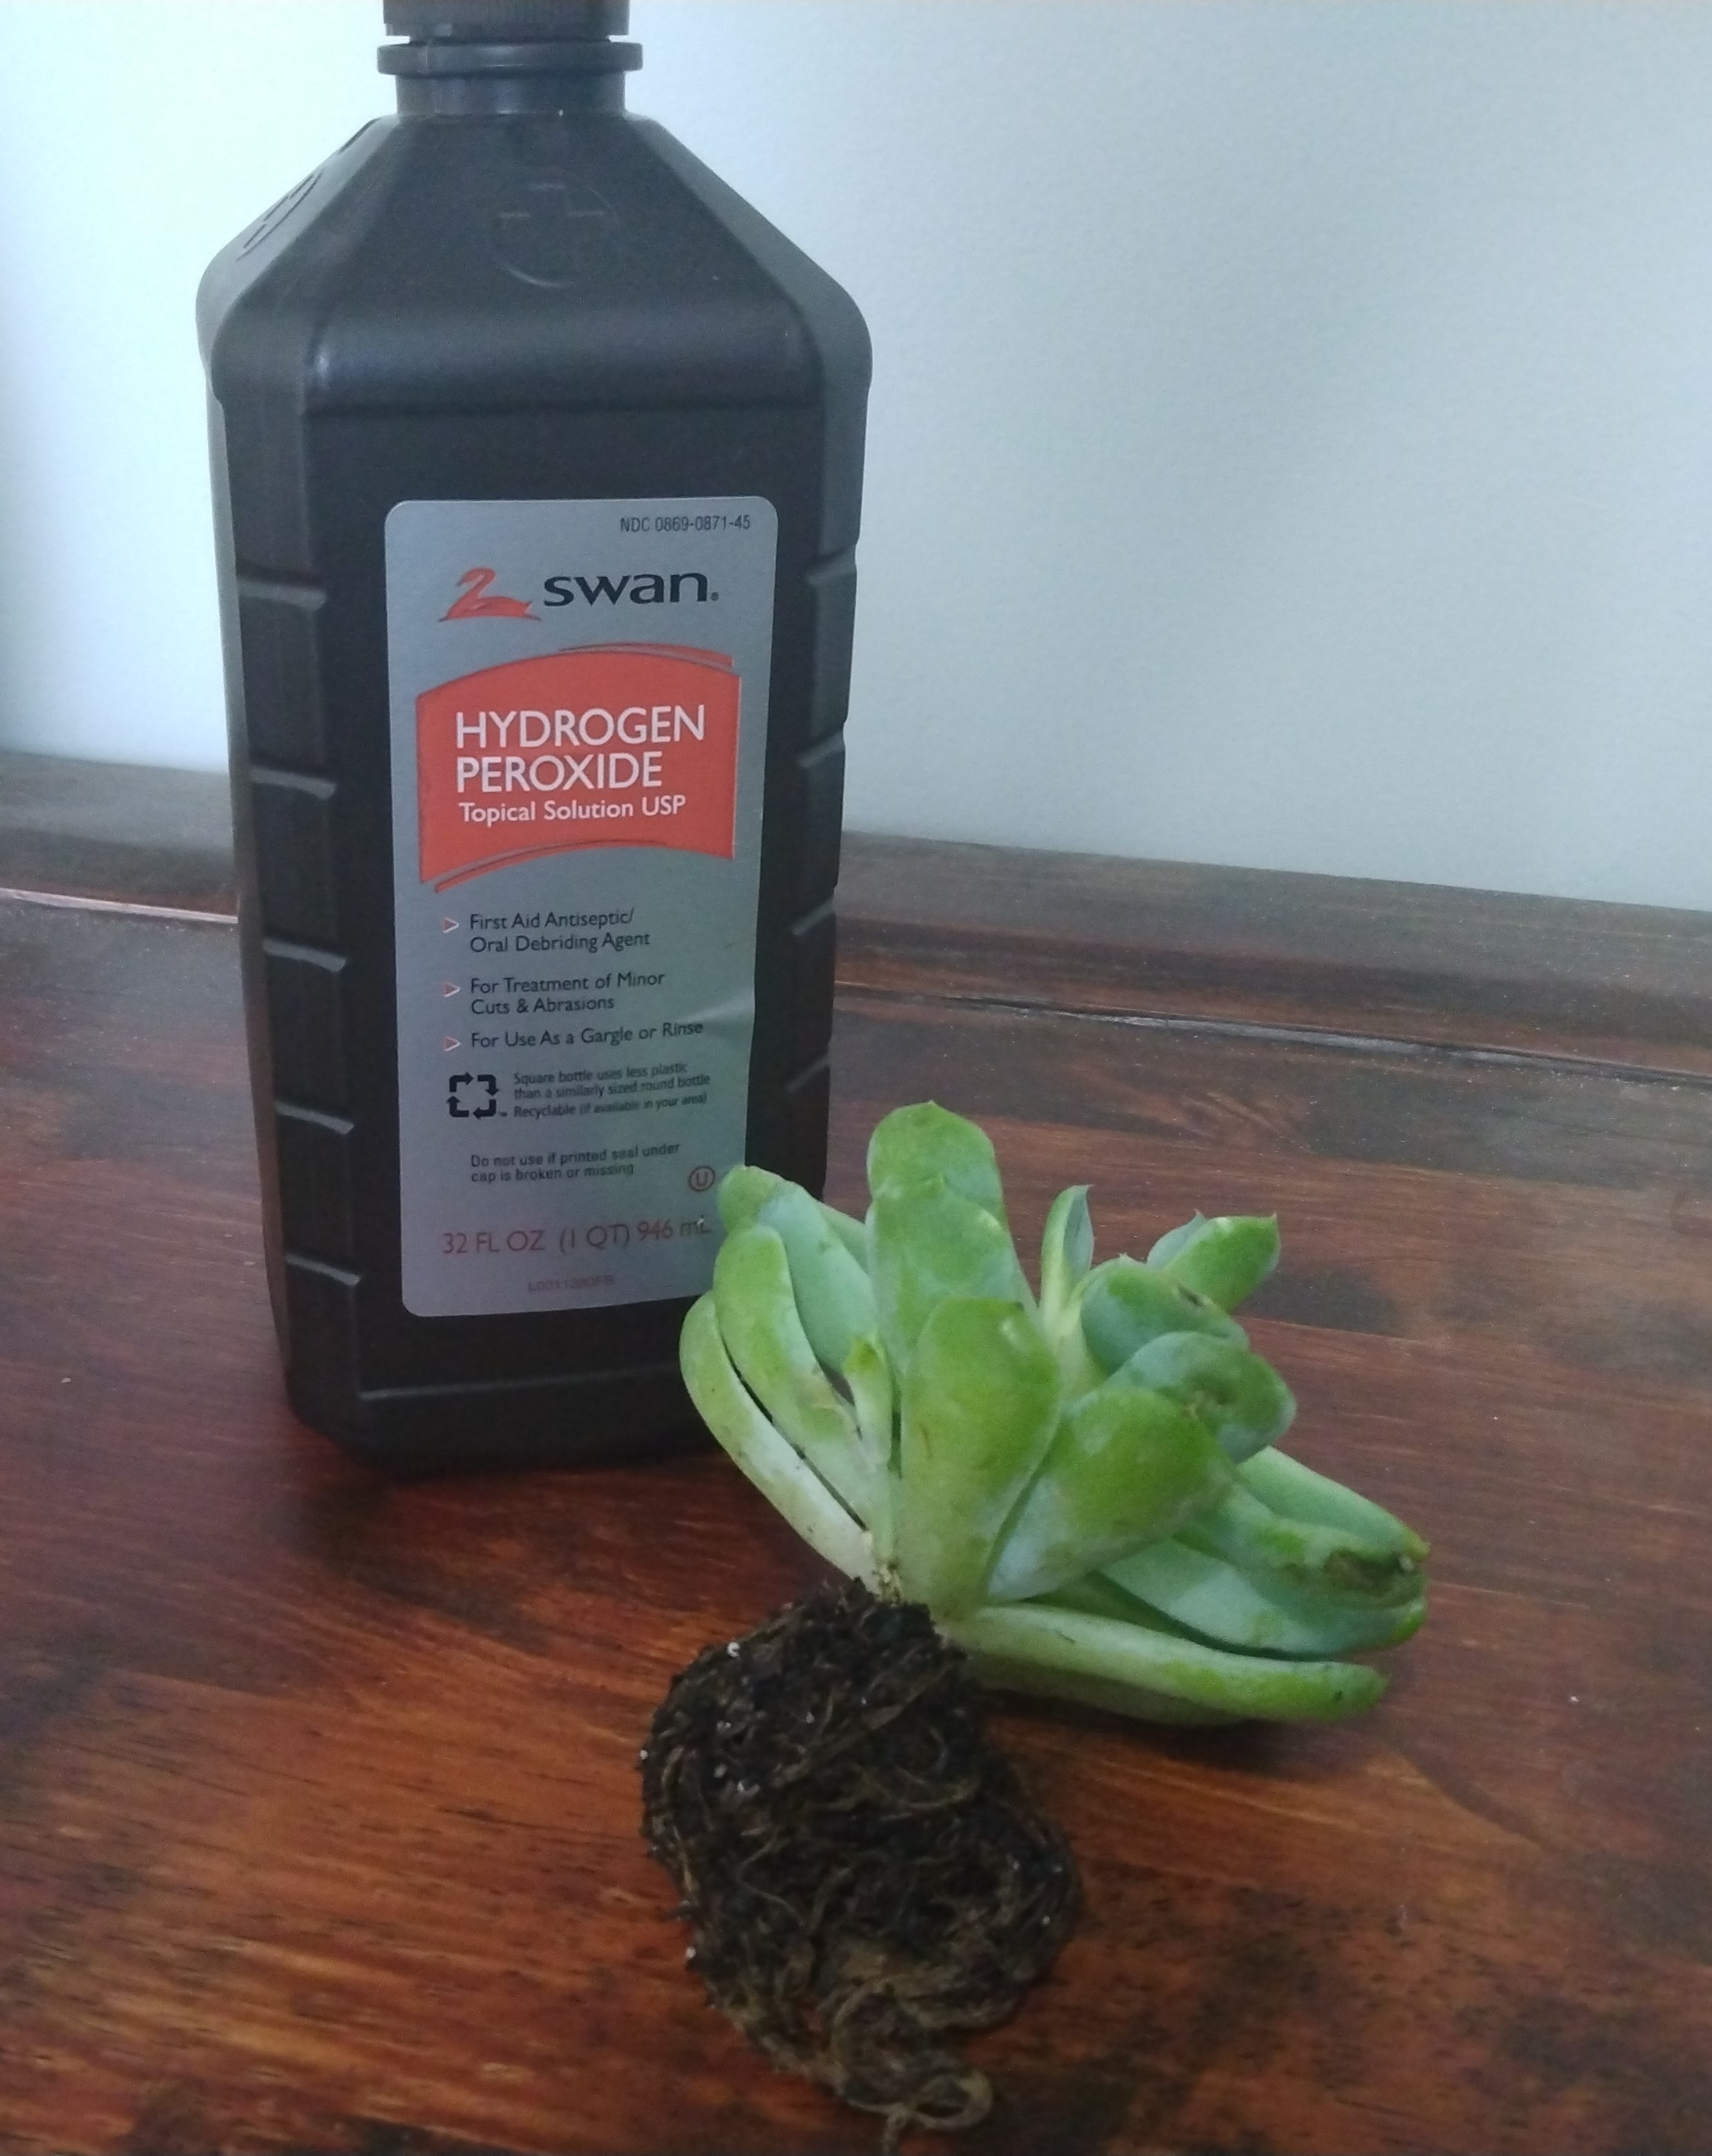
I once had a beautiful dracaena that I didn’t notice the water pooling between the nursery pot (with drainage holes) and the designer pot (with no drainage holes). By the time I noticed, the roots had started to rot, and I had to perform some serious plant surgery to save it. Learn from my mistake and always prioritize proper drainage!
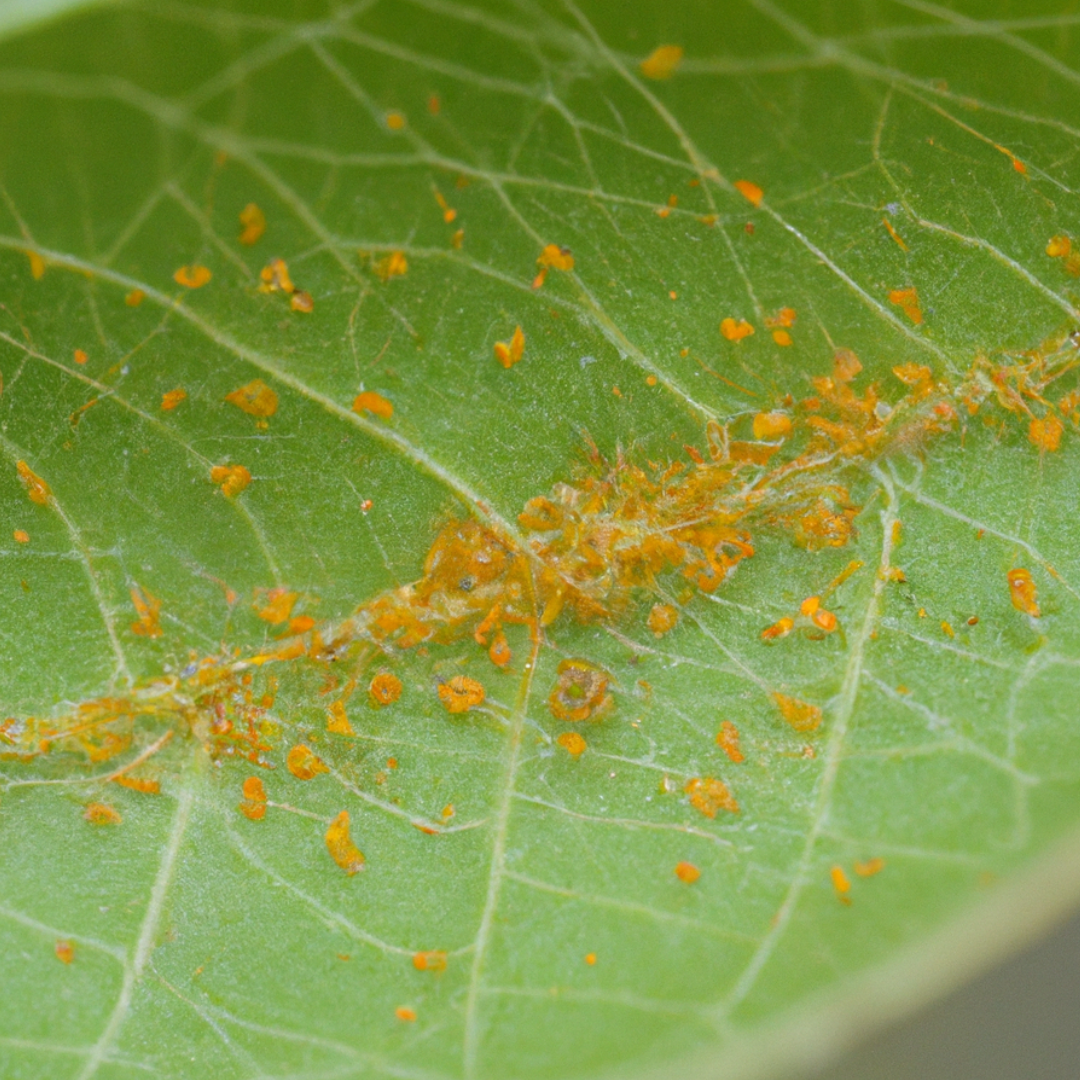
Monitoring for Pests and Diseases
While proper watering is essential for healthy houseplants, it can also create an ideal environment for pests and diseases to thrive (especially if you tend to keep your plants on the moist side). So after watering, take a moment to inspect your plants for any signs of trouble:
- Fungus gnats: These tiny flying insects love damp soil. If you notice them buzzing around your plants, let the soil dry out a bit more between waterings and consider only bottom-watering your plants for a time. This is the best method to keeping your plants clear of this annoying pest.
- Mildew or mold: White, powdery spots on leaves or fuzzy growth on the soil surface can indicate a fungal problem. Ensure proper air circulation around your plants and avoid getting water on the leaves when watering.
- Yellowing or wilting leaves: While these can be signs of overwatering, they can also indicate pest infestations or nutrient deficiencies. Inspect your plants closely and consider treating with a natural insecticide or fertilizer as needed.
By keeping a watchful eye on your plants after watering, you can catch any potential issues early and take action to keep your leafy friends healthy and happy.
Well, there you have it, folks! You’re now equipped with the knowledge and skills to become a true houseplant watering pro. From understanding your plants’ unique needs to mastering the art of the perfect pour, you’ve got this!
Remember, the key to success is to pay attention to your plants. They’ll tell you when they’re thirsty, and they’ll show you when they’re thriving. Trust your instincts, and don’t be afraid to make adjustments as needed.
Watering your houseplants may seem like a simple task, but it’s one of the most important aspects of plant care. By taking the time to understand your plants’ needs and develop a consistent watering routine, you’ll be rewarded with a lush, vibrant indoor jungle that brings you joy and tranquility.
So go forth, my fellow plant parents, and embrace the wonderful world of houseplant watering! With a little love, patience, and a trusty watering can, you’ll be well on your way to creating a green oasis in your home.
Don’t get discouraged if you encounter challenges along the way. Every misstep is an opportunity to learn and grow as a plant parent.
Happy watering, and may your houseplants always be green, gorgeous, and thriving!
How to Water Air Plants the RIGHT way!
How Often should I water my Succulents?
FAQs
Alright, you’ve made it through the article, and you’re feeling pretty confident about your houseplant watering skills. But wait, what’s that? You still have a few lingering questions? Don’t worry, I’ve got you covered! Let’s dive into some of the most common queries about watering houseplants.
As a general rule of thumb, most houseplants prefer to be watered when the top inch of soil feels dry to the touch. This can range from once a week to once every few weeks, depending on the plant and the conditions in your home.
The best way to determine when to water is to check the soil moisture levels regularly and get to know your specific plants’ individual needs to know if you’re giving them enough water. With time and practice, you’ll develop a sixth sense for when your leafy friends are ready for a drink!
In most cases, tap water is perfectly fine for watering your houseplants. However, there are a few things to keep in mind:
– If your tap water is heavily chlorinated, let it sit out for 24 hours before watering to allow the chlorine to evaporate.
– If you have a water softener, the added salts can build up in the soil over time and harm your plants. Consider using rainwater or filtered water instead.
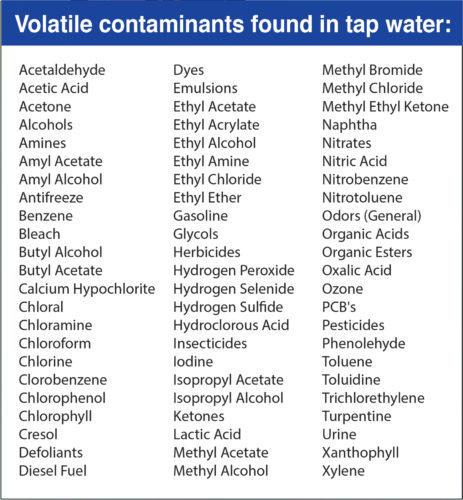
– Some plants, like carnivorous plants and certain orchids, are more sensitive to the minerals in tap water. For these picky plants, it’s best to use distilled or rainwater.
If you’re unsure about the quality of your tap water, you can always have it tested or opt for a safer alternative like filtered or rainwater.
Overwatering and underwatering are the two most common culprits behind houseplant woes. Here’s how to spot the signs:
Overwatering:
Yellow, mushy, or falling leaves
Moldy or smelly soil
Fungus gnats flying around the plant
Brown, soft, or rotting roots
Underwatering:
Drooping or wilting leaves
Crispy, brown leaf edges
Dry, hard soil that pulls away from the pot’s edges
Slow growth or leaf drop
If you notice any of these signs, don’t panic! Adjust your watering routine accordingly and give your plant some time to recover. With a little TLC, most houseplants are remarkably resilient and can bounce back from the brink of disaster.