The Girl with a Shovel
Houseplant Care
Houseplant Decor
Houseplant Selection
Category:
Outdoor Plants
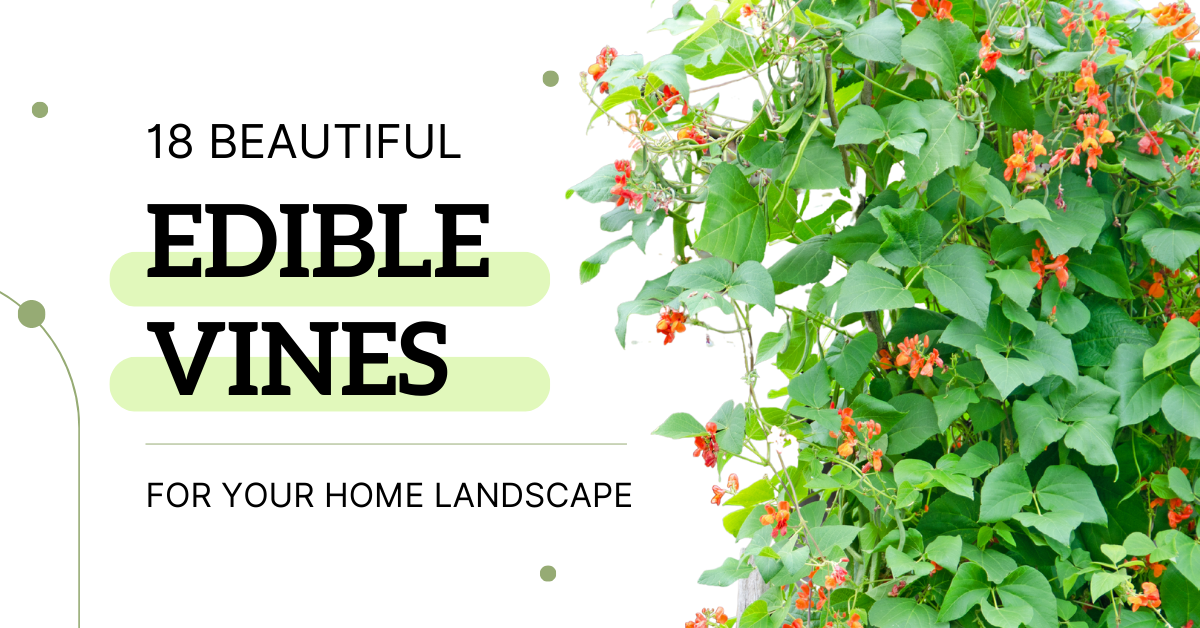
18 Beautiful and Edible Vines for your Home Landscape
Gardening
Outdoor Plants
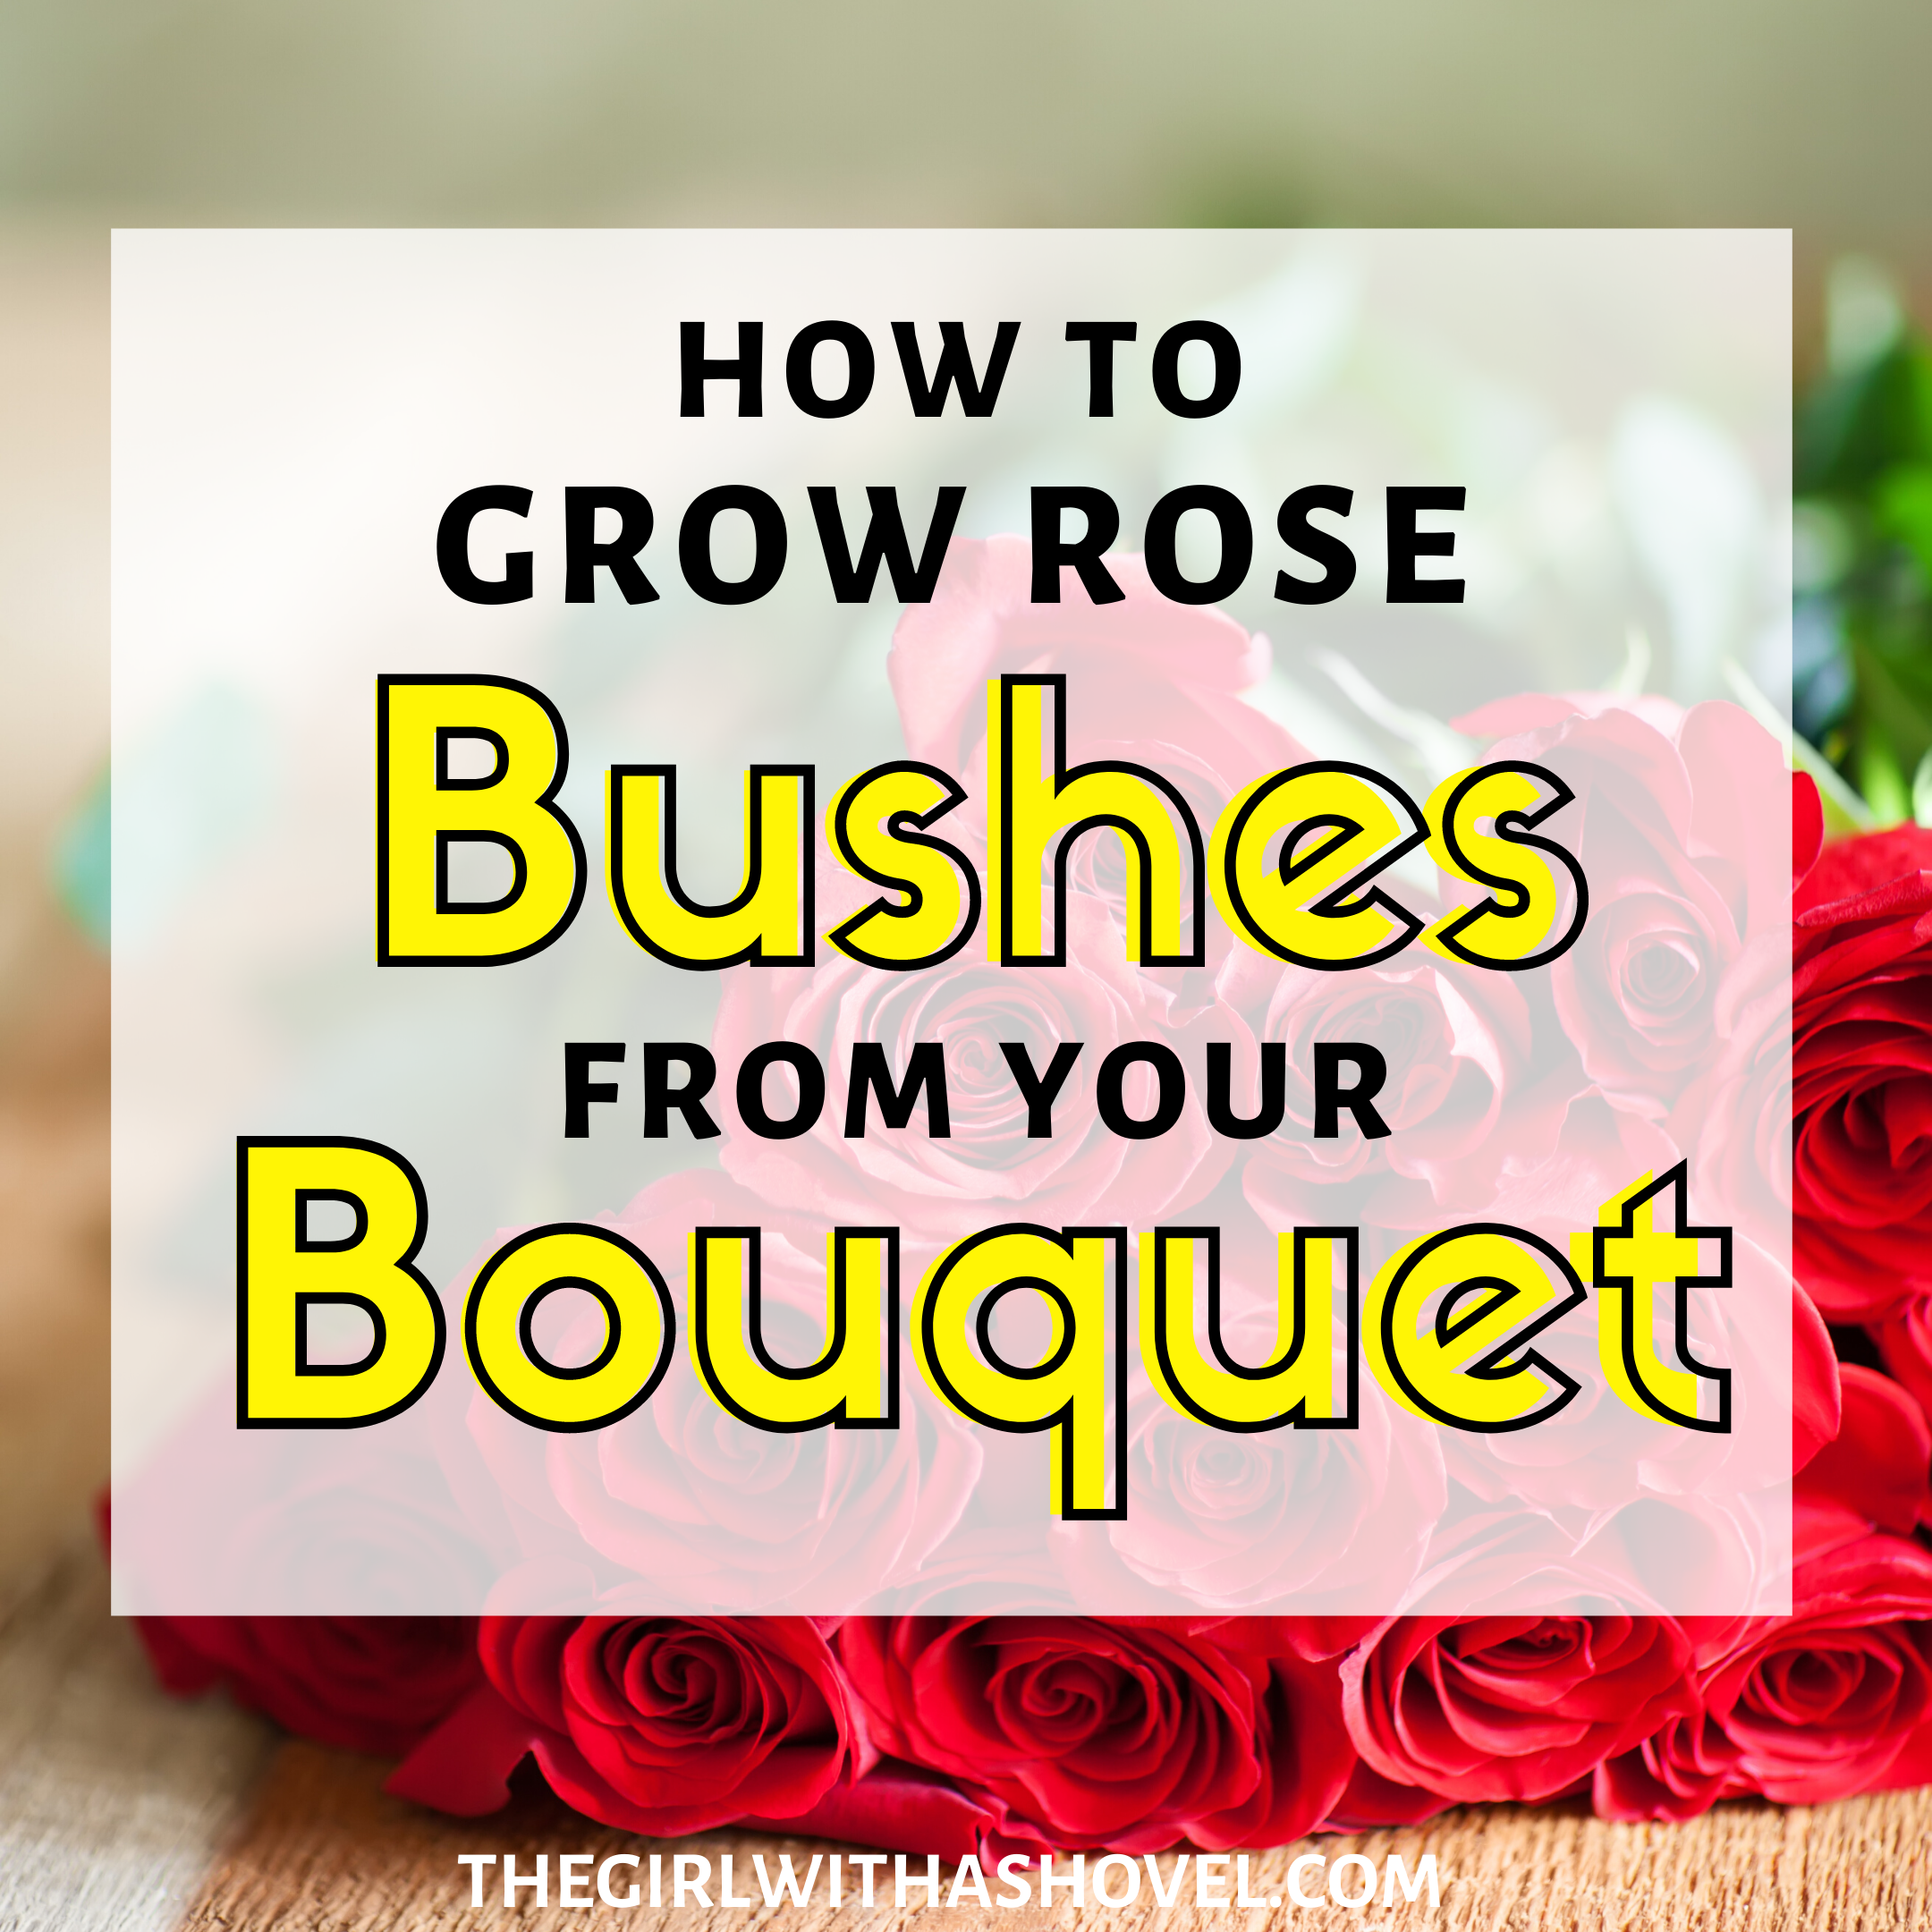
3 Simple Steps to Grow Roses from Cut Flowers
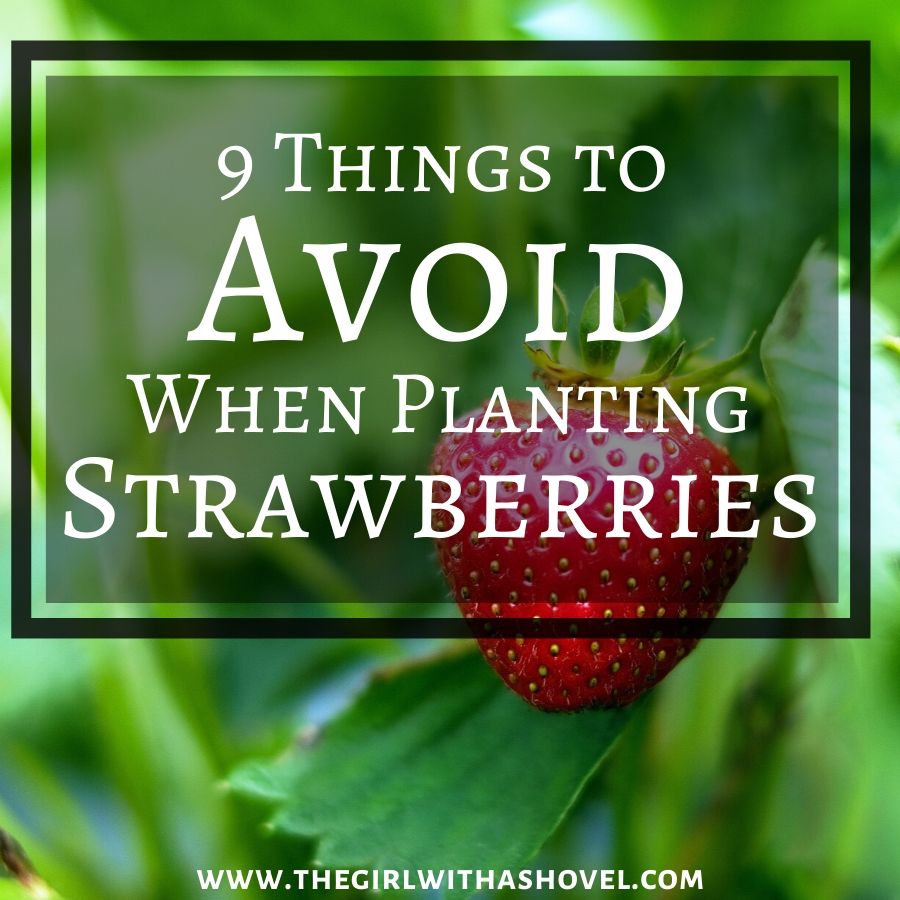
9 Things to Avoid when Planting Strawberries
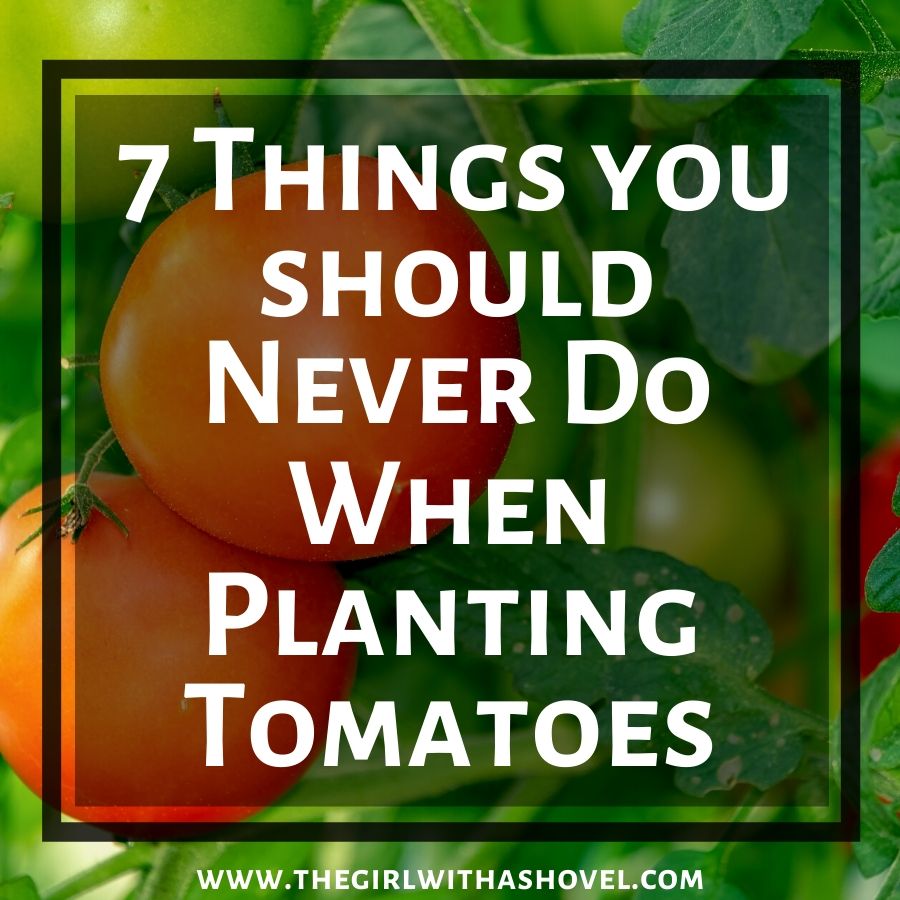
7 Things You Should Never Do when Planting Tomatoes
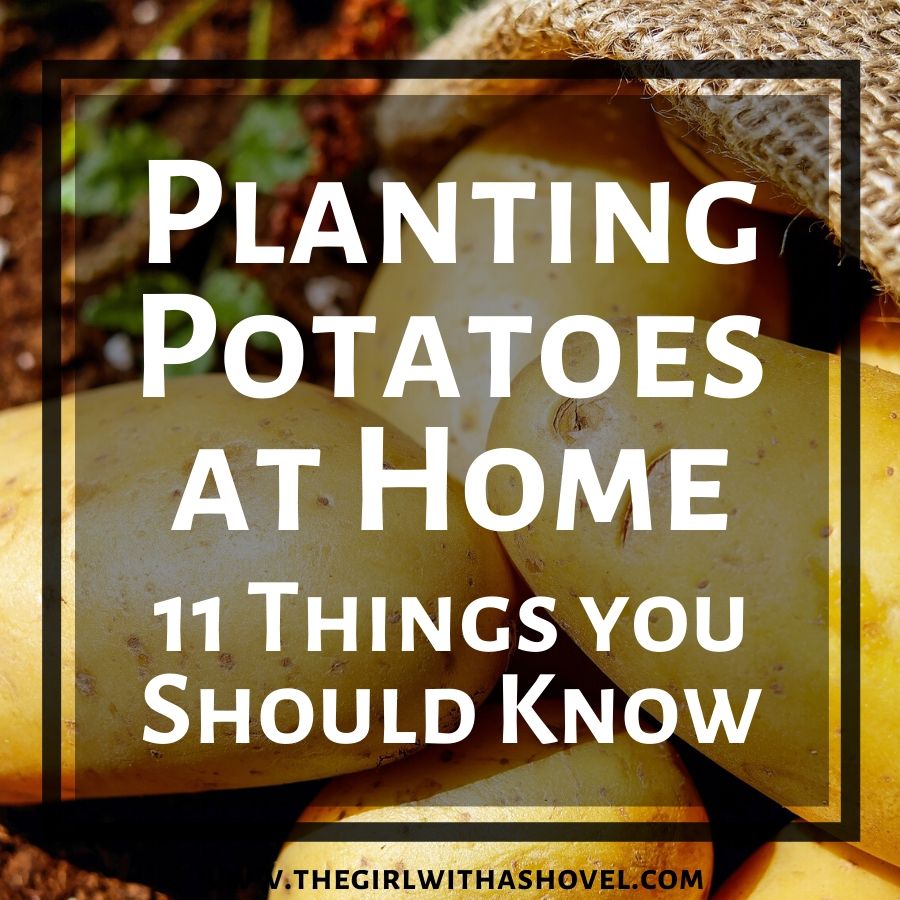
How to Plant Potatoes at Home: 11 Things You Should Know
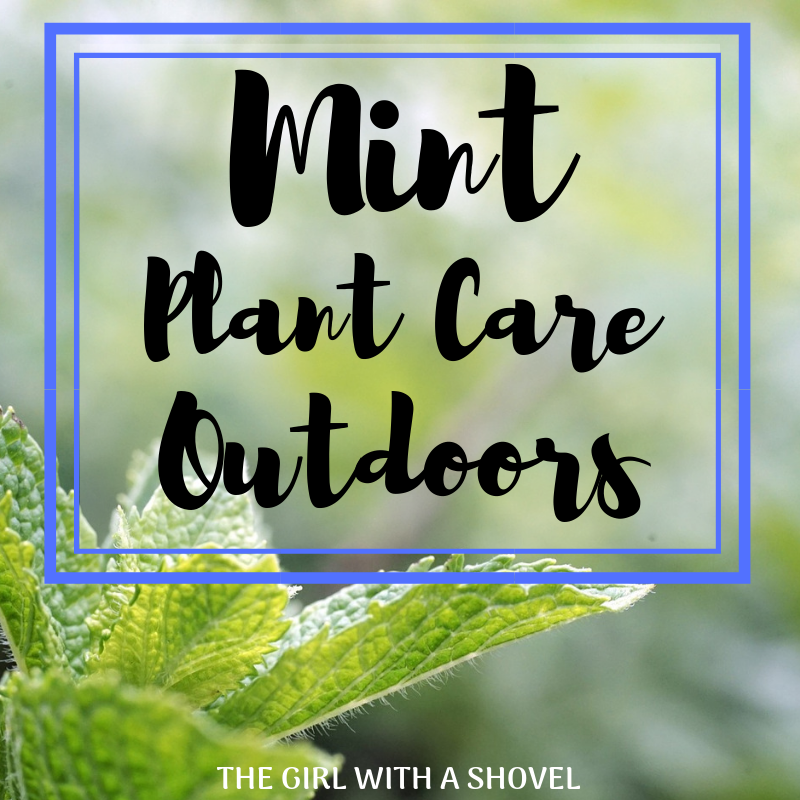
Outdoor Mint Plant Care
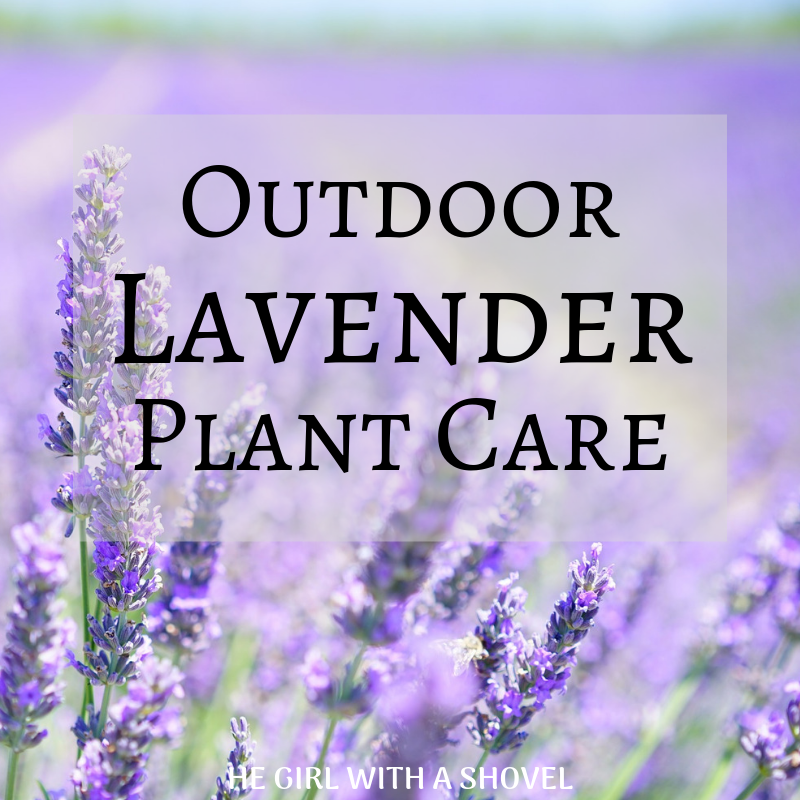
How to Care for Lavender | An Ultimate Growing Guide!
15 Fire Resistant Perennials