3 Steps to Quickly Save your Overwatered Succulents

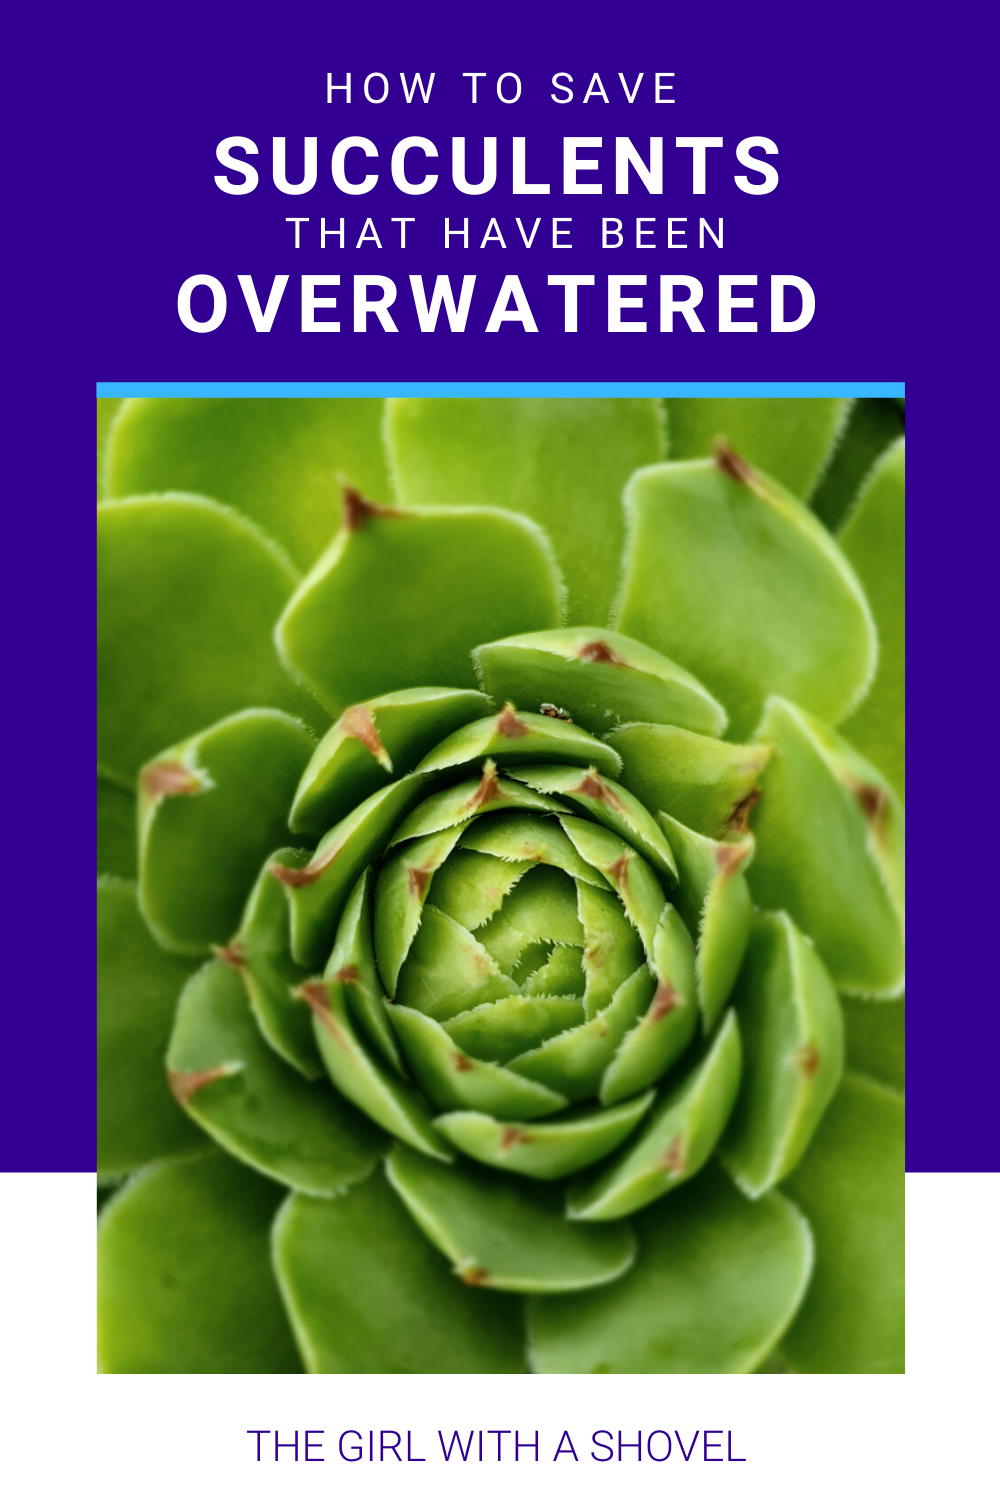
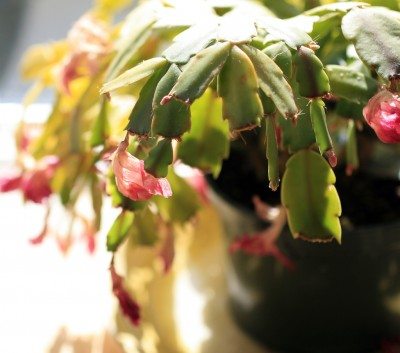
Overwatered. The one word that every succulent owner comes to know and fear at least once during their plant journey. But don’t worry. An overwatered succulent is on the path to dying, but by immediately doing these three steps, you might be able to preserve at least a part of your beloved plant! So here are the three things you need to do as soon as you notice that your succulent has been overwatered.

*Note: For those of you who want to watch all of the steps, here is my video where I go through exactly what you need to do to save your over-watered succulents!*

Click here to subscribe

Step #1: Prepare the Roots

Take your succulent out of its current pot and remove as much of the soil as possible from its roots. This can be done by holding your succulent above a bowl or a tray and gently massage the root system to allow the soil to fall into the tray. If your soil is very wet, then you might have to support some of the roots to keep the wet soil from ripping the roots off when it falls.

Another way to gently remove soil from the roots is to use water to wash off the soil. This is best done outdoors with a hose to avoid getting soil down an indoor drain system.

Overwatered Succulent Roots

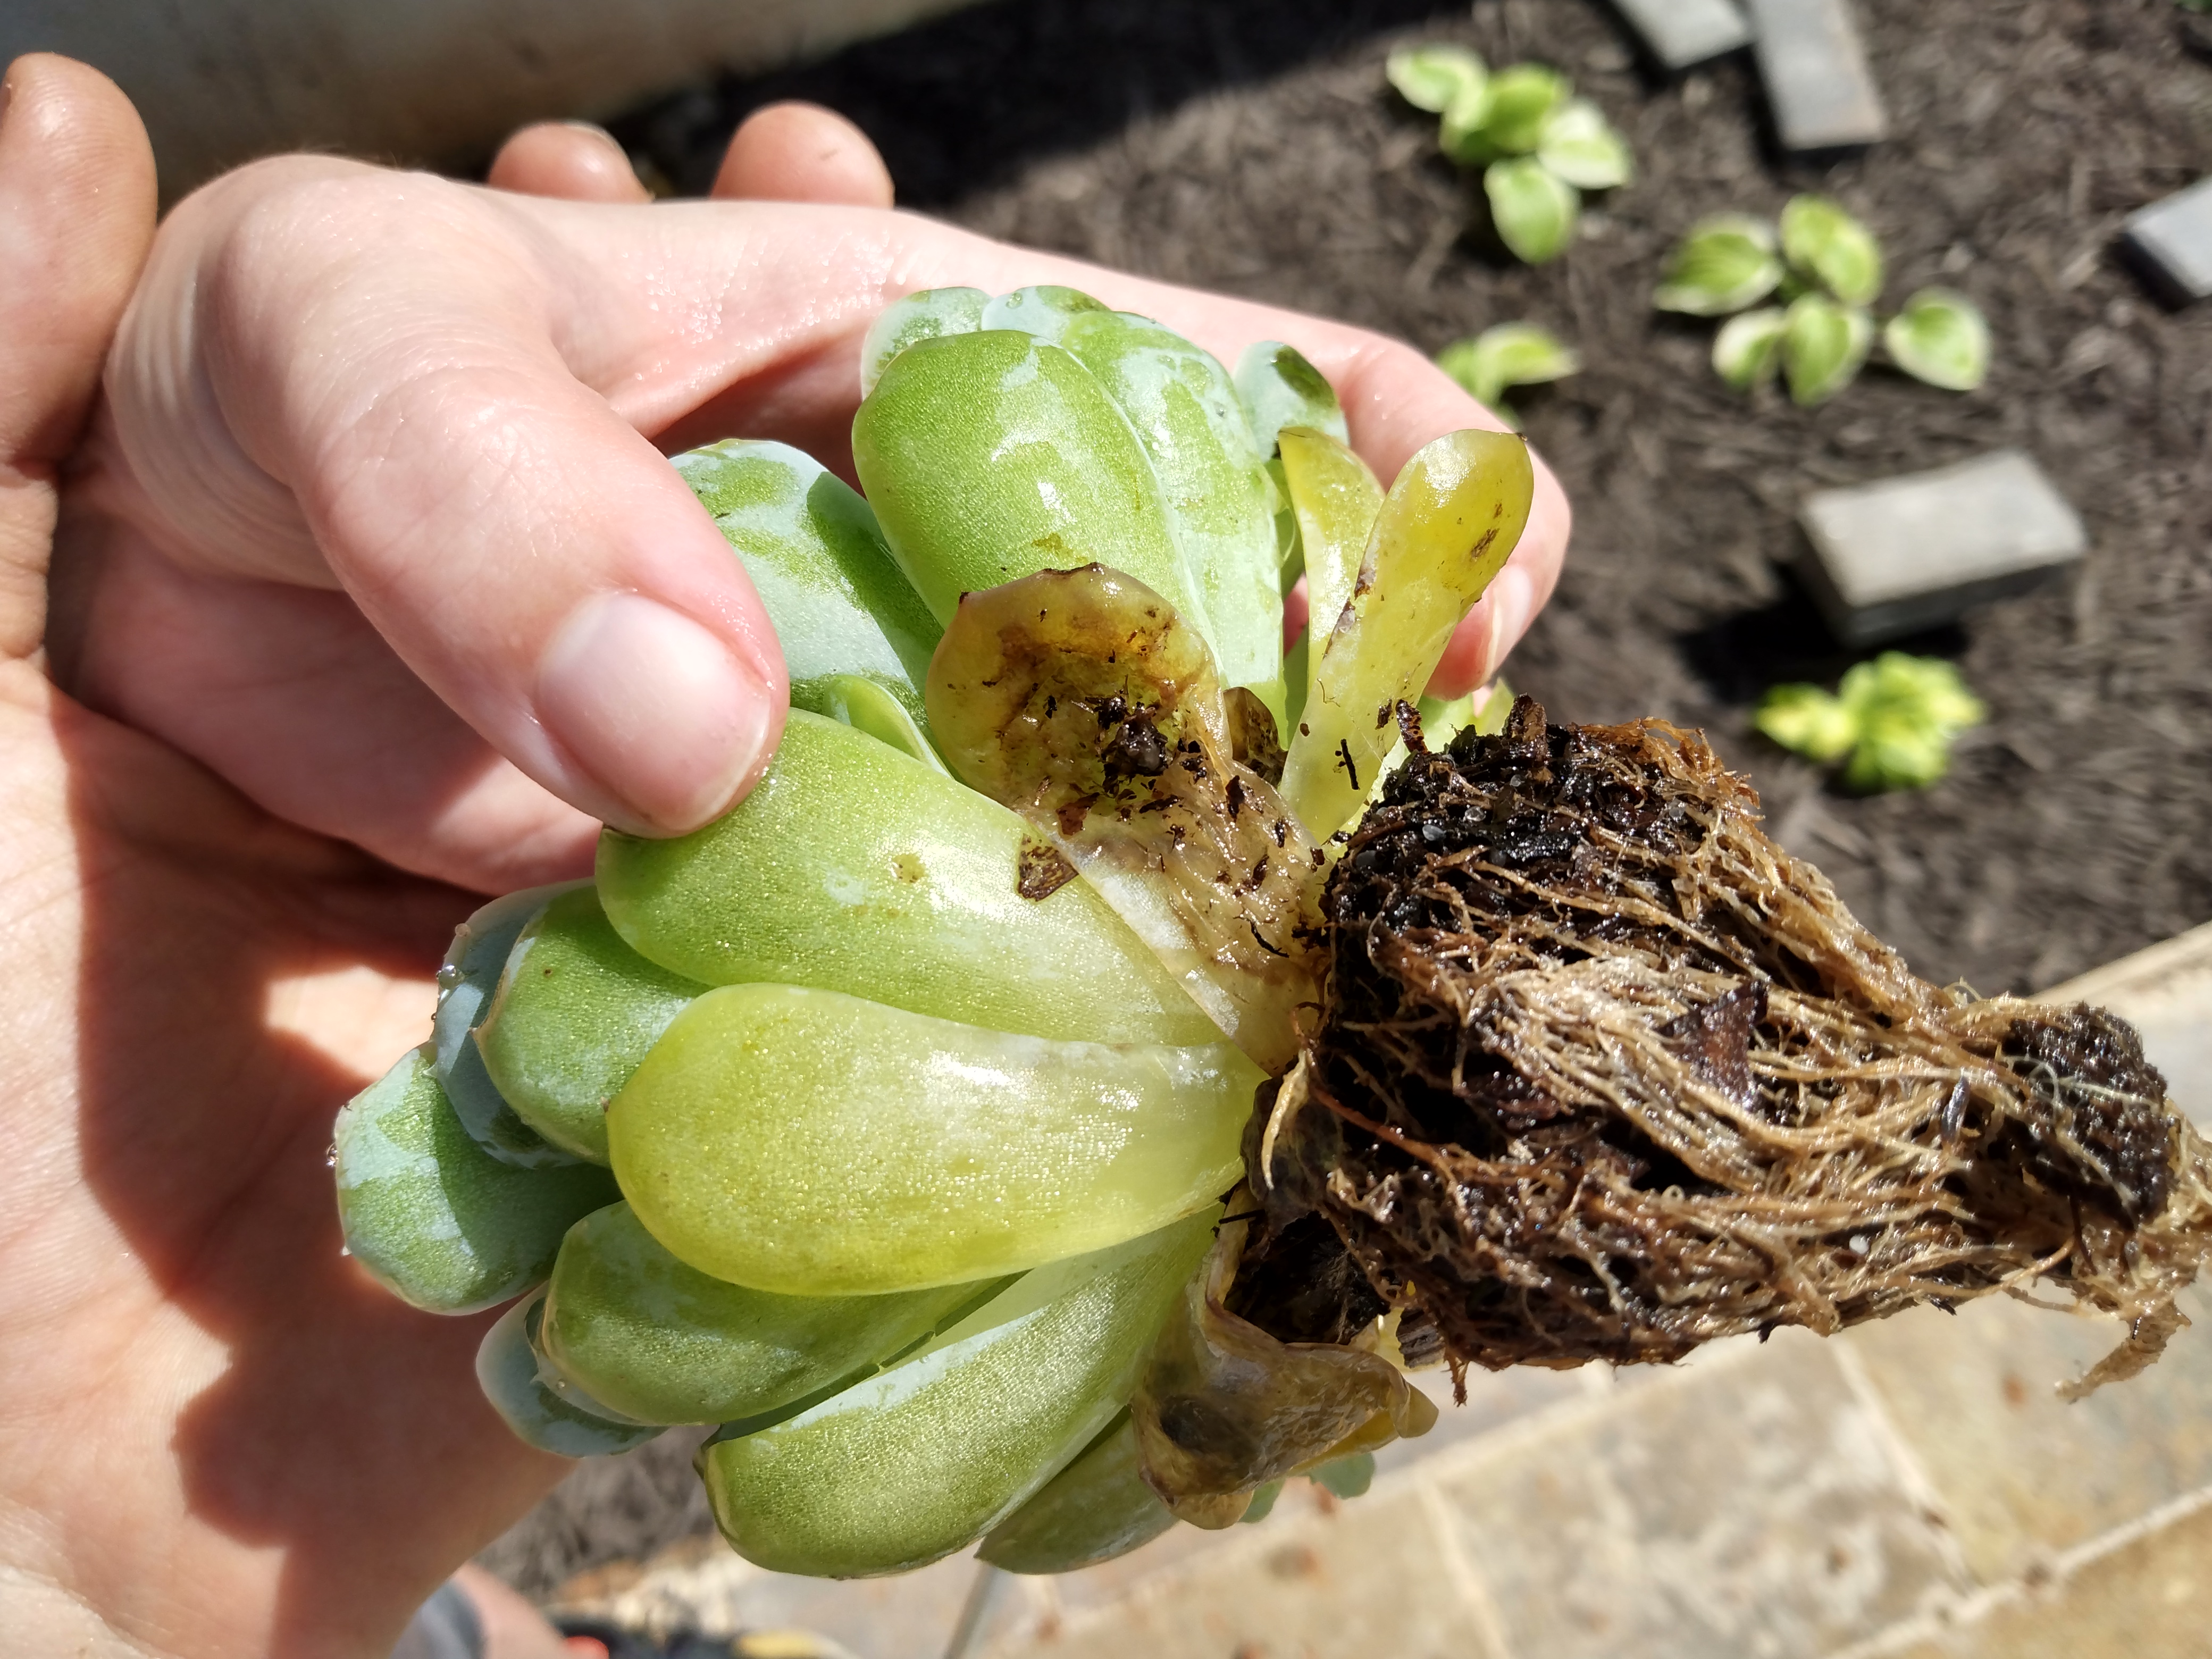
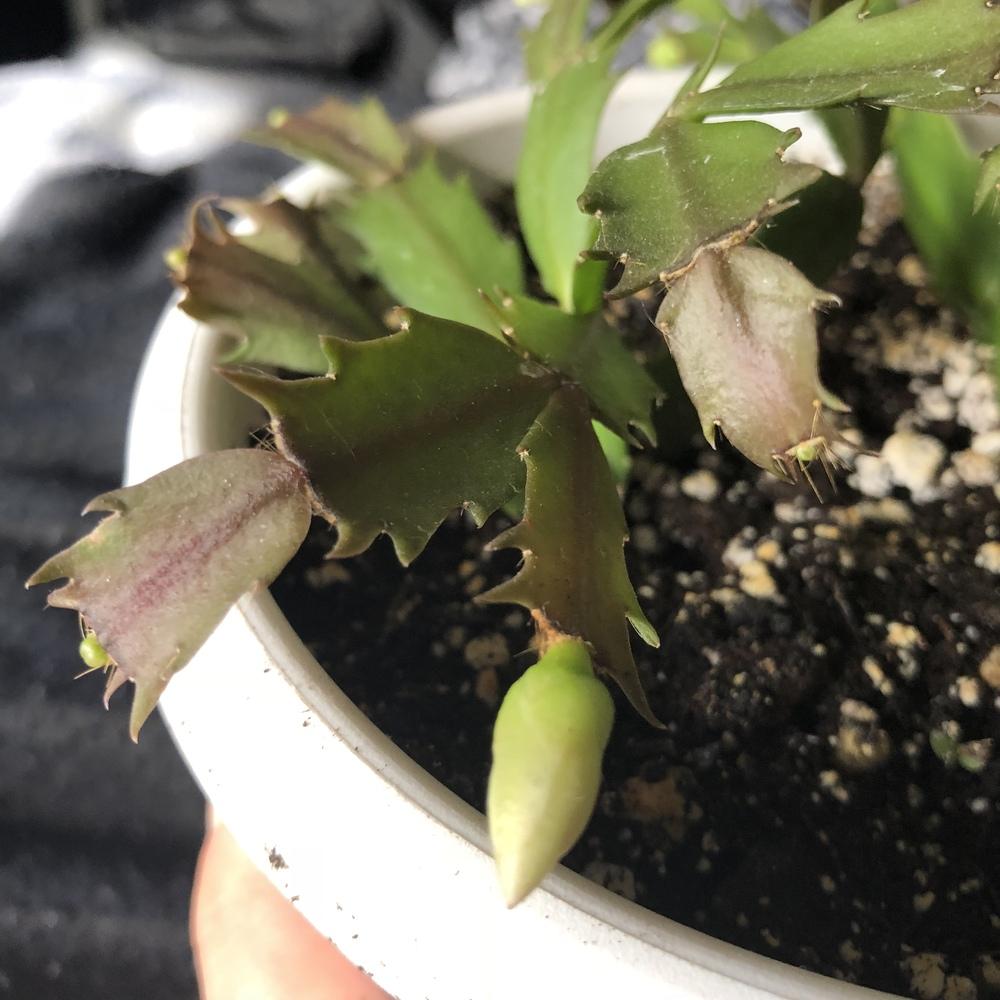
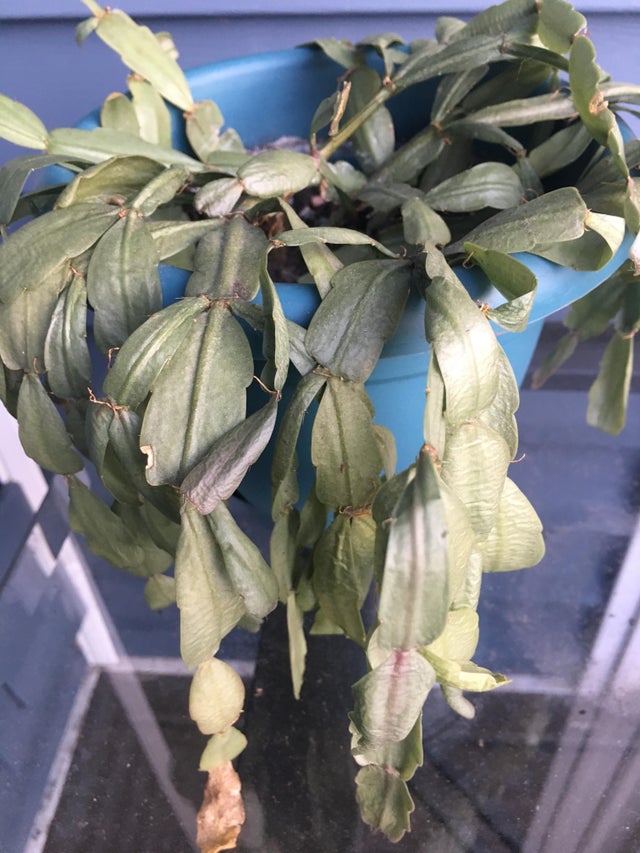
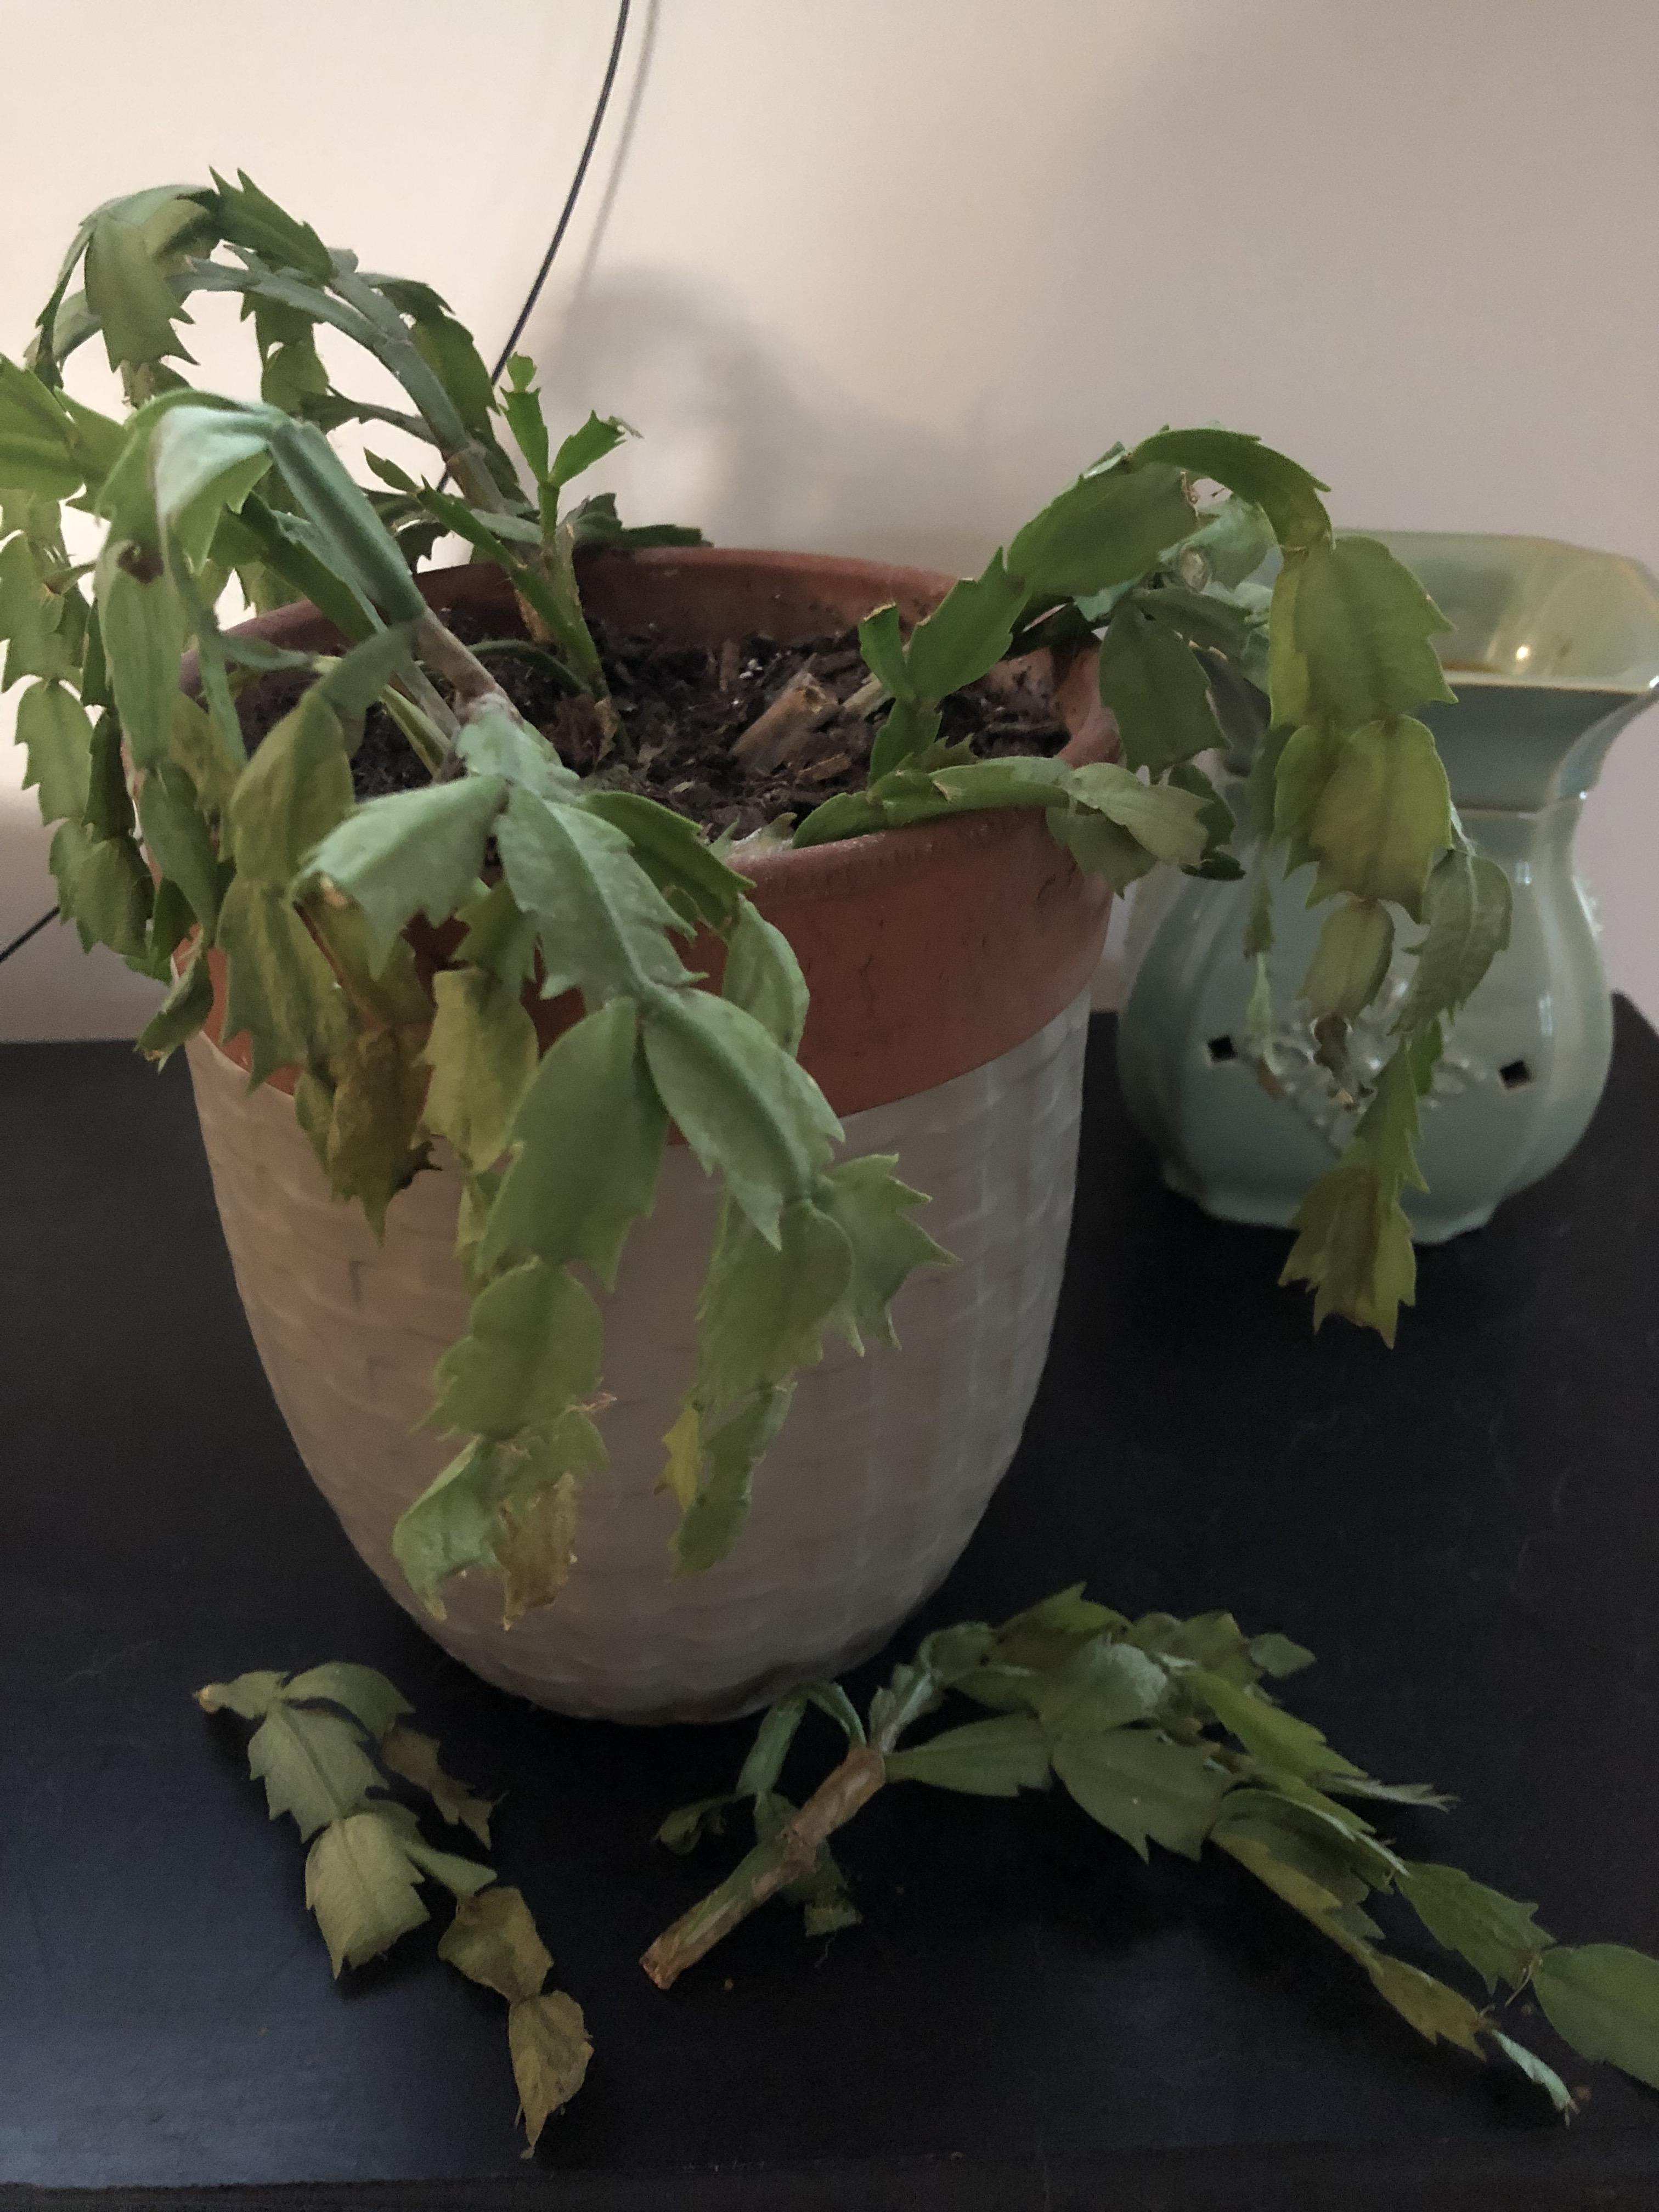
Depending on how much root rot has occurred, some of you might still have a root system to work with, while others of you might not have any root system left. This is seen when the stem of the plant is mushy and separates from the root system easily. However, if you do have a root system remaining, then let any roots lightly air dry in a warm location for about 20 minutes to an hour. Make sure that this succulent (and its roots!) stay out of direct sunlight!

Step #2: Remove Dead Portions

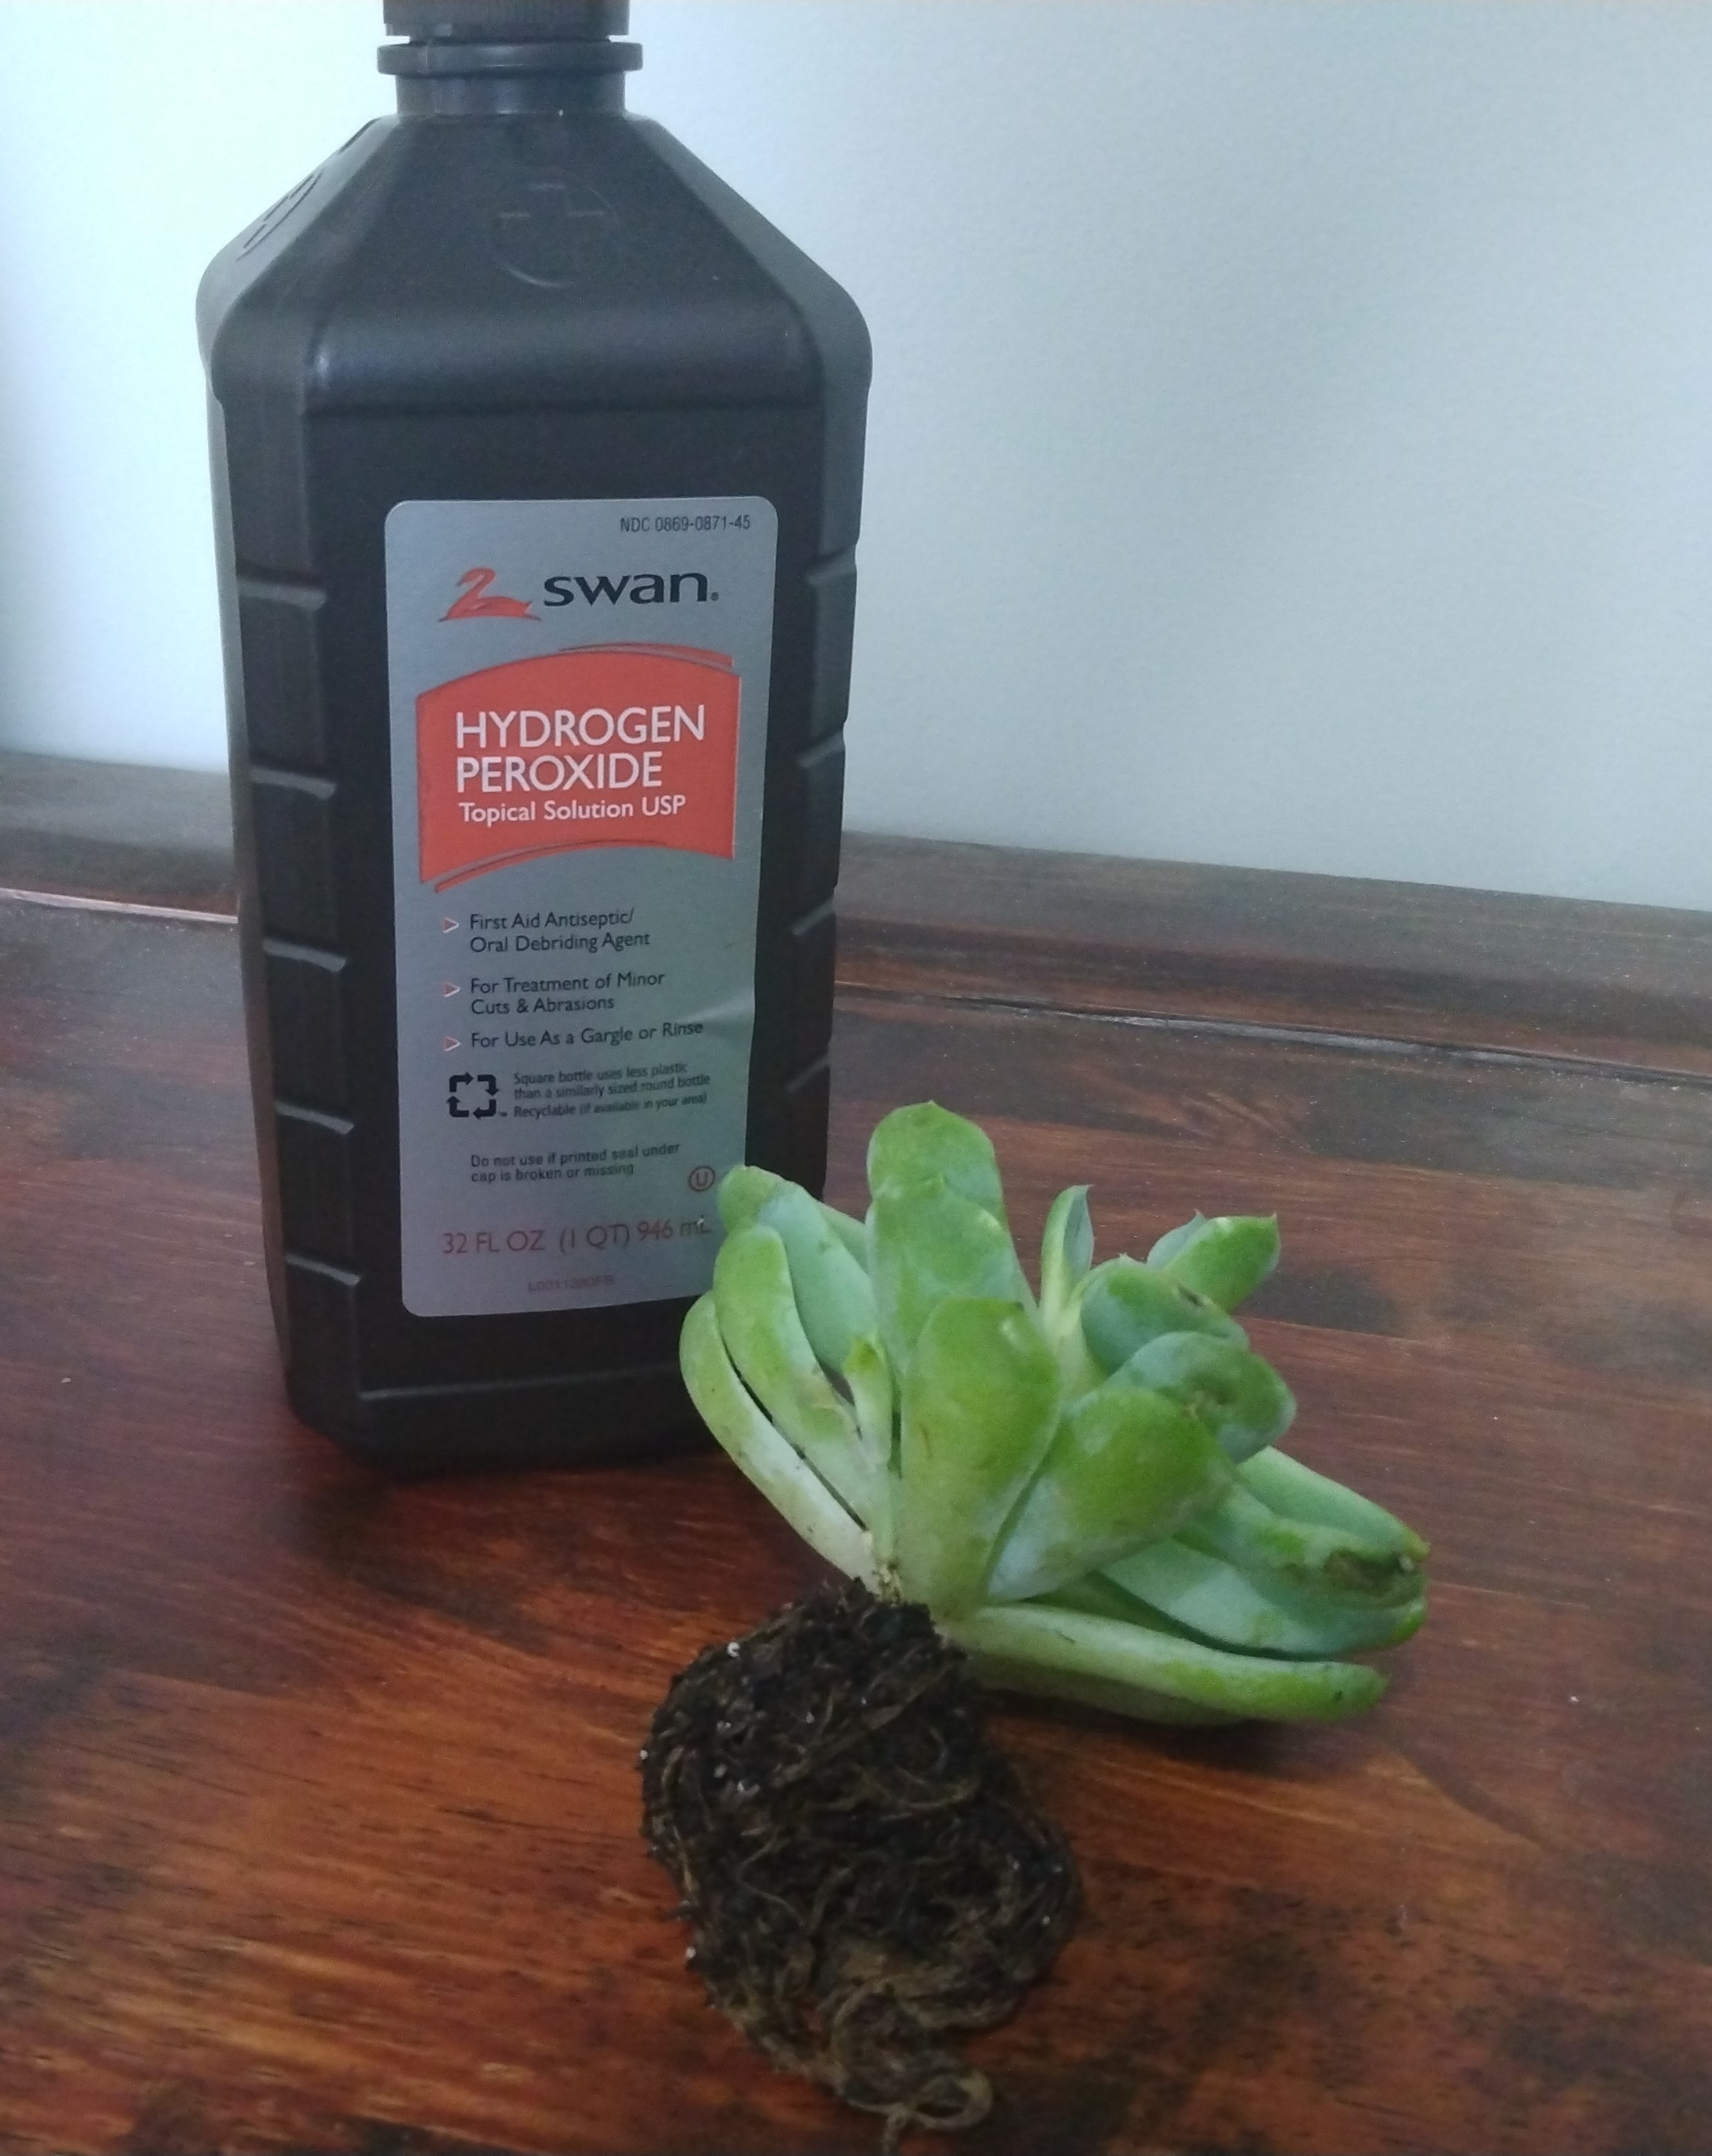
If you have a root system that is still attached to your plant, then simply trim off and remove any black or mushy roots. Then pour hydrogen peroxide over the roots that remain. The hydrogen peroxide will help kill any bacteria rot in the roots!

Hydrogen Peroxide on Succulent Roots

If you don’t have a root system left, then assess the stem of your succulent. Trim off any portion of the stem that is discolored. This should leave you with only a top portion of the plant remaining. If the majority of the stem is discolored, try to take off a few of the best-looking leaves to prepare for the third and final step. Try to take leaves from the top of the plant as these are always the last to become affected by overwatering. Just keep in mind that you will want to try to choose any fully-formed leaves as leaves that are just starting to grow from the top won’t be as easy to propagate.

Step #3: Repot or Propagate

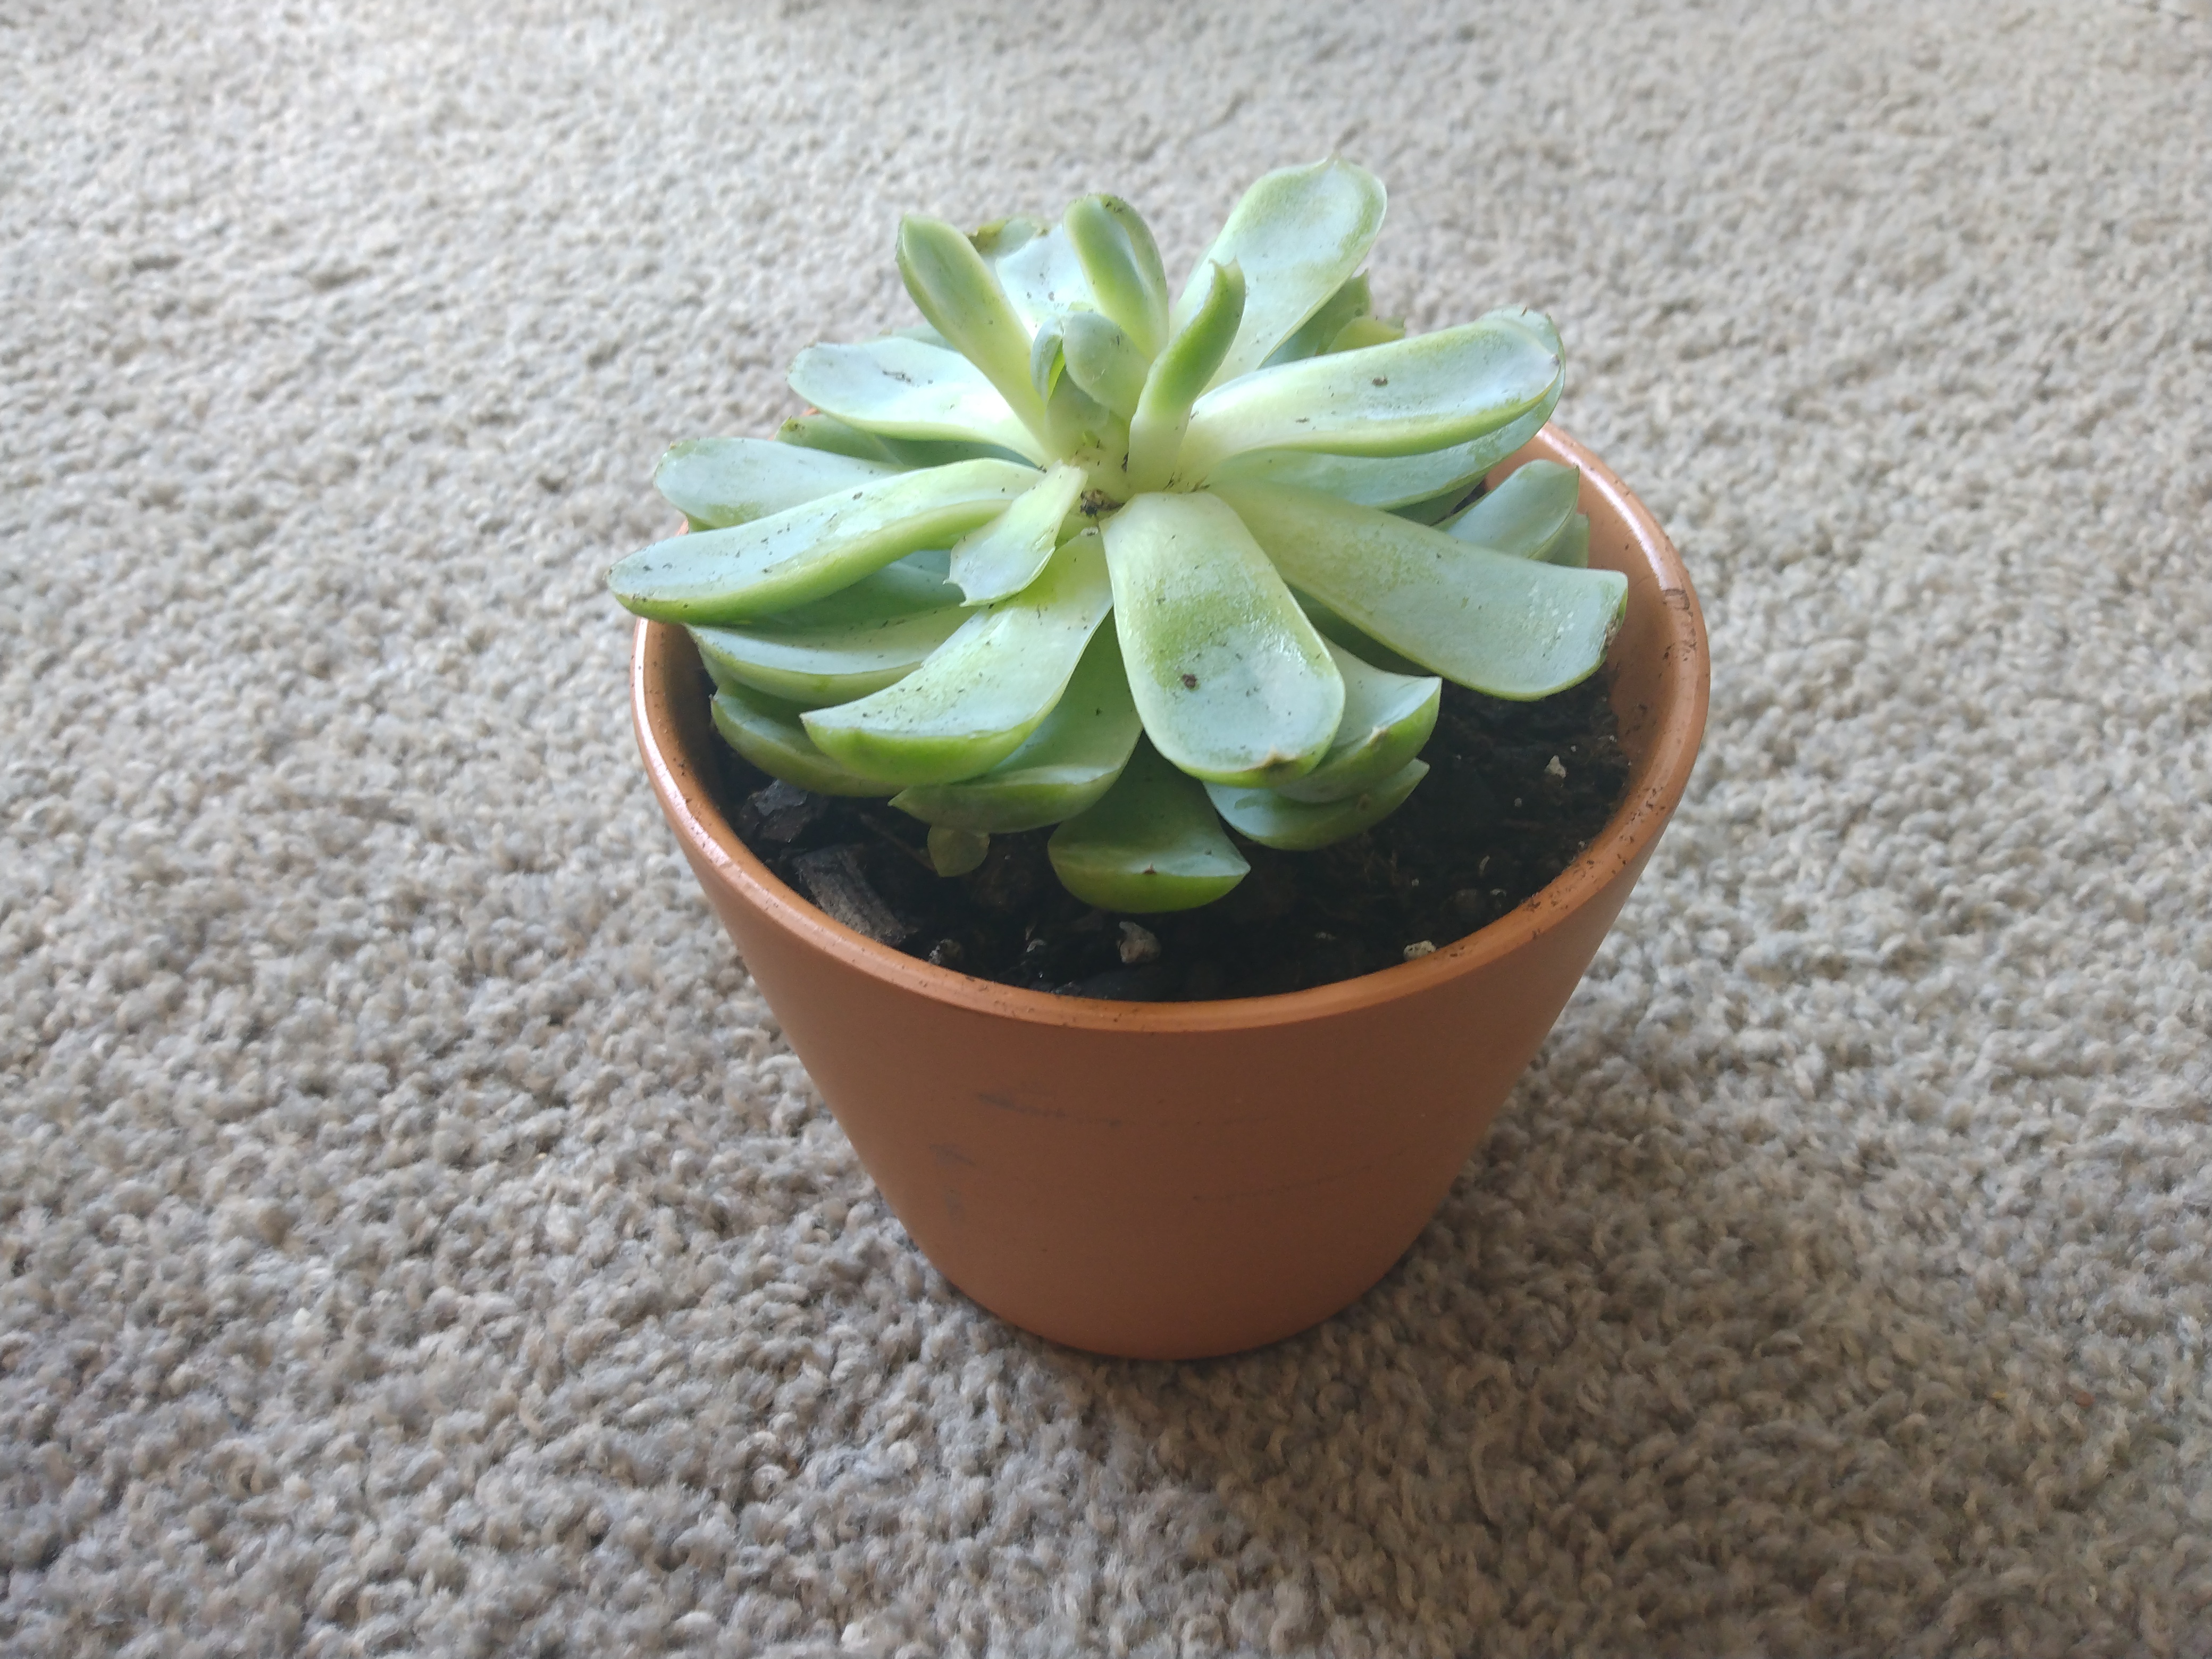
If your root system is still intact, then let it lightly dry out before repotting. When placing it back into soil, you will want to correct any issues that were causing it to be overwatered. Three things that you can adjust is to either repot your succulent into a smaller pot, repot it into a pot with better drainage (either switch to a clay pot, a pot with larger drainage holes, or both!), or repot it using a lighter soil (such as a cactus and succulent mix, or a perlite mix).

For those of you who only have a stem or leaves left, then you will need to start by drying your cuttings out for a few days (1-2 days away from direct sunlight). Then propagate them by using the instructions found in my post How to Propagate Succulents.

Another great tool to help you avoid overwatering in the future is to use a soil moisture meter. I have personally never overwatered a single plant since purchasing this soil moisture meter! It really is a game-changer!

Repotted succulent

Well I hope that this process goes well for you and your succulent. It can be a very delicate process as you save your succulent from being overwatered. I hope that this 3-step process has helped you to have success. And once again, be sure to buy a soil moisture meter to prevent this from ever happening again!

Please leave any additional comments or questions below and sign up for my email list to receive even more tips and tricks to help keep your houseplants alive!

Happy Digging!

Click here to subscribe
A picture ofa succulent and the title how to save succulents that have been overwatered

Common Problems with Christmas Cactus and How to Fix Them

Isn’t it frustrating when your plant (that looked so great at the store!) comes home and slowly starts looking like it’s about to die?! If this is the story of you and your Christmas cactus, just know that it’s okay.

You are not the only person who has a hard time keeping this tropical cactus alive…

And today, I’m going to show you the five most common problems people run into with their Christmas cactus. Knowing these problems and implementing their solutions will turn your dying Christmas cactus back into its glorious cactus self again soon!

Click here to subscribe

Problem #1: Your Christmas Cactus’ Leaves are Limp & Droopy

Cause #1: There are two different reasons why your Christmas cactus’ leaves are limp and droopy. The first reason is if it is currently flowering. Producing flowers takes a lot of energy away from the plant and many people have said that their plants become droopy during and just after flowering.

Care: If this is you, then simply wait until your plant has finished flowering, then make sure to let it rest for a few weeks with no fertilizer and only little water. Only water it when the soil is dry to the touch. After these few weeks, you can then resume your care as normal.

Cause #2: The second reason for limp or droopy leaves is because of improper watering. This is also a cause for wilted or shriveled leaves. So if your plant’s leaves are limp and droopy, and it isn’t currently flowering, then improper watering is the cause.

Care: Refer to the next section for shriveled or wilted leaf care.

Christmas Cactus Limp Leaves
Image courtesy of Garden.org

Problem #2: Your Christmas Cactus’ Leaves are Shriveled or Wilted

Cause: Christmas cactus leaves will wilt and shrivel up when the leaves aren’t getting enough water due to improper watering. This can be from either over-watering or under-watering. Feel the soil several inches below the soil surface, or use a soil moisture meter to determine if your soil has been kept too wet or too dry.

Care #1: If your soil is too wet, then you will most likely have damaged roots. You should immediately re-pot your Christmas cactus into fresh soil that is only lightly moist. While re-potting, trim off any black or mushy roots and pour hydrogen peroxide over the root system. This will kill any remaining bacteria before you place it into fresh soil. Also, take stem cuttings at this time to propagate, following the directions in Christmas Cactus Propagation. This will ensure that even if your plants’ roots die, you will still have cuttings to re-grow your Christmas cactus.

Care #2: On the flip side, if your plant is too dry, then you will need to slowly increase the moisture levels over a few days. Slowly bring it from bone dry back to lightly moist. You will know you’ve been successful when your plant’s leaves perk back up! Just be sure that you don’t end up over-watering your plant at this time. Remember, let it barely dry out before you water it again.

Also note that if your plant’s soil is hard and difficult to press your fingers into, then you will need to re-pot your plant into fresh, well-draining soil, such as a cactus and succulent soil or a regular soil mixed with additional sand or perlite.

Shriveling Christmas Cactus leaves
Image courtesy of reddit.com

Problem #3: Your Plant’s Leaves are Pale or Red

Cause: Christmas cactus leaves begin to turn pale and then get a slight red tint if they are getting too much direct sunlight. The red tint can be pretty (and harmless in the right settings), but make sure that it isn’t getting burnt. Remember, these plants are tropical cacti, not desert cacti. So they are used to a very moist heat, not a dry heat like what you find in a home window. So if your leaves are turning a pale greenish-yellow color, or are excessively red, then it’s too much hot, direct sunlight.

Care: Move your Christmas cactus out of any direct sunlight. Indirect sunlight will be fine, but try to avoid any direct sunlight for at least a little while.

These plants can eventually become accustomed to higher light levels, but this would take a lot of acclimatizing. Instead, I would suggest you take the easier route and simply move it away from the hot sunlight.

Christmas Cactus leaves turning red
Image courtesy of houzz.com

Problem #4: You Christmas Cactus’ Stems are Falling Off

Cause: The reason why your plant’s stems are falling off is because of root- or stem rot at the base of the plant. This always happens as a result of over-watering.

Care: Follow the care instructions for over-watering under the “Wilted or Shriveled Leaves” section (Problem #2, Care #1). This will tell you exactly how to care for a plant that has been over-watered.

Christmas Cactus stems falling off
Image courtesy of reddit.com

Problem #5: Flower Buds Fall off Before they Fully Bloom

Cause: Christmas cactus flower are notorious for being overly-sensitive. The reasons why your buds fell off could be because of your plant getting too dry, staying too wet, or because it recently moved locations.

Care: When your plant is in bud, make sure to keep your watering schedule consistent. But, if something comes up (or you’ve just recently brought your plant home) and all of its buds fall off, sit tight.

Let it rest for a few weeks, keeping it a bit more dry than usual, and give it a chance to set new buds. Sometimes if it is healthy enough, a Christmas cactus is able to produce a second set of blooms. So don’t get frustrated! Your little plant might just need a bit more time!

Christmas cactus flower buds falling off before fully blooming
Image courtesy of gardeningknowhow.com

Those are the 5 most common Christmas cactus problems and how to fix them! Please let me know below if you have any questions or additional comments, and join my email list to get not only a special welcome gift, but to also receive all the latest tips and how-to’s straight to your inbox. Then, for more info on how to take care of your plant, check out my post, Christmas Cactus Plant Care!

Happy Digging!

Click here to subscribe
problems with christmas cactus pinterest image

How to Get Rid of Powdery Mildew

How to get of powder mildew

This summer my house was hit BAD with powdery mildew!!! And it wasn’t even really my fault! I didn’t buy any plants with it… it simply spread from the neighbor’s yard! But wherever it comes from, powdery mildew can damage a wide range of plants, spotting the leaves, then eventually causing the infected leaves to die back and drop. This can eventually kill your entire plant. So basically, it’s no fun at all! That’s why I did some experimenting, and found out how to get rid of it fast!

**Note: This post contains affiliate links, which if purchased, I will receive a portion of the profits. This helps me to keep providing awesome information to all of you!**

Click here to subscribe

What to Do…

Here’s the secret… as soon as you see it, spray your plants with fungicide!!! This is the fungicide that I purchased because it is safe to use on edible plants. Just make sure that you don’t harvest anything for 30 days, and then you either wash off the plant, or you wash off the produce before you eat anything that has been sprayed.

powdery mildew fungicide from amazon

So the best tips I can give you from my experience are…

First…

First, make sure that you spray your plant at the earliest sign of powdery mildew! If you can help it, don’t wait until the black spots have formed (this is a sign that the fungus has already reached a mature stage of growth)!

If you spray the leaves where the powdery mildew has already formed the black spots, then plan on losing those leaves. The fungicide will kill the fungus, but the leaf won’t be healthy enough to recover, and will most likely die either way.

Second…

The second piece of advice I can give you is to dilute the solution according to the instructions! The first time I sprayed, I was so anxious to get rid of the powdery mildew, that I added a bit more fungicide than I should have… (I mean they only have you add about a teaspoon per gallon! Surely that won’t be strong enough?!?!)

Anyways, long story short, I about tripled my teaspoon and ended up killing some of my seedlings because the dosage was too strong. 

So basically, follow the dosage, and if you still have some powdery mildew a few weeks later, then spray a second time. Don’t go all fungicide-happy and try to up the dosage to kill it all at once… or you might end up killing some of your plants as well!

Third…

The third and last note that I have for y’all is that I sprayed this fungicide on my indoor plants. Yeah, they got the powdery mildew from outside, but I brought them indoors for the upcoming winter, so I had to spray them indoors. 

With two toddlers and two pets, I was worried about safety, but this fungicide was safe as long as it dried before anyone decided to taste the leaves (I’m thinking mainly of my plant-chewing cat!) But by spraying at night, I knew that it would have dried completely by the next morning, and sure enough that’s what happened. Safe for everyone!

So if you’re still on the fence, I would highly recommend you take the leap and purchase this fungicide! Like I said, it worked great, was safe for the kids and pets, and worked for my edibles! And at only a measly teaspoon per use, it’s going to last me for years! (Which is also great, because the powdery mildew will sadly keep spreading year after year from my neighbor’s yard until they decide to do something about it, which is out of my control… ) 

So stop the battle, save yourself the worry, and get this fungicide before your powdery mildew has formed its black spots! Good luck, and feel free to leave any additional questions or comments below! And for some indoor plant inspiration, check out this list of easy, low-maintenance houseplants!

Happy Digging!

Click here to subscribe

Iron Deficiency: Symptoms and Solutions

This past month I visited my parents’ house and noticed that their young maple tree looks bad… really bad… So here’s what’s up. There are iron deficient leaves! (Basically the plant is showing signs of iron deficiency). The leaves are yellow on the outside with green on the inside, and a bunch at the top and from the ends of the branches are dead and falling off. It looks like the tree is dying! So, what exactly is going on, and how do you fix it???? Here’s what you need to know…

Click here to subscribe

Iron Deficiency

Here are the common symptoms of iron deficiency to know if your plant has it or not:

1. The leaves are bright yellow on the outsides, but green on the leaf margins (it looks like the picture above…)

2. The whole tree is affected, not just parts of it. (If only sections of the tree are affected, then the problem is most likely root-related).

3. The leaves have the worst discoloration on the new leaves, while the older leaves are looking somewhat better off. This means that the leaves on the ends of the branches are the worst, not the other way around.

Common symptoms of iron deficiency leaf examples

These are the sure signs that your tree (or plant) is iron deficient.

So what do you do? 

Well, what I did is I went down to Home Depot (love that place), and bought some iron fertilizer (Ironite was my choice). Now I’ve been spreading it at a couple of lbs per square feet, evenly below the drip line (as far as the branches spread out). Then I’ve been giving it a nice soak through with some water to get that iron down into the roots. And that just leaves time for the tree to take it all in and hopefully recover enough for next season.

Do you have this problem? Or is your plant having a different issue? Comment below and I’ll see what I can do for you! Then, for more ideas for your yard, check out this post Landscaping 101: Designing your Yard in 10 Basic Steps!

Happy Digging!

Click here to subscribe