Ever struggle with keeping your succulents alive? I know I have. It’s taken some time to understand these plants that have become so popular. This is because indoor conditions don’t naturally support these cute little creations. We need to take special care of succulents to keep them thriving and happy all year round!
**Note: This post contains affiliate links, which if purchased, I will receive a portion of the profits at no extra cost to you. This helps me to keep providing you with this awesome information!**

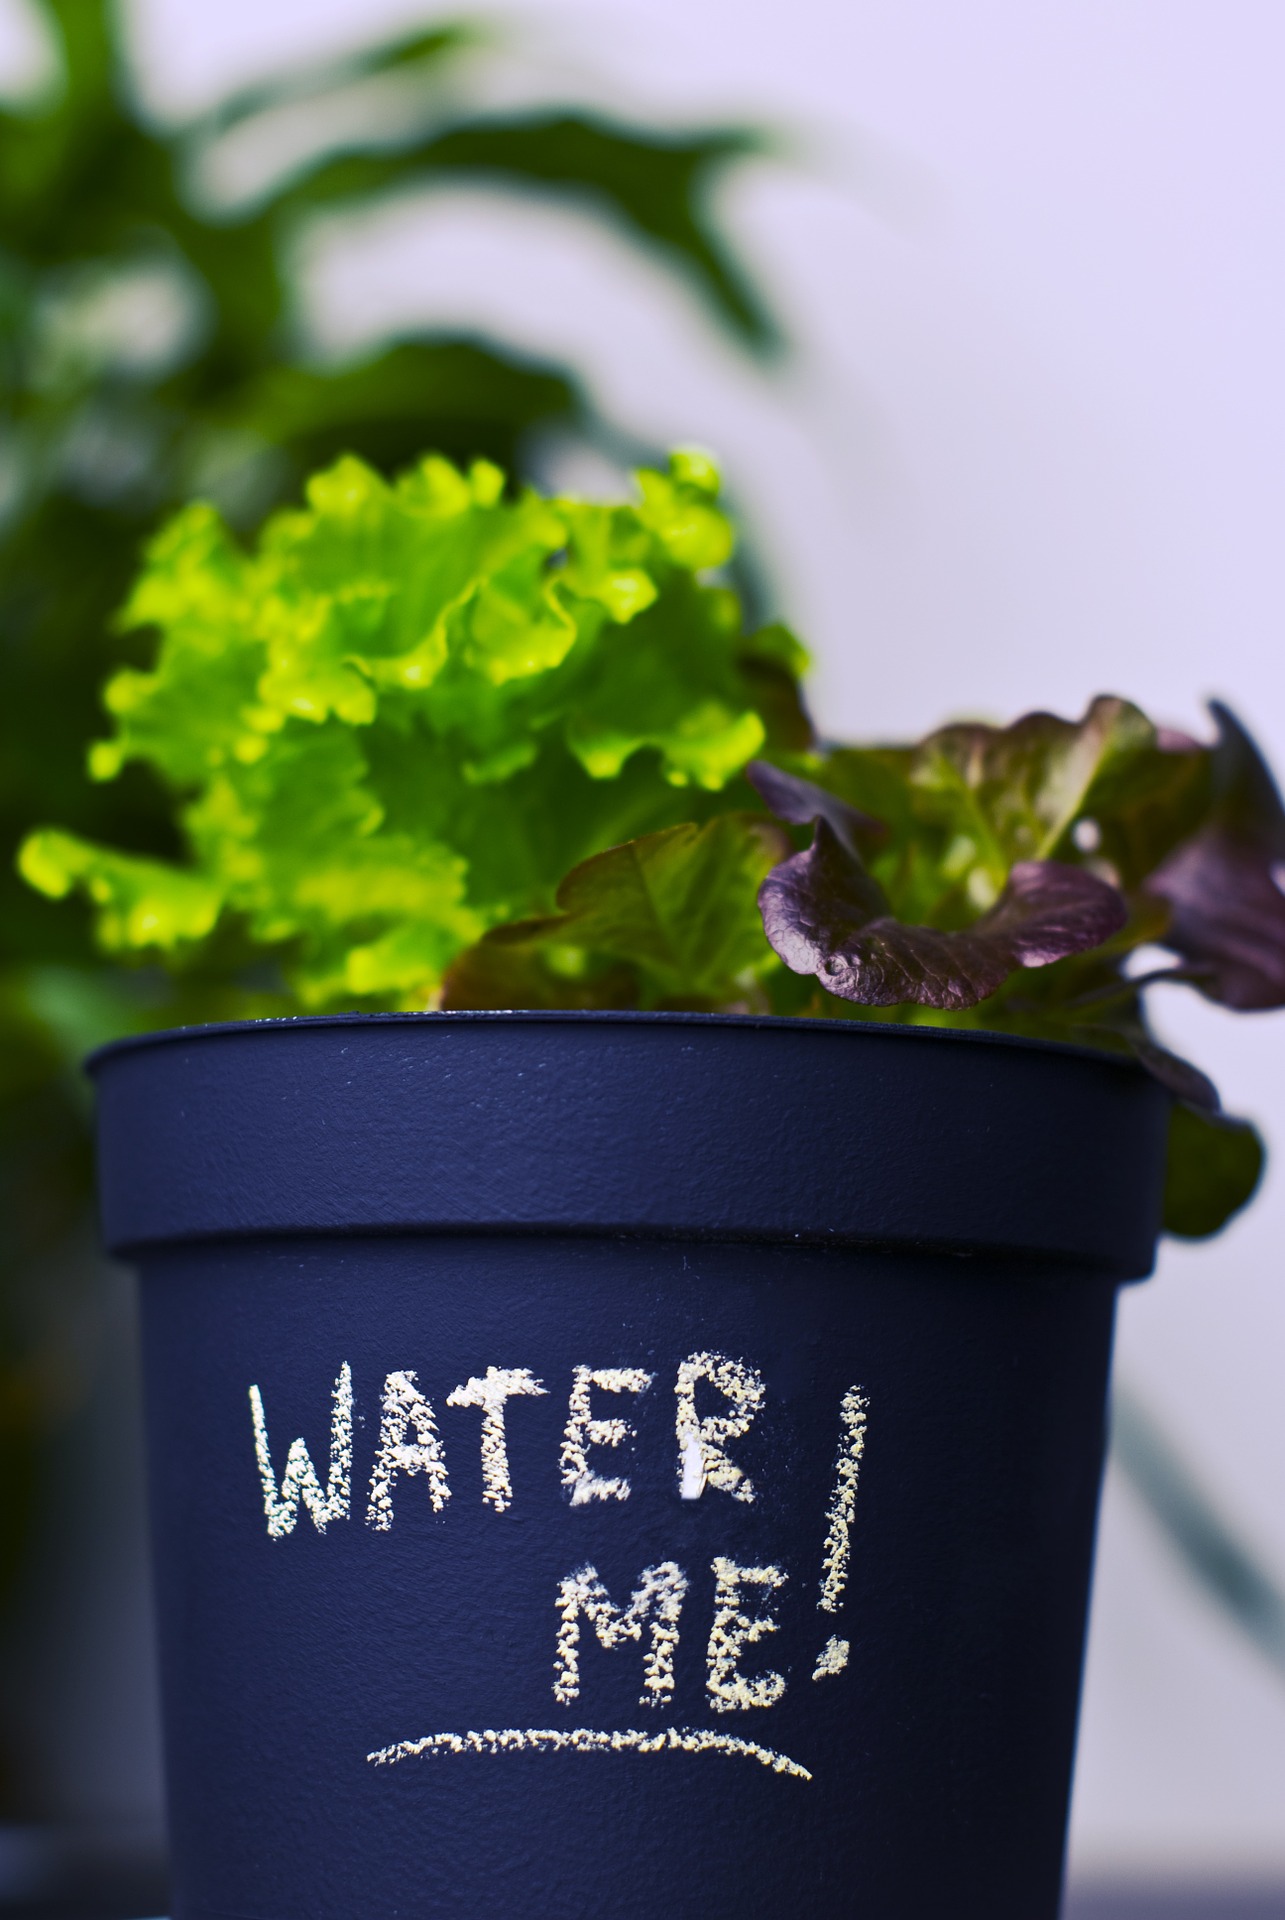
Taking Care of Succulents: Water
The biggest factor for succulent success is proper watering. For these plants, always remember… less is more! Because their leaves are filled with water, they don’t need as much water in their roots. Only water your succulent when the soil is dry to the touch. Also, a huge factor in keeping your succulent from getting too much water is in making sure it has good drainage in the pot. Make sure that your succulent pots have holes in the bottom to let out extra water. Also make sure to use special soil, such as succulent and cactus mix, or regular potting soil mixed with vermiculite. These soils improve drainage and keep your succulent from sitting in water. Because nothing kills a succulent faster than too much water!
Janie over at Succulent Alley has an awesome post comparing the different types of succulent soil. So if you don’t have your own soil yet, definitely check this one out… Best Soil for Succulents!

*A way to tell if your succulent is getting too much or too little water is to look at the leaves. If they are getting wrinkled and turning brown, then you need to water more often. If they are staying fat and getting mushy, then your plant is getting way too much water.*
For more information, check out my post How Often Should You Water Succulents?

Taking Care of Succulents: Location
Another huge factor in succulent survival is where it is placed indoors. Succulents naturally occur in hot and warm environments. When choosing where to place your succulent think of sunny and warm. These plants need plenty of natural sunlight (from a south-, or east-facing window), or else they will start to stretch. This is the plant’s natural response as it tries to reach for additional sunlight. To keep your succulent healthy, it needs to be placed in a location where it will receive the proper lighting and temperature.


Taking Care of Succulents: Temperature
One last thing to watch out for is either too much direct sunlight in the summer, or cold drafts in the winter. If your succulent isn’t used to direct sunlight, then placing it in direct, afternoon sun can cause the leaves to burn. Leaf burn looks like brown, purplish patches across the surface of the leaf. If this is happening to your succulent, then immediately move it to a spot out of hot, direct sunlight. What they like best is direct morning or evening sun from an east- or west-facing window. But remember, if it starts to stretch, then it is a sign that it needs more sunlight. There is definitely a fine balance that succulents need.

Extra Bonus: Watering in Winter…
During the winter, succulents may need to be moved to a more sunny window… but beware of cold temperatures. The first sign that temperatures are too cold is that the water in the pot will take a lot longer to drain. Once this starts to happen, immediately start watering less! Most succulents only need a fraction of their usual water in the winter. The tip to remember here is that in the winter, only water enough to keep the soil from completely drying out. And only add small amounts of water each time.
If the succulent is getting too much water during the winter, then it will start to rot. This is seen when the leaves and stem begin to get mushy. This is the most common cause of death during the winter. Also be aware of your succulents that are placed directly on a windowsill or next to an exterior door. These might get too cold from drafts entering the space. If succulents get too cold, they will freeze. However, like I said before, your succulent is much more likely to rot due to overwatering in cold weather than it is to freeze.

Well, those are the main things to help care for your succulent! For information on growing more succulents, check out my post on Propagating Succulents! And for more quick tips on succulents and houseplants in general, check out Porch.com’s Everything About Plants Q&A!
Let me know if there are any tips or tricks that you’ve had success with, or if you have any specific questions for your own succulents… just join my Facebook group and share! I love to hear from you!
Happy Digging!