How to Plant Potatoes at Home: 11 Things You Should Know

How to plant potatoes cover photo

Are you wanting to grow potatoes at home? Do you want a huge, delicious harvest, but aren’t sure how to plant potatoes in a way that will achieve amazing results? No worries. I’ve got you covered! By following these 11 tips, you’ll be sure to have the best harvest possible! So here are the 11 things you should know before planting your potatoes at home…

Click here to subscribe

#1: Do NOT use Store-Bought Potatoes

I know it’s tempting to grab that bag of potatoes out of your cupboard and get planting. However, some of these potatoes have been chemically treated to keep them from sprouting (keeping them good to eat for longer). So to be sure that your potato is going to grow well (and to ensure that it’s disease-free), then make sure you purchase seed potatoes or potato slips to grow your potatoes. Or, as another option, you can also purchase potatoes from your local farmer’s market. These will be chemical-free!

How to Plant Potatoes: Don't Use Store-Bought Potatoes

#2: You Don’t Need to Sprout your Potatoes

Sprouting your potatoes before planting isn’t necessary. If you plant your potatoes before they sprout, then they might take a few extra days before emerging from the soil. So, letting them sprout first or not, you’ll get a great potato harvest either way.

How to Plant Potatoes: Sprouting not Necessary

#3: You Can Start your Potatoes in Water

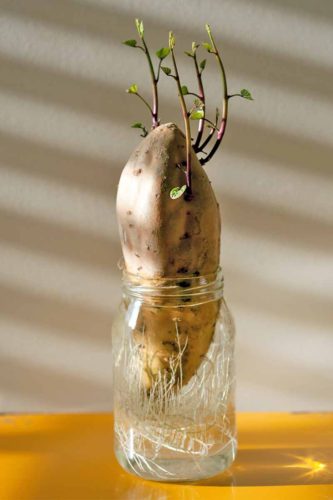
If you still choose to sprout your potatoes before planting (no judging here!), then you can place it straight into a sunny window to sprout. However, if you want to start sprouting and rooting your potato, then put it in water! Simply use toothpicks to hold it up in a cup, then fill it with enough water to cover half of the potato. Wait about a week and you should see signs of your potato growing! (Only be sure that if you cut your potato, give it several days to seal the cut before placing it in water.)

How to Plant Potatoes: Root in Water

#4: Don’t Plant the Entire Potato

If you’re growing large potatoes, then you don’t need to plant the entire potato. Instead, use a sharp, clean knife to cut it into sections that have 2-3 eyes each. (The eyes are the little knots in the potato.) After cutting it, leave the pieces out to dry for 48 hours before planting. This will give you many more plants, so keep this in mind when you are purchasing your seed potatoes!

How to Plant Potatoes: Cut into Smaller Sections

#5: You NEED Loose Soil

If you have hard, clay soil, then you will need to amend it, or bring in new soil to plant your potatoes. This is because potatoes are specialized roots that grow to store the plant’s nutrients. If your roots have a hard time pushing against hard, compact soil, then your potatoes will also have a hard time growing. This means that in hard soil, your overall harvest will be smaller. This is why it’s essential that you have loose soil.

For tips on how to loosen up any hard soil, watch the video below!
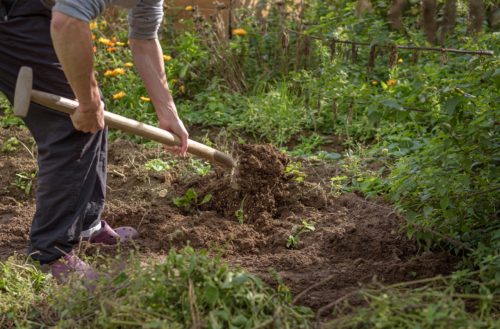
How to Plant Potatoes: You Need Loose Soil

#6: Plant Eyes Up

When placing your potato cuttings in the soil, place them so the eyes (or sprouts) are facing up. This gives your stems a straight shot up and out of the soil. If you place them down, this will make it harder for your potato’s shoots to emerge.
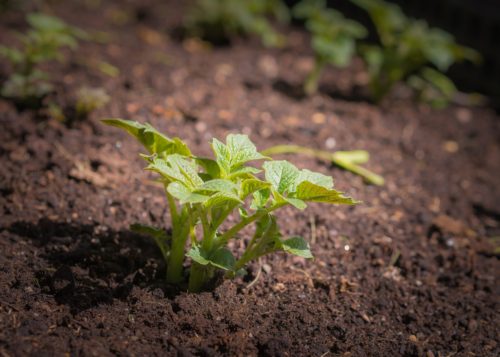
How to Plant Potatoes: Plant Eyes Up

#7: Mound the Plants

When your plant sprouts and grows around 6 inches (15 cm) tall, add more soil around the base of it to cover all but the top leaves. Then once it has grown to be about 6 inches (15 cm) above the soil once more, push up the soil around it again. This is called ‘mounding’. Mounding your potato plants will increase the amount of roots your plant grows, which in turn, will increase the amount of potatoes that your plant produces.

How to Plant Potatoes: Mound Plants

#8: Fertilize with a High P & K Fertilizer

P & K stand for Phosphorous and Potassium (or Potash on your fertilizer label). Make sure that your fertilizer has a good ratio of P and K, but has a lower N value. This will be something like 5-20-12, with a lower 1st number and a higher 2nd and 3rd number. Phosphorous encourages more root growth, while Potassium is good for the overall health of the plant. Do not fertilizer with a high Nitrogen fertilizer, or you might end up with a big, lush potato plants that have very few actual potatoes.

How to Plant Potatoes: Fertilize

#9: Harvest at the Right Time

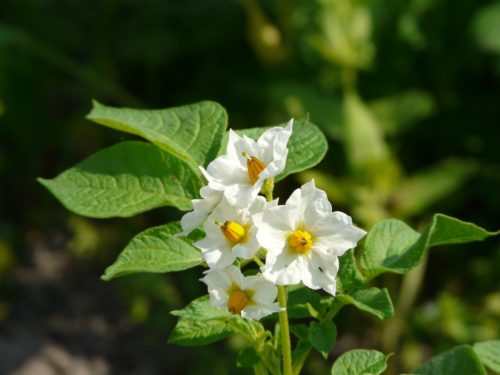
The time to harvest your potatoes is around 2-3 weeks after it starts flowering. At this time the plant will also start falling over and looking wilted. Once this starts to happen, you know that your potatoes are ready to harvest!
How to Plant Potatoes: Harvesting

#10: Soft-skinned Potatoes Don’t Store

If your potato’s skin is soft and can be brushed off with your finger, then you know that the potato hasn’t fully matured. Most likely you will have a harvest where some of them have matured, but some of them haven’t. Make sure that the soft-skinned potatoes don’t go into storage. They will need to be cooked and eaten within the next several days.

How to Plant Potatoes: Do Not Store Soft Potatoes

#11: Let Dry Before Storing

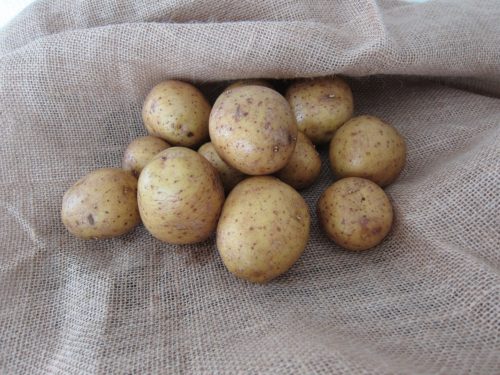
For all of your hard-skinned potatoes, you will need to let them air-dry in a cool, shaded location for several days. If stored too quickly, your potatoes might rot. Air-drying gets rid of any excess moisture that might still be in the plant.
How to Plant Potatoes: Let Dry

Those are the 11 things you should know before planting potatoes at home! I wish you the best of luck and a happy harvest! And make sure you share this post with your other gardening friends.

Not sure where to plant your potatoes? Find out your potato plant’s light requirements in my post How Much Sun do my Plants Need?!

Happy Digging!

Click here to subscribe

Top 5 Easiest Herbs to Grow Indoors

Ever since I’ve been growing herbs indoors, I’ve noticed that some of my herbs grow lush and beautiful, but some of my herbs have the hardest time indoors. So I did my research to see if it was just me or if others were having problems with specific herbs in their indoor gardens as well. And do you know what I found??? Some herbs consistently do better than others when planted indoors! So if you’re starting an indoor herb garden (or just looking to expand) definitely try out this list of easy-to-grow indoor herbs first! Because everyone deserves to have a big, beautiful, and easy edible garden!!!

Click here to subscribe

Easy Herbs to Grow Indoors #1: Rosemary

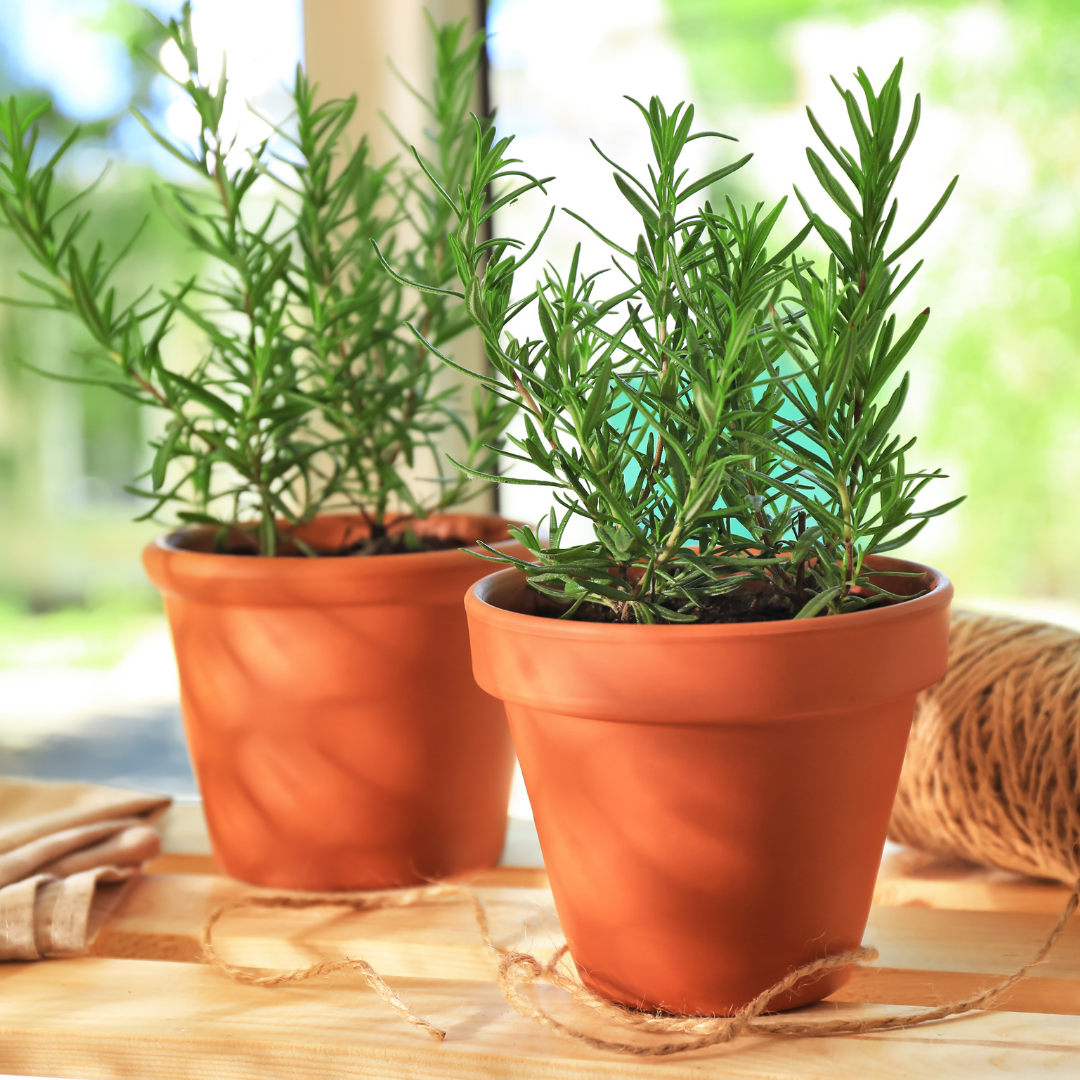
Rosemary is an extremely versatile herb. It is used to create butters, oils, vinegars, and dressings. It can also be used to flavor chicken, pork, or even fish. But my personal favorite way to use rosemary is to cook it into my breads and potatoes! Yum!!!

As an indoor edible, rosemary is extremely easy to grow. The biggest thing to watch for (or the main killer of this plant) is too much water. Especially in the winter when the plant isn’t actively growing. 

For everything you need to know about growing rosemary indoors, check out my post Indoor Rosemary Plant Care!

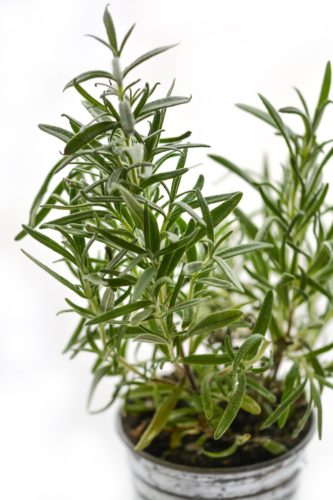
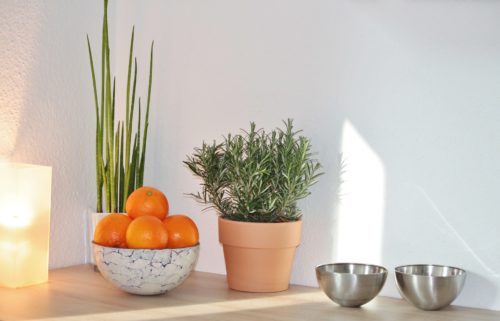
Easy herbs to grow indoors- Rosemary plant

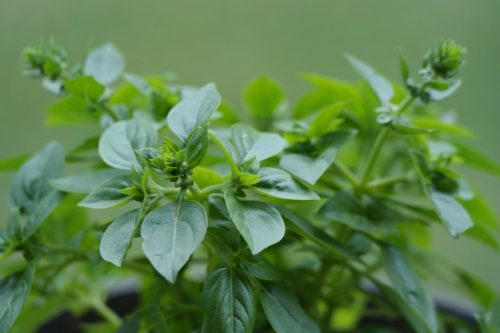
Easy Herbs to Grow Indoors #2: Oregano

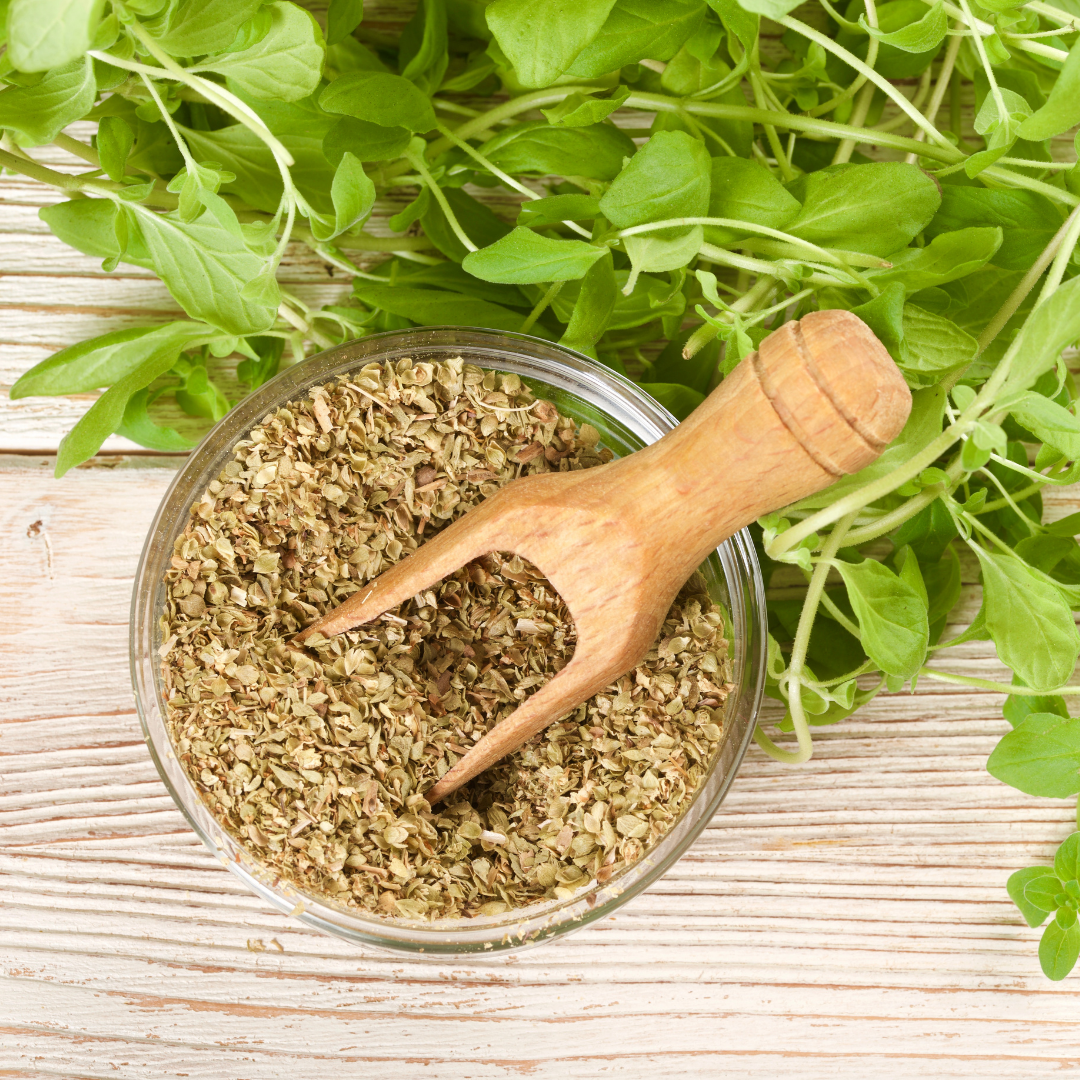
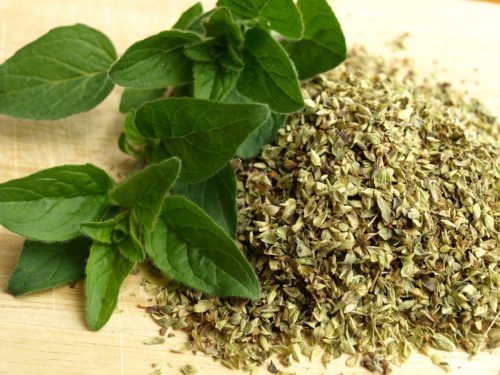
Oregano is a great herb to add into dressings, marinades, and sauces. It adds a homemade Italian taste to almost any pizza or pasta! And what’s the best thing about this herb?! It has a stronger flavor as a fresh herb, than it does when it’s dried. Which means that you can get along with a smaller plant, while still achieving that classic oregano taste!

To grow this herb, it needs to have a lot of sun, and dry out between watering. But don’t put any store-bought plants in your brightest windows ledge right away (unless it is winter-time). Instead, slowly acclimate your plant to warmer temperatures and brighter light by leaving it in the heat for 30 minutes more each day. This will ensure that any greenhouse-grown plant will have the time it needs to adjust!

For more in-depth instructions on how to care for this herb, check out my post, Indoor Oregano Plant Care!

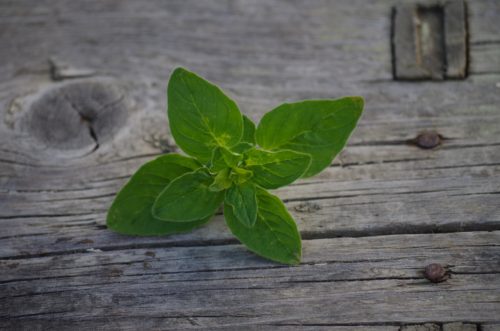
Easy herbs to grow indoors- Oregano plant

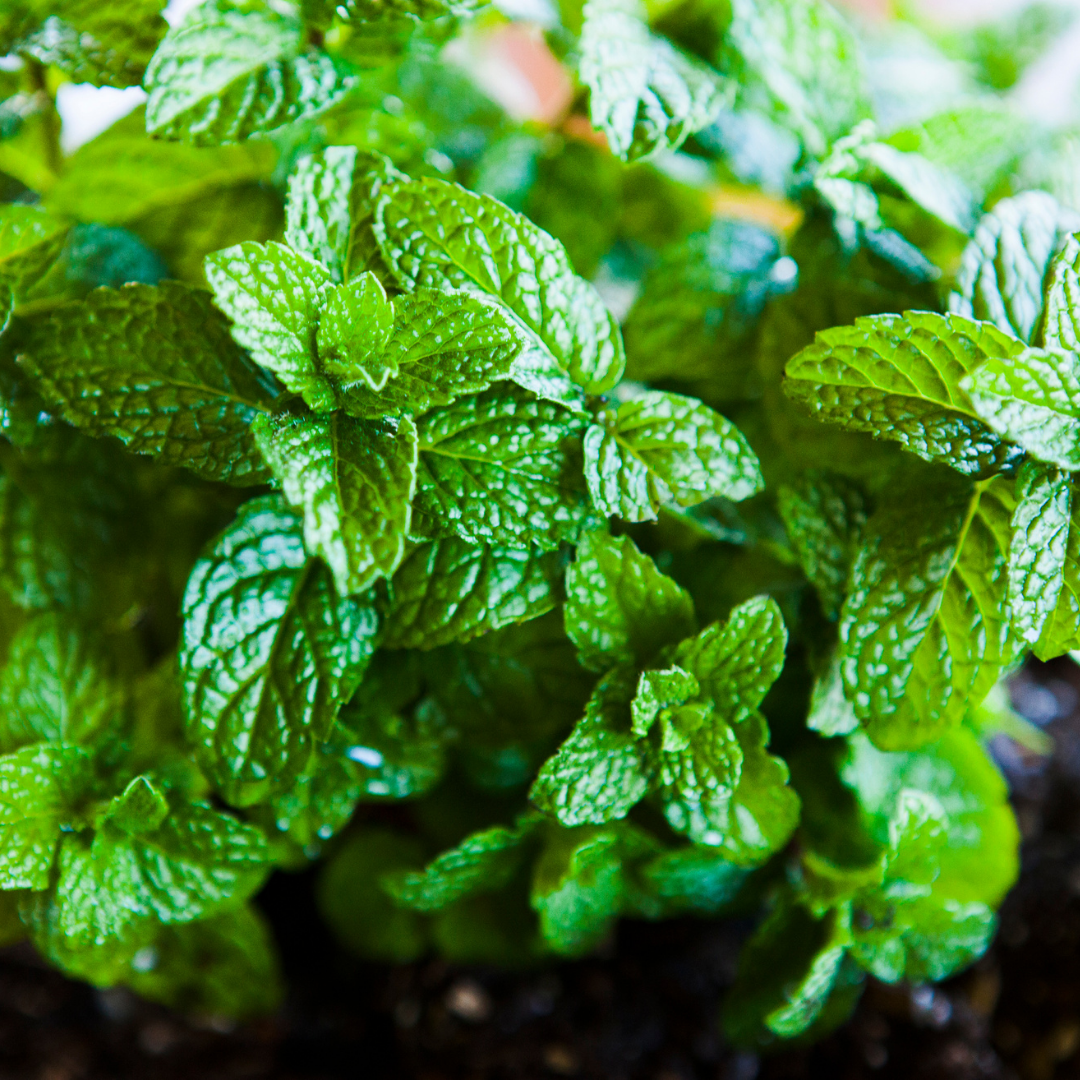
Easy Herbs to Grow Indoors #3: Mint

It’s probably no wonder that mint made it onto my list of easiest herbs to grow indoors. If any of you have planted mint outdoors, you’ll know that this herb grows so well it can start becoming a weed! That’s why growing mint indoors can be a great solution for the lazy gardener who doesn’t want to be pulling mint sprigs out of their lawn!

To grow mint indoors, make sure that it gets plenty of direct sunlight. This, combined with a good vegetable fertilizer will help it to grow those large, minty leaves that everyone loves! Then, if it’s starting to die off, simply take some cuttings and root them in straight water! So simple!

For more information on how to grow your own mint plant indoors, check out my post Indoor Mint Plant Care!

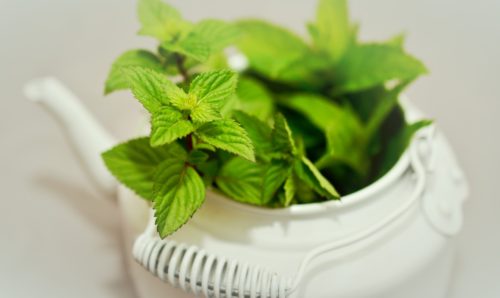
Easy herbs to grow indoors- Mint plant

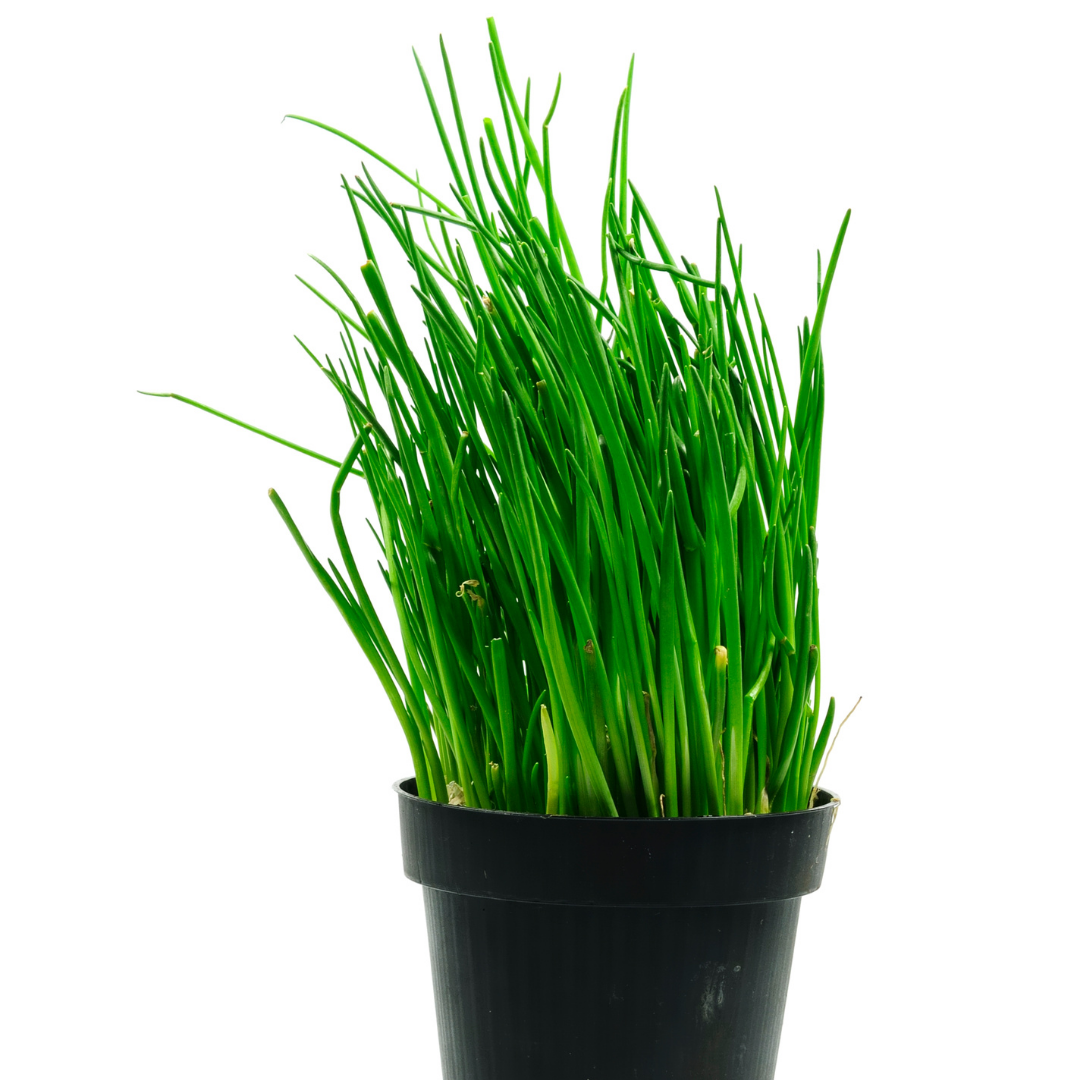
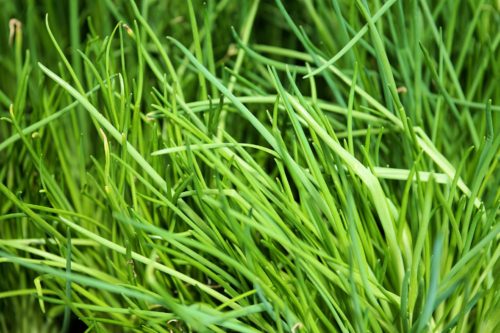
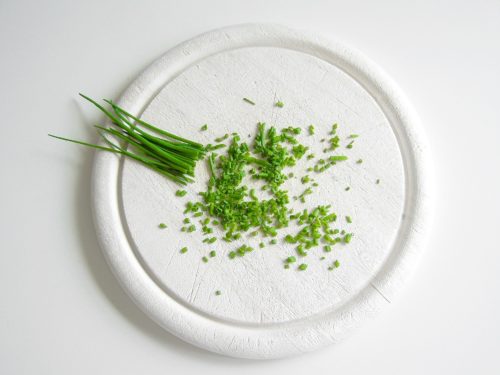
Easy Herbs to Grow Indoors #4: Chives

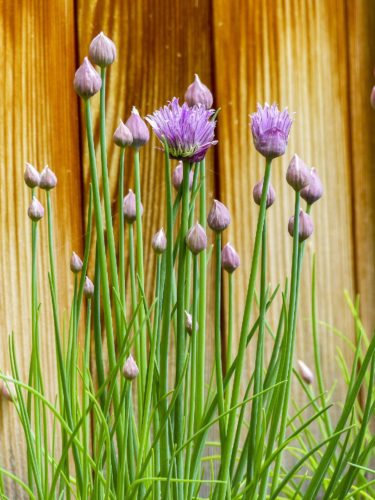
From eggs to potatoes, and soups to salads, chives are my favorite herb to grow indoors! This is not only because it is easy to keep alive and thriving, but also because it can be put  on almost anything!!!

Chives will need a little more  water than these other Mediterranean herbs. But you still need to make sure that you don’t over-water your chives. A good rule of thumb is to make sure that the soil can get lightly dry in between watering. This will help to avoid fungus gnats and root rot, but still keep your chive plant happy!

To learn more about how to grow chives indoors, check out my post Indoor Chive Plant Care!

Easy herbs to grow indoors- Chive plant

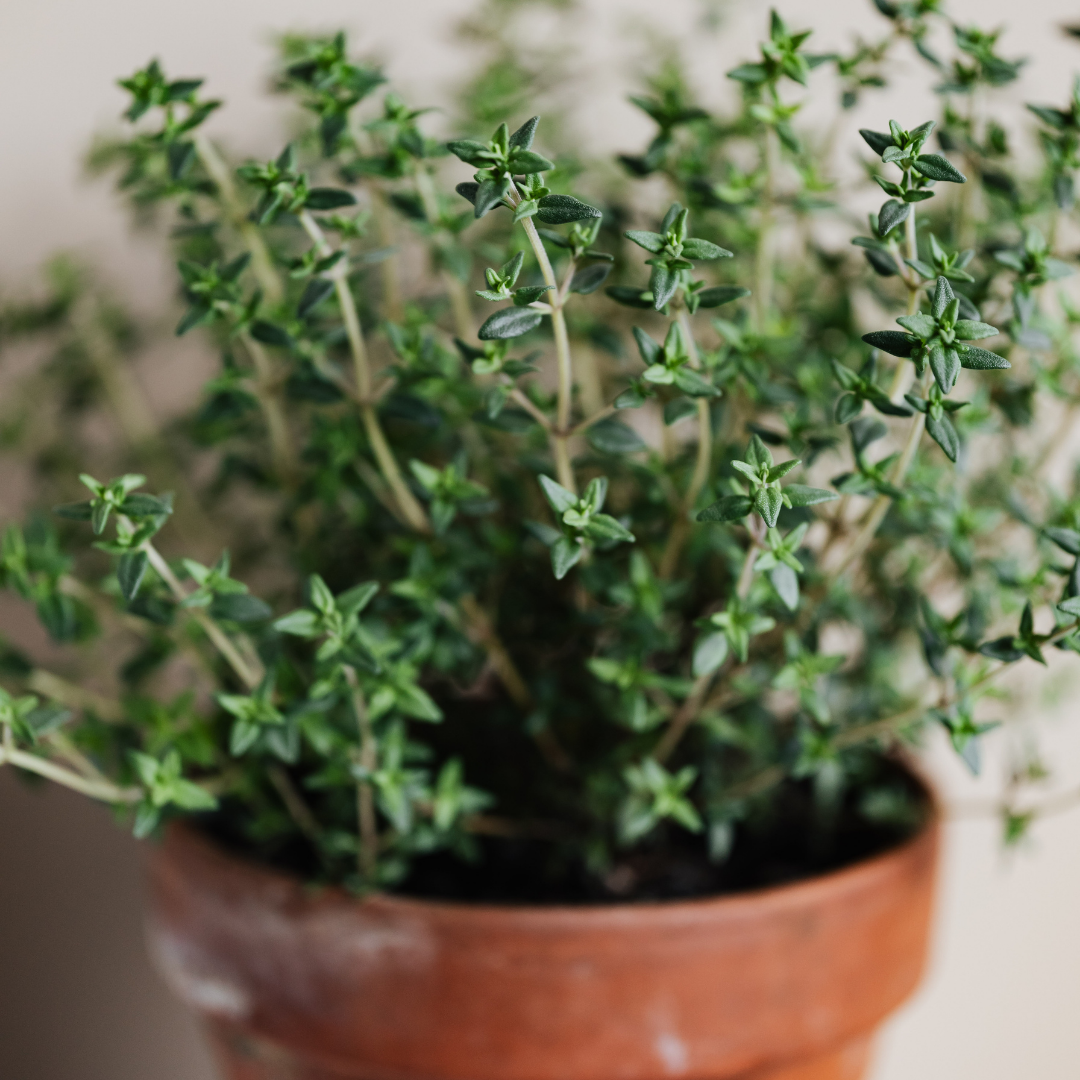
Easy Herbs to Grow Indoors #5: Thyme

Thyme is a great herb to season your soups, sauces, and breads, as well as your chicken, potatoes, and rice. Thyme is also a great source of vitamin C, and has lots of great health benefits!

To grow thyme, the biggest thing you need to watch for is the watering. Thyme doesn’t like to be too wet, especially during the winter when it goes dormant. So make sure that you allow the soil to dry down to the first inch before you water it again.

For more in-depth information on how to grow thyme indoors, check out my post Indoor Thyme Plant Care.

Easy herbs to grow indoors- Thyme plant

That’s it for my list of the easiest herbs to grow indoors! If you are just starting out in your indoor gardening, then make sure to go easy on yourself by starting with one of these herbs first. Then you can add some of the harder herbs to grow as you master the basics! And if you’re looking for more indoor herb inspiration, check out my post, Top 5 Effortless Indoor Herb Kits!

Happy Digging!

Click here to subscribe
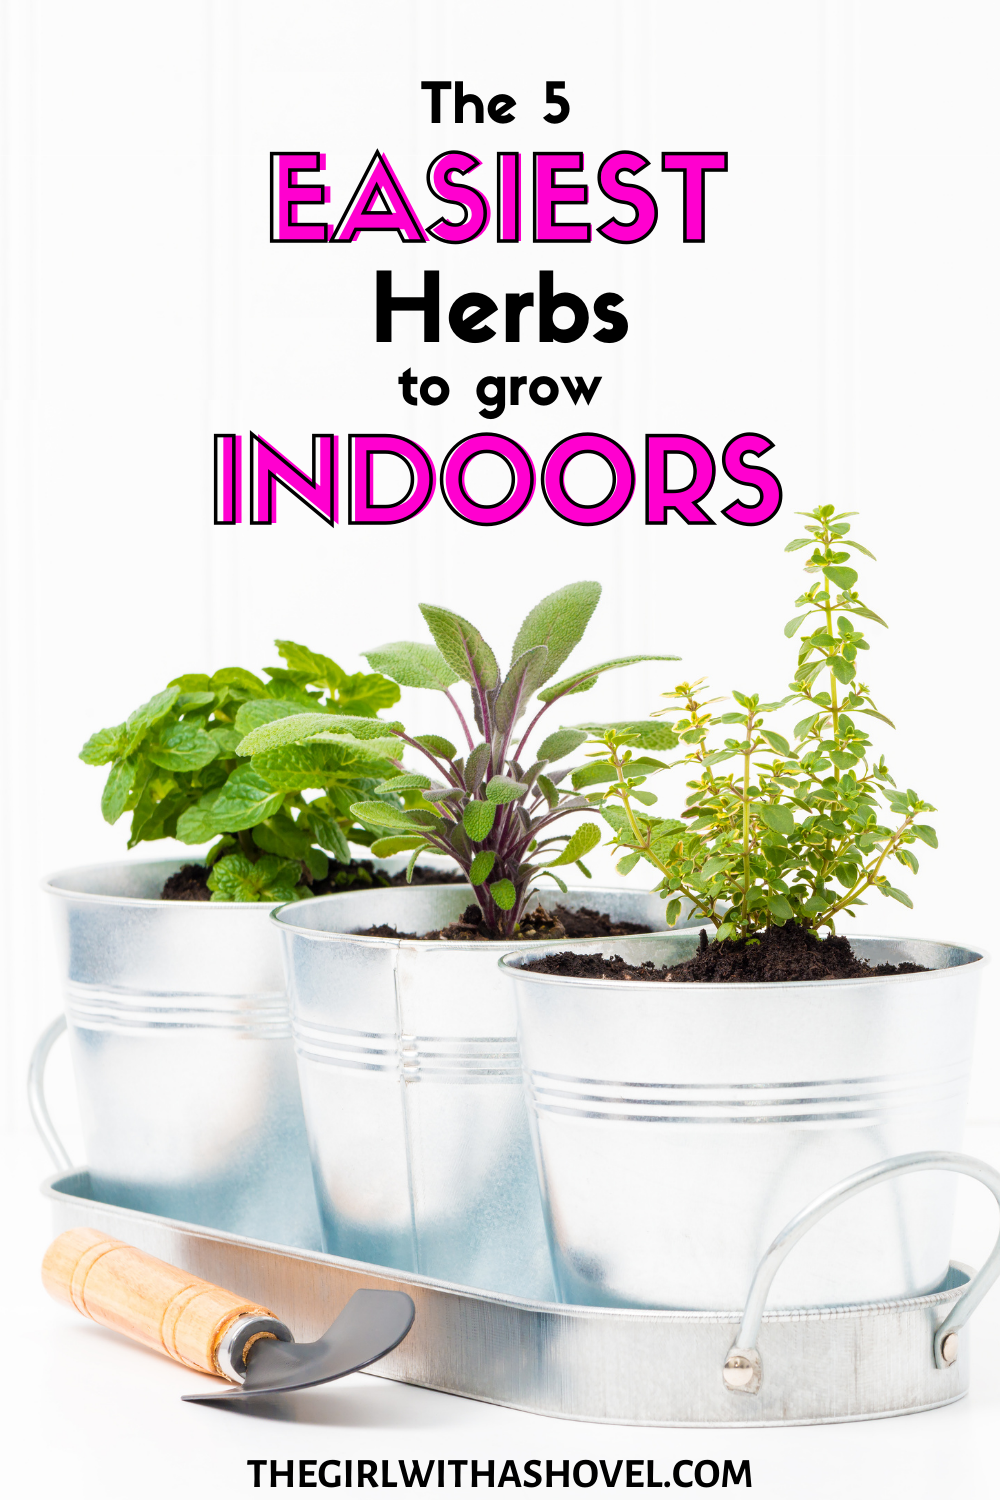
The 5 easiest herbs to grow indoors cover picture

How Much Sun do my Plants Need?

how-much-sun-do-my-plants-need
A Reference Guide for Edible Plants

It is extremely difficult to remember exactly how much sun each of our different plants need. So that’s why I’m providing this awesome resource guide to you! Here’s a list of the most common fruits, vegetables, and herbs along with how much sunlight they each need… so you will never have to ask yourself “How much sun do my plants need?” again!!!

Vegetables – Light Requirements (in hours/day)

Artichoke 6-8 hrs

Arugula 6 hrs

Asian Greens 2-3 hrs

Asparagus 8 hrs

Beans 8-10 hrs

Beets 6 hrs

Broccoli 6 hrs

Brussels Sprouts 6 hrs

Cabbage 6 hrs

Carrot 6-8 hrs

Cauliflower 6 hrs

Celery 6 hrs

Chard, Swiss 8 hrs

Chicory (Radicchio) 4 hrs

Chinese Cabbage 5 hrs

Collards 5 hrs

Corn 6-8 hrs

Cucumber 8-10 hrs

Eggplant 8-10 hrs

Fennel 6-8 hrs

Garlic 6-8 hrs

Kale 6-8 hrs

Leek 4 hrs

Lettuce 8-10 hrs

Melons (Watermelon) 8-10 hrs

Mesclun 2-3 hrs

Okra 6-8 hrs

Onion 3-4 hrs

Parsnip 8 hrs

Peanut 8-10 hrs

Pea 6-8 hrs

Pepper 6-8 hrs

Potato 6-8 hrs

Radish 6 hrs

Rutabaga 6-8 hrs

Spinach 4-5 hrs

Squash, Pumpkins 8-10 hrs

Sweet Potato 6-8 hrs

Tomatillo 8-10 hrs

Tomato 8-10 hrs

Turnip 6-8 hrs

Fruits – Light Requirements (in hours/day)

Apple 6-8 hrs

Apricot 6-8 hrs

Avocado 6-8 hrs

Banana 8-10 hrs

Blackberry 6-8 hrs

Blueberry 4-6 hrs

Cherry 6-8 hrs

Citrus 8-10 hrs

Currant 6-8 hrs

Grape 7 hrs

Guava 8-10 hrs

Kiwifruit 8-10 hrs

Pear 8 hrs

Plum, Prune 8-10 hrs

Pomegranate 8-10 hrs

Raspberry 6-8 hrs

Strawberry 8-10 hrs

Herbs – Light Requirements (in hours/day)

Basil 6-8 hrs

Chives 6-8 hrs

Cilantro/Coriander 6-8 hrs

Dill 6-8 hrs

Lavender 6-8 hrs

Lemon Balm 4-6 hrs

Marjoram 6-8 hrs

Mint 4-6 hrs

Oregano 6 hrs

Parsley 5-6 hrs

Rosemary 6-8 hrs

Sage 6 hrs

Tarragon 6-8 hrs

Thyme 6-8 hrs

I hope you’ve found this reference chart helpful! Let me know in the comments if you have any more questions or if you want sunlight requirements for any other plants that I don’t have listed.

Happy Digging!

Click here to subscribe

The 5 BEST Vegetables to Grow Indoors

Here is a list of the 5 BEST vegetables to grow indoors. Based off of yield, ease, and practicality!

Whether you’re new to indoor gardening or an expert, it’s always good to know which vegetables you should actually be growing indoors, a.k.a. which ones will give you the most bang for your buck! And let me tell you, I’m not just going to list the vegetables that are the easiest to grow indoors. This is because a lot of people suggest vegetables only because they do well indoors. And strange enough, a lot of people suggest growing radishes indoors. Honestly, I don’t remember the last time I’ve actually eaten a radish! So even if I grew radishes in my home, I know that I still would never eat them.

So here’s my list of vegetables that are most commonly consumed, are easy to grow, and that give you good yields per plant. But remember, make sure that you are growing vegetables that you will actually eat. In the long run, it’s your own preferences that matter most when making this decision.

**Note: This post contains affiliate links, which if purchased, I will receive a small portion of the profits. This helps me to keep providing awesome information to all of you!**

Click here to subscribe

The Best Vegetables to Grow Indoors – Vegetable #1: Tomatoes

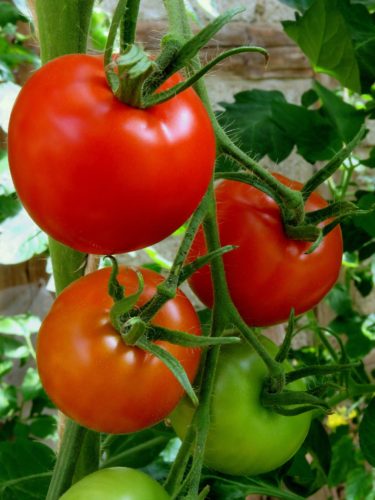
Tomatoes are one of the best vegetables to grow indoors mainly because they are one of the most versatile! You can eat them in salads, on sandwiches, in pastas, or as pastes! Plus, they’re easy to can or freeze for later use. Just make sure to get an ever-bearing variety, as well as give this plant its own plant light. Here’s a plant light review post if you’re unsure of what to get. It might take your tomato plant a while to start producing indoors, but once it does, you’ll be glad you waited!

These are the top 5 BEST vegetables to grow indoors. Just starting out? Choose to grow tomatoes for an ultra versatile crop!

Vegetable #2: Lettuce

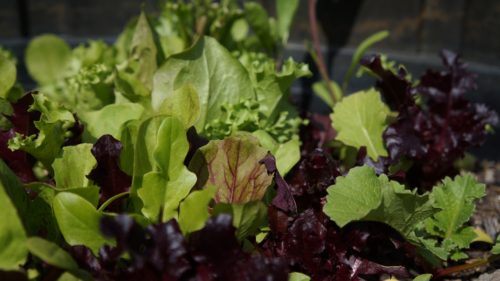
Here is another plant that is highly eaten and enjoyed! Lettuce is also one of the easiest plants to grow from scraps! Simply purchase your lettuce of choice, cut off the bottom, and place it in water. Leave it in a cup with toothpicks placed in it to hold the top of the plant out of the water. Then fill the cup with enough water to allow the bottom to be submerged. Start one every time you bring a new head of lettuce home. After a couple of months you should have your endless supply of lettuce!

These are the top 5 BEST vegetables to grow indoors. Just starting out? Grow lettuce from the scraps you're already buying!

Vegetable #3: Green Beans

Beans are one of the easiest vegetables to grow indoors mainly because they require less sunlight than most other vegetables, as well as they can use less space by growing vertically! Here are some ideas for how you can create your own vertical gardens! Another reason why green beans makes by top 5 list is because it’s difficult to eat fresh green beans all year long when they start costing over $4/pound during the winter! It’s much more cost effective to simply grow your own and enjoy them whenever you want! Just keep a constant planting schedule every few weeks and you’ll never run out!

These are the top 5 BEST vegetables to grow indoors. Choose to grow green beans for a small-space crop that you can grow year round!

Vegetable #4: Spinach

If you’re a health nerd (like my husband), or a foodie (like me!) then you’ll definitely want to start a row of spinach. Like these other vegetables, it is also one of the easiest to grow indoors. Then, if it’s growing a bit faster than you can eat it, spinach can easily be frozen, or added to sauces, entrees, or appetizers on the fly!

These are the top 5 BEST vegetables to grow indoors. Just starting out? Grow spinach for an easy to grow choice!

Vegetable #5: Peppers

Although peppers take a bit longer to grow, and will also need a plant light, they are definitely a popular plant to grow indoors. This is because they are not only super versatile and can be added to many dishes, but you can also custom grow your peppers according to your temperature preferences! Whether you prefer bell peppers, jalapenos, ghost peppers, or chili peppers, the method of growing is all the same. So wow your friends with your home-grown pepper collection, and spice up your life! Just make sure that you keep them in a big enough pot, and they’ll reward you with large peppers!

These are the top 5 BEST vegetables to grow indoors. Just starting out? Grow peppers to get your spicy fix.

These are my recommendations for the best vegetables to grow indoors. For more information on growing plants indoors, be sure to sign up for my email list and enjoy a free welcome gift! Then let me know in the comments below if you’ve tried growing any of these plants, and let me know how it goes! I love hearing from all of you!

*Note: For sun requirements of any of these plants, check out my free reference guide at How Much Sun Does my Plant Need?!

Happy Digging!
Click here to subscribe

Indoor Chive Plant Care

Indoor Chive Plant Care Cover

Growing chives indoors can be fun, easy, and tasty! The bright green, grassy look of this herb also makes it easy to decorate with! So now let’s talk about indoor chives plant care… cause you want to keep your plant healthy in order to keep your spice options open!

Don’t have a chive plant? Get one here!

**Note: This post contains affiliate links, which if purchased, I will receive a portion of the profits. This helps me to keep providing awesome information to all of you!**

Click here to subscribe

Indoor Chive Plant Care: Light Requirements

Chives like direct sunlight and can tolerate about 6 hours of direct sunlight each day. However, if your windowsill is full of other sun-loving herbs, this is your first herb to move away from the perfect spot. It does well with down to 4 hours of direct sunlight and also does well with artificial lighting. Just make sure that if it’s bending towards the light, that you consistently rotate your pot.

Indoor Chive Plant Care: Light Requirements

Indoor Chive Plant Care: Water Requirements

Chives like a little bit more water than most of your other Mediterranean drought-tolerant herbs. So make sure to water it slightly more than your other herbs. Also, make sure that you don’t over-water your plant. If the soil is spongy because it is so wet (the day after you water), then you should dry out the soil and try to add either more drainage to the pot, or a lighter soil (or both!).

indoor chive plant care

Indoor Chive Plant Care: Additional Requirements

Make sure that when you are harvesting your chives that you leave at least 2 inches (5 cm) at the bottom of the plant untouched. Also, if the tips of your plant is turning yellow, this is a sign of too little water and too little humidity. If you feel that you are watering it enough (you aren’t letting the soil fully dry out in between watering), then try misting your plant a few times a week. Or you can place it on a tray of pebbles and add a layer of water to the tray. This will naturally boost the humidity as the water in the tray evaporates in the sun.

Indoor Chive Plant Care Additional Requirements

I hope these indoor chive tips help! I personally love my chives and have had an easier time growing these than all my other herbs! So have fun, and enjoy this awesome herb! Then, for information on how to start chives from seed, check out this post, How to Star Chives from Seed! Or, for more information about simple indoor herb gardens, check out my post on 5 Effortless Indoor Herb Garden Kits! And as always, please leave any comments or questions below! I look forward to hearing your experiences!

Happy Digging!
Click here to subscribe

Indoor Oregano Plant Care

Indoor Oregano Plant Care Cover

Oregano is an easy-to-grow plant with a myriad of medicinal and culinary uses. It’s no wonder that this Mediterranean plant has made is way around the globe. Anyone with an indoor herb garden needs to grow this fantastic herb! But only a healthy growing plant can give you your desired harvest, so today I’m going to give you all the plant care tips you need to grow oregano indoors!

Don’t have an oregano plant yet?! You can buy one here!

**Note: This post contains affiliate links, which if purchased, I will receive a portion of the profits. This helps me to keep providing awesome information to all of you!**

Click here to subscribe

Indoor Oregano Plant Care: Light Requirements

Oregano, like most herbs, likes to grow in partial to full sunlight outdoors. This means that indoors it needs to either be placed in a south-facing window or it should have plant lights to boost its indoor lighting. If it isn’t getting enough light, it will begin to stretch out and become “leggy”. Watch for this sign to increase light.

Indoor Oregano Plant Care: Light Requirements

Indoor Oregano Plant Care: Water Requirements

Oregano is naturally drought tolerant which means that it would rather go dry than stay wet. Make sure that you only water your plant when the top inch of soil is dry. This keeps your plant safe from over-watering!

Indoor Oregano Plant Care: Water Requirements

Indoor Oregano Plant Care: Additional Tips

Some things to keep in mind while growing oregano is first it’s dislike of staying wet. Make sure that you plant it in a pot that has good drainage, as well as use soil that is light and airy (such as cactus and succulent potting mix, or regular potting soil mixed with sand or perlite). Also, when your plant is several years old, it is a good idea to root some cuttings in water to make a new plant. This will keep your flavors strong with every leaf!

Indoor Oregano Plant Care: Additional Tips

I hope you’ve enjoyed these plant care tips! Feel free to leave any questions or comments below! I love hearing from you! And let me know if you’d like any tips on how to harvest and store your oregano… good luck with it!

Happy Digging

Click here to subscribe

Indoor Thyme Plant Care

Indoor Thyme Plant Care Cover Picture

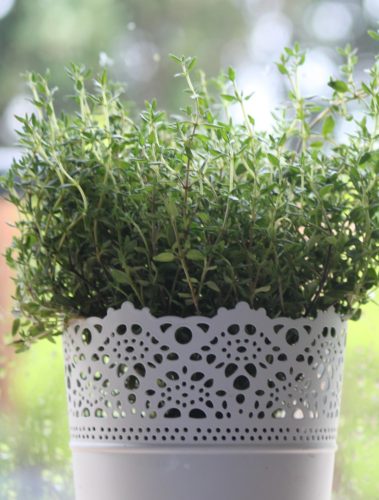
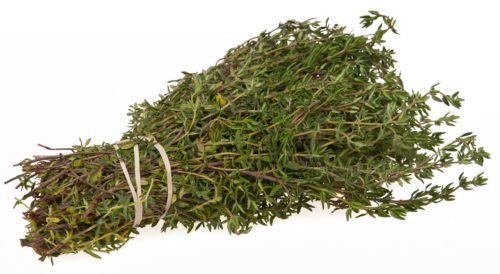
Thyme is a wonderful plant to add to your herb garden! It is generally easy to grow, but these plant care tips will help your indoor thyme stay healthy and happy, giving you years of harvesting this tasty herb!

Don’t have a thyme plant yet? You can buy one here!

**Note: This post contains affiliate links, which if purchased, I will receive a portion of the profits. This helps me to keep providing awesome information to all of you!**

Click here to subscribe

Indoor Thyme Plant Care: Light Requirements

Thyme likes to have full to partial sun outdoors, which means that indoors we need to put it in a south-facing window or give it additional light with plant lights. If your plant is declining during the winter months, this could be your plant going into dormancy because of a lack of sunlight or because of lower temperatures. If this happens, make sure to add plant lights to give your plant longer day-lengths, and keep it away from cold winter drafts. This will help the plant feel more like it’s summer!

Indoor Thyme Plant Care: Light Requirements

Indoor Thyme Plant Care: Water Requirements

This plant is drought-resistant, meaning that it is used to going for short periods of time without any water. Because of this, the biggest cause of death for thyme is being over-watered. Make sure that you only water your plant when the top 1 inch (2.5 cm) of the soil has dried. And also make sure that your pot has good drainage. If your soil doesn’t drain well enough, the roots can rot due to to much moisture and not enough air around their roots. So make sure to never over-water this plant!

Indoor Thyme Plant Care: Water Requirements

Indoor Thyme Plant Care: Additional Tips

As with most herbs, make sure to remove any flower stalks before the plant flowers. This will allow the plant to put more energy into leaf production instead of into seed production. Them, as thyme gets older, the lower stem will begin to get thick and woody. If too much of your plant is getting woody, you can either propagate a new, young stem (by rooting it in straight water), or you can prune back the woody stems hard to encourage lots of new, young, and non-woody growth.

Indoor Thyme Plant Care: Additional Tips

I hope you’ve enjoyed these plant care tips! Please leave any questions or comments below… I personally read every one of them, and I love hearing from you! And for more indoor gardening, check out this list of 5 Effortless Indoor Herb Garden Kits!

Happy Digging!
Click here to subscribe

Indoor Rosemary Plant Care

Indoor Rosmary Plant Care Cover

Herbs are definitely the beginner’s step into indoor gardening. However, if our herbs die a sad, pitiful death, we can end up never wanting to grow edible plants again… fortunately for you, rosemary is one of the easier herbs to grow indoors. Simply follow these rosemary plant care instructions, and you’ll feel empowered to take on the entire herbal collection!

Don’t have a rosemary plant yet? You can purchase one here!

**Note: This post contains affiliate links, which if purchased, I will receive a portion of the profits. This helps me to keep providing awesome information to all of you!**

Click here to subscribe

Indoor Rosemary Plant Care: Light Requirements

Rosemary, just like most other herbs, likes plenty of direct sunlight. This means it would do well in your super-sunny south-facing window! Or, if you don’t have a lot of sun (or, like me, you already have your south-facing window full of succulents lol!) then you can give your plant supplemental light with plant lights. Here is my personal favorite! Just remember, rosemary likes to get around 5-7 hours of direct sunlight, so keep it around 8 hours with your plant light (since no light will ever be as bright as the sun…)

Indoor Rosemary Plant Care: Light Requirements

Indoor Rosemary Plant Care: Water Requirements

Rosemary likes to stay a little on the dry side. Make sure that you only water it when the top of the soil is dry. This plant is especially susceptible to root rot or to powdery mildew, both of which show up when you keep it too wet. Then, when watering, water the soil thoroughly in the summer months, but more sparingly in the winter. Your soil should be watered just enough to dry out every three days or so. This might mean that in the winter months you only add a fraction of the water that you would during the summer.

Indoor Rosemary Plant Care: Water Requirements

Indoor Rosemary Plant Care: Additional Tips

If your plant does get powdery mildew, it is important to IMMEDIATELY separate it from your other plants. One summer I didn’t separate mine fast enough and the majority of my indoor edibles got it too… I know… super sad… But from that, I found this awesome powdery mildew fungicide that works great for edibles. Just make sure that you don’t eat anything from the plant for 30 days, then wash everything before eating.

Indoor Rosemary Plant Care: Additional Tips

That’s all for my care tips! Leave any questions or comments below! And for some easy herb gardening, check out my list of 5 Effortless Indoor Herb Garden Kits!

Happy Digging!
Click here to subscribe

Indoor Mint Plant Care

Indoor Mint Plant Care Cover

Mint leaves are perfect for topping your favorite dessert, mixing into your summer drink, or even adding into your everyday meals! But for those of us with limited garden space, as well as those living in cold climates, growing mint can pose a problem. Not anymore! Learn how to care for your mint plant indoors to enjoy fresh mint leaves all year long!

This post is geared towards indoor mint plant care. To know how to grow your mint plant outdoors, check out my post Outdoor Mint Plant Care!

Don’t have a mint plant yet?!?! Get one here!!!

**Note: This post contains affiliate links, which if purchased, I will receive a portion of the profits. This helps me to keep providing awesome information to all of you!**

Click here to subscribe

Indoor Mint Plant Care: Light Requirements

Mint plants growing indoors need at least 4-6 hours of direct sunlight daily. It is best if placed on a south-facing window, however, if you don’t have a lot of natural indoor sunlight, then you can still grow your mint plant with the help of a plant light! Here is one of my personal favorites, a cheap, full-spectrum, and hidden plant light!

Indoor Mint Plant Care: Light Requirements

Indoor Mint Plant Care: Water Requirements

This plant can be grown in either soil, or in straight water. When grown in soil, only water your plant once the top 1 inch (2.5 cm) of the soil has become dry. If your plant is falling over, but is staying green or yellow, then your plant is being over-watered. However, if your plant is green or brown and wilting, this is a sign of too little water. Make sure to feel the soil to know if your plant is too wet or too dry.

Indoor Mint Plant Care: Water Requirements

Indoor Mint Plant Care: Additional Requirements

Indoor mint plants will never be as vigorous as outdoor mint plants. This could be good, however, as mint plants can become very invasive. To propagate this plant, you can root cuttings in straight water, then plant them into damp soil. Also, make sure to remove your plant’s flowers before they set seed, or else your plant will grow the seeds, then quickly decline. So make sure to prune off the flower well before this happens.

Indoor Mint Plant Care: Additional Requirements

I hope you’ve enjoyed this post and that you will soon have plenty of fresh mint leaves for years to come! Feel free to leave any questions or comments below!

Happy Digging!

Click here to subscribe

Outdoor Mint Plant Care

Outdoor mint plant care cover

Hey guys! And welcome to another awesome post! Today I wanted to talk about proper plant care for growing mint outdoors. If properly taken care of, your mint plant will give you an endless supply of leaves all season long! Just follow these instructions to keep your plant not only healthy, but also keep it from overtaking all of your other plants!

**This post is geared towards growing mint outdoors. For information on indoor mint plant care, check out my post here!**

Don’t have a mint plant yet?! Get one here!!!

**Note: This post contains affiliate links, which if purchased, I will receive a portion of the profits. This helps me to keep providing awesome information to all of you!**

Click here to subscribe

Outdoor Mint Plant Care: Light Requirements

Mint plants can tolerate a wide range of sun conditions from full sun to part shade. Be aware, though, that if your plant is coming from a garden center or from a sales location that is indoors, it will need to be slowly acclimated to a full-sun position. Also keep in mind that any decorative mint plants (with variegated leaves) will need to receive more protection from the sun and will instead do best in a partly shaded area.

Outdoor Mint Plant Care: Light Requirements

Outdoor Mint Plant Care: Water Requirements

Watering will vary with how much sun your plant is getting and how well-draining your soil is. If your plant is in full sun, it will need more water. Also, if your plant is in well- draining soil (such as in sandy soil) then it will also need more water. A good thing to do is to go out several times during the season and feel how moist or how dry your soil is. Then adjust accordingly. Mint normally likes to be kept moist, but not drowning in water.

Outdoor Mint Plant Care: Water Requirements

Outdoor Mint Plant Care: Additional Requirements

Mint can be an invasive plant. You need to take precautions to keep this plant from spreading itself all across your yard. These two maintenance steps are easy to do and essential if you want to keep this plant under control. First, you need to keep the root system separated from your ground soil. The best way to do this is to grow it in a pot (either without drainage holes, or with the drainage holes placed away from any soil). You can also grow mint in a raised garden bed, but make sure to remove all of the roots after every season or to simply designate a mint area and make sure to cut or weed it to its designated area several times each summer. The second step is to remove all flowers before they set seed. Doing this will greatly reduce the spreading of your mint plant, and you will be able to enjoy your plant rather than constantly be in battle with it!

Outdoor Mint Plant Care: Additional Requirements

I hope you’ve enjoyed this information! Please use the share buttons to share it with your friends or to save it to your social media account! Also, feel free to leave any comments or questions below! I personally read every single one of them!

Happy Digging!
Click here to subscribe