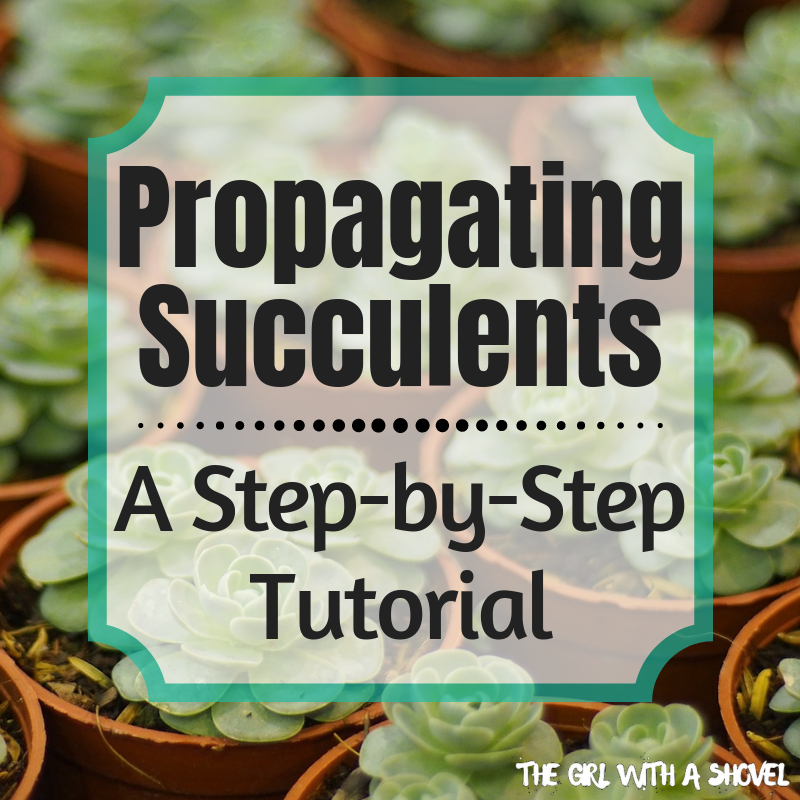
One great things about succulents is that they can be easily multiplied into many succulents! This task may seem daunting for people who have never done it before. But with this step-by-step guide you are sure to have success! So get started today and try your hand at growing your very own succulents!
*Note: All of the succulents pictured below were bought from The Succulent Source, where you can buy leaves, cuttings, and full-sized succulents for cheap! My personal go-to for succulents!*
**Note: This post contains affiliate links, which if purchased, I will receive a portion of the profits at no extra cost to you. This helps me to keep providing you with this awesome information!**
Propagation: the act or action of propagating: such as
increase (as a kind of organism) in numbers
the spreading of something (such as a belief) abroad or into new regions
enlargement or extension (as of a crack) in a solid body
One of the most critical parts of growing new succulents is to get a good leaf cutting. To do this, gently hold the leaf and wiggle it back and forth until it gently detaches from the stem. Usually lower leaves are a lot easier to remove. It might take a couple of tries before you start getting good cuttings. This is because you need to remove the leaf right at the joint without letting the tip get torn. If some of the stem is attached, this will still work. But if the leaf tip is torn, then your leaf will just shrivel up and die. No leaf stem, no new succulent.
Propagating Succulents Step 2: Dry
Leave your leaves to dry (haha!). Do not skip this step! The tear that you have made on the succulent needs time to dry before it is placed in soil or gets wet. This allows it to form a seal around the tear (kind of like a scab). This helps protect the leaf from too much water or from bacteria getting in. Simply leave the cutting out in a location where it will be protected from any direct sunlight. Leave it for about 24 hours before moving on to the next step.
Propagating Succulents Step 3: Place on Top of Soil
Some people like to place their cuttings into the soil, but this is not necessary and may actually increase the number of cuttings that rot. By simply placing your leaves on top of the soil, the root will still be able to grow out of the leaf and down into the soil. Make sure that the container is shallow and has good drainage. I use cactus and succulent mix potting soil to ensure that there is good drainage. This also lowers the rate of leaves rotting.
Propagating Succulents Step 4: Water
Water lightly for several weeks until roots and rosettes form. I personally use a spray bottle to gently water the plants several times a day. Make sure that the soil dries between watering. Excess moisture will kill your leaves faster than anything else! Once the roots have become established, they can handle a bit more water at a time and you can lower the times of watering to just once a day. Also keep out of direct sunlight and place in a warm location. All of these will help to keep the succulents happy and thriving.
Propagating Succulents Step 5: Re-pot and Enjoy!
Once the rosettes have formed and the root systems have developed, the new succulents can be removed from the shallow container and planted in individual pots. Make sure that these pots are still small (proportional to their size). As the succulent grows, it can be repotted into larger containers or in group plantings. Enjoy your new succulents!
Propagating Succulents from Stem Cuttings
When you order succulents as cuttings or take cuttings of your own succulents, the process is pretty simple… First you need to let the cutting dry out (just like the leaves). If you had a cutting ordered, it should already have dried enough. Next, you plant in cactus and succulent potting mix and water like normal. It should develop roots quickly. And that’s it! This is one reason why a lot of people like to order cuttings. They are much faster and easier to grow! This is where I bought mine!
Well, I hope you all enjoyed this tutorial on propagating succulents! And be sure to check out The Succulent Source for some awesome, cheap succulents! I got mine in the middle of winter and they’re still doing great! Also, for additional care info, check out my post on Succulent Care Tips! And feel free to leave any additional questions, tips, or comments below!
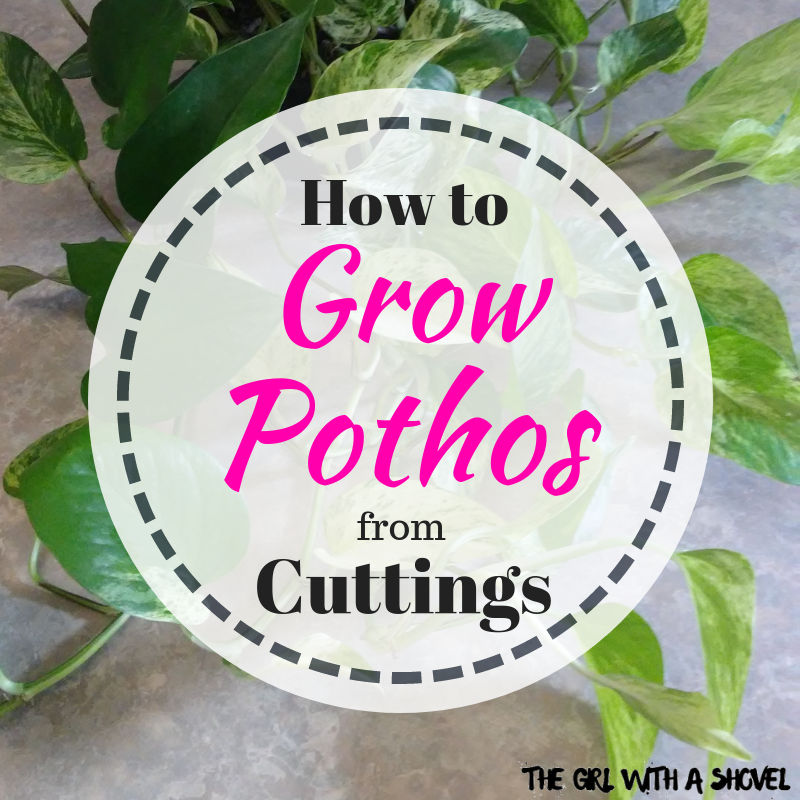
Today I wanted to demonstrate how to grow one of my favorite indoor plants! Yep, that’s propagating Pothos vine! Also called Devil’s Ivy, this plant is one of the easiest plants to grow, earning it a spot on my hard to kill houseplants post, as well as my plants for dark apartments post. But for this post I wanted to tell you all how to grow your own Pothos vine. Trust me, it’s incredibly easy and you’ll have a beautiful, thriving plant in no time!
**For info on how to take care of your Pothos vine, check out my post Pothos Vine Care!**
Basically, there are two ways to propagate Pothos (aka, grow a new Pothos)…. with water, or with soil. But because most of you here are plant beginners, lets talk about water first (which is much easier), and then we’ll move on to the more advanced soil.
**Note: This post contains affiliate links, which if purchased, I will receive a portion of the profits at no extra cost to you. This helps me to keep providing you with this awesome information!**
Propagating Pothos in Water: Step 1 – Get your cutting
A good plant needs a good start. Select a healthy plant to trim from with leaves that aren’t diseased or yellowing. Cut about 3″ of stem length, making sure that there is at least one leaf node (where the leaf attaches to the stem). Personally, I like to take longer cuttings (they usually root faster) that have about 3-4 leaf nodes. This also makes it easier to keep upright.
Propagating Pothos in Water: Step 2 – Place in water
Now this step is pretty self-explanatory. Just make sure that if there are lower leaves that would be submerged in the container, make sure to remove them. If the leaves are left submerged, they may rot. Which doesn’t look that great. Believe me.
Propagating Pothos in Water: Step 3 – Plant
After a couple of weeks your Pothos vine will have rooted. So easy! I know! Now at this point, you can either plant your Pothos in soil, or you can keep it in water for life. Pothos does well in both water and soil, but make sure that once it is established that you don’t switch the growing media. Switching from water to soil (or vice versa) later in this plant’s life will cause it to decline in health. It might recover, but it might not. Those are the risks. But if you want to switch media later, you can always grab another cutting!
*This image is of some pothos cuttings I rooted last year. These can be planted at this point of development, or they can wait another week or two and planted then (if planting in soil).*
Propagating Pothos in Soil: Step 1 – Get your Cutting
For a soil cutting, follow the exact same directions as for the water cutting. This one is also important to remove any leaves that will be covered in soil, as they will rot. And remember, family members/roommates/friends don’t like to see rotting plants!
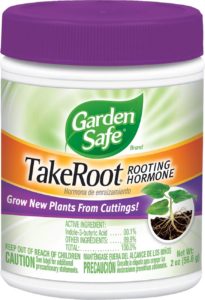
Propagating Pothos in Soil: Step 2 – Rooting Hormone
One thing that always helps you have success with cuttings is rooting hormone. Here’s a link to the one that I use! Simply dip the cutting into the hormone and shake off any excess powder. Make sure that you have at least one leaf node (the section of the stem where the leaf attaches) covered with the rooting hormone. I usually have two or three nodes on my cutting (stripped of the leaf) just to make sure that one of them roots successfully.
Propagating Pothos in Soil: Step 3 – Plant
The last step is to plant your cutting in soil. Do not skip this step!!! (Lol.) Make sure that at least one leaf node is submerged into the soil. As for pots, try to use a shallow container that drains well. I also prefer to use a well-draining potting mix in order to limit the chances of the cutting rotting. (I suggest the cactus & succulent potting mix, or regular potting soil mixed with coconut coir). The trick to watering your cutting is keeping it consistently lightly moist. Don’t overwater. If your pot/container doesn’t dry out within 2 days, then you’ve added too much water. You want to have to water it every day or two. This will prevent rotting of the cutting while it still doesn’t have any roots to take up the water. If you aren’t successful with your cuttings, try one of the soil options I listed above, as well as switch to a smaller container with plenty of drainage.
That’s it! It’s an easy, 3-step process, whether you choose soil or water. And like I said, if you are new to this, try the water option. It has a much higher success rate! So have fun growing this awesome, easy vine, and for tips on how to take care of your Pothos, check out my post on Pothos vine care!
Happy Digging!
*Here’s a Pothos that I grew from a cutting less than a year ago!*
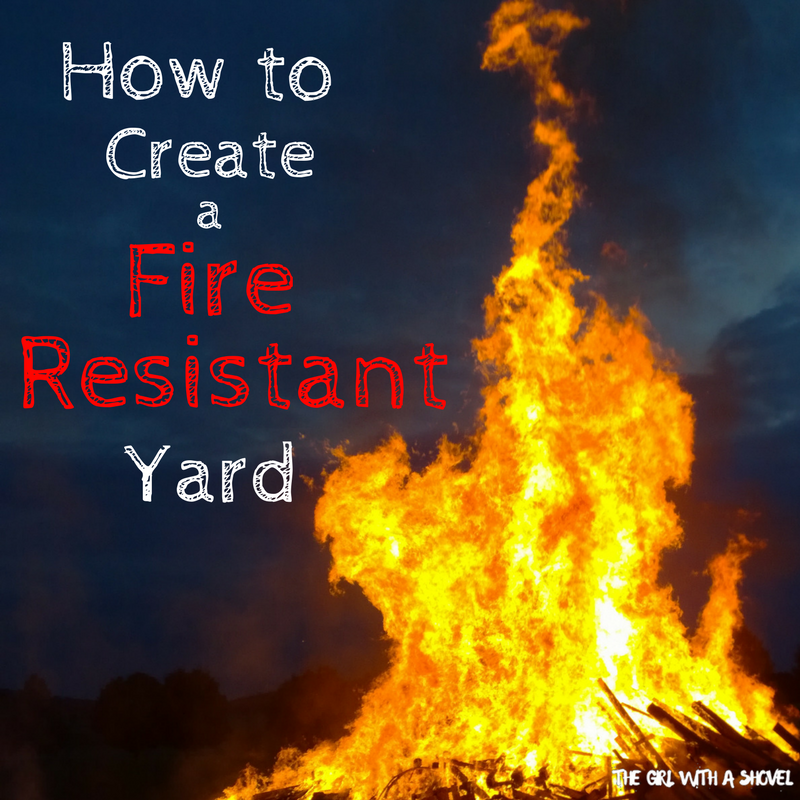
These past few weeks I’ve been thinking a lot about fire resistant landscaping.
As some of you might know, I was raised in Northern California.
Over the past several months, large portions of Northern California have burnt in some of the largest wildfires ever recorded in the area. It is devastating for the many people who have lost loved ones in these fires. It is also difficult to imagine how many people have lost their homes and all of their possessions over the last several months. I hope that we can all pray for and send our aid to those affected.
Now, this made me think. Northern California isn’t the only area that is affected by wildfires. I hear about fires in Southern California every year. Not to mention all the other fires that happen throughout the United States. So what can we do to help with all of this, as well as to help protect our own homes? We can create a fire-resistant yard!
Let’s help out our local firefighters and create spaces where they can be safe, while they protect our homes and our lives.
*Note: This is not meant to be fire insurance. Fire damage is dependent upon the strength of the fire, as well as the weather conditions. There is no guarantee that your home will not be affected by nearby fires.*
**Note: This post contains affiliate links, which if purchased, I will receive a portion of the profits at no extra cost to you. This helps me to keep providing you with this awesome information!**
Here’s how to create a fire-resistant yard:
Mark a space all around your home that is at least 30 feet wide. Designate this as the fire-safe zone!
Remove all dead and dying plant material, as well as any trash or weeds that are also flammable. Make sure to rake up all leaves and pine needles and to also remove them from rooftops and rain gutters. Also remove any wood piles from within this 30 foot radius.
Give the plants space! Trim back any tree branches that are touching (leaving a minimum of 10 feet between branches). Trim bushes and grasses to keep space open around them. Also trim up tree branches to keep space open between tops of shrubs and low-hanging limbs. Make sure that there is also space between shrubs and the sides of the house and that there are no tree branches overhanging the roof.
Consider installing non-flammable hardscape within this area. This would be materials such as pavers, gravel, and stone.
Last, but definitely not least, consider replacing some of your plant material with fire-resistant plants. This doesn’t mean to just plant cactus and succulents (though if it’s what you want, then go for it!). But there are many different types of beautiful plants that are resistant to fire. Check out my list here!
So that’s my list of things to do to make your yard more fire resistant. Let’s do our part to keep our homes, our neighborhoods, and our firefighters safe from wildfires!
For most people, designing their yard can seem like a daunting task. Where to begin? What to include? How much will it cost? These are all great questions that can leave homeowners scratching their heads and delaying their plans. But don’t worry. It’s easy to create a DIY yard design. Just follow these 10 steps, and you’ll have a basic yard design down in no time!
*Note: If these steps seem too complicated for you, then you can always hire a landscape designer to create a design for you. They are trained to create a functional, beautiful space that you will love. There is no real substitute for a professional!*
That being said… now it’s on to your design!!!
DIY Yard Design Step #1: Decide what is staying and what is going!
If you have a brand new house with a blank slate, consider yourself lucky and go on to the next step. If not (like most of us), we need to decide what features we like, and what features we want to change up. Check out my post on how to decide which plants to keep! Then also decide what hardscape (all non-plant) features you want to keep and which ones to trash.
DIY Yard Design Step #2: Make a list of what you want from your yard…
This is the time to really put the brain to work. What do you really want to do in your yard? Do you want to use it for entertaining? Would you use a play area for kids? Or would you simply want it to increase your home’s curb appeal? Do you want a space to sit and relax? Make a list of all the things that you want from your yard. Remember, this is your yard and you want to meet your needs.
DIY Yard Design Step #3: Time to draw…
Get out a sketchpad and draw up a basic sketch of your yard. Then add general areas of where you want everything. Things like Pool Area, Play Area, Sitting Area, and Garden. Put in what you want, but make sure it’s very general and loose.
Next, add in walkways. This makes sure that you have a good flow from one area to the next. Use lots of big arrows to indicate where people will be walking. Then maybe even walk it yourself a couple of times. Make sure that you don’t feel trapped by anything, or that you have to go around multiple things to get where you want. Add in entrances or exits as necessary.
DIY Yard Design Step #4: Add in plant areas!
Once again, keep this very general.Don’t add specific plants unless they are already existent. Draw in plant areas and designate places you might want trees, shrubs, vines, etc. This is more for what shapes you want, not for specific plants.
DIY Yard Design Step #5: Keep a budget in mind…
Think of how much you have to spend, then think of what you have planned. This might have you going back and changing up some things, but also try to think of more budget-friendly ways to achieve what you want. Maybe it’s in doing a couple DIY projects instead of hiring it out. (Note: Make sure that it’s something you feel comfortable with, as DIY projects, if done incorrectly, can cost you more in the long run…)
Also consider completing things in sections (like the play area this year, the pool area next year, etc). And try to get a realistic pricing for everything. Remember, hardscape can cost quite a bit, but purchasing hundreds of plants can also be very pricey. So be realistic and change things up if you have to, but make sure that what you plan is within your budget.
DIY Yard Design Step #6: Look for Inspiration!
Now that you have your general areas in mind, as well as a price range set, start looking around for ideas! My personal favorite is Pinterest, but there are plenty of ways to collect ideas, such as in magazines, local nurseries, or even a stroll around your own neighborhood. Make sure you get lots of different ideas together and decide on your overall style. This will help in the next steps…
DIY Yard Design Step #7: Think of water…
Water has become quite a hot topic over the last several years. Plan in what existing water lines you have and which ones you will need to change. Also designate water areas (low-water, medium-water, and high-water areas). This will help keep down water costs in the future.
DIY Yard Design Step #8: Plan out the hardscape…
Keeping in mind your budget and your style, decide what materials you want to use, as well as the exact shapes. This is the time to define the overall lines in your yard, whether it is curvy and loose, or straight and modern. The hardscape is what will generally be the most permanent, so plan wisely.
DIY Yard Design Step #9: Plan out the softscape (the plants)…
Keep in mind the watering zones you set in step #7… Then consider sun requirements. You will have some sunny areas, some shady areas, and some in-between. Also check your hardiness zone to see what plants will survive your climate. Once you have it all looked up, choose specific plants that fit the requirements for each space.
Look around at what plants do well in your area. Check out local nurseries to see what they’re selling. Then make sure that the mature size fits the space, as well as keep in mind any maintenance requirements (to fit your time schedule).
Next, remember to choose fun colors and to mix up the textures of the foliage so you don’t end up with a very bland yard.
All of these things are important when selecting plants to use, so take your time and choose wisely!
DIY Yard Design Step #10: Install and enjoy!
The installation period can take the longest, especially if you’re doing a lot on your own. But I know that in the end you will have a beautiful yard and a space you can truly enjoy!
There’s the list! And remember, if you get too overwhelmed or have any questions, feel free to contact me, or leave a comment below!
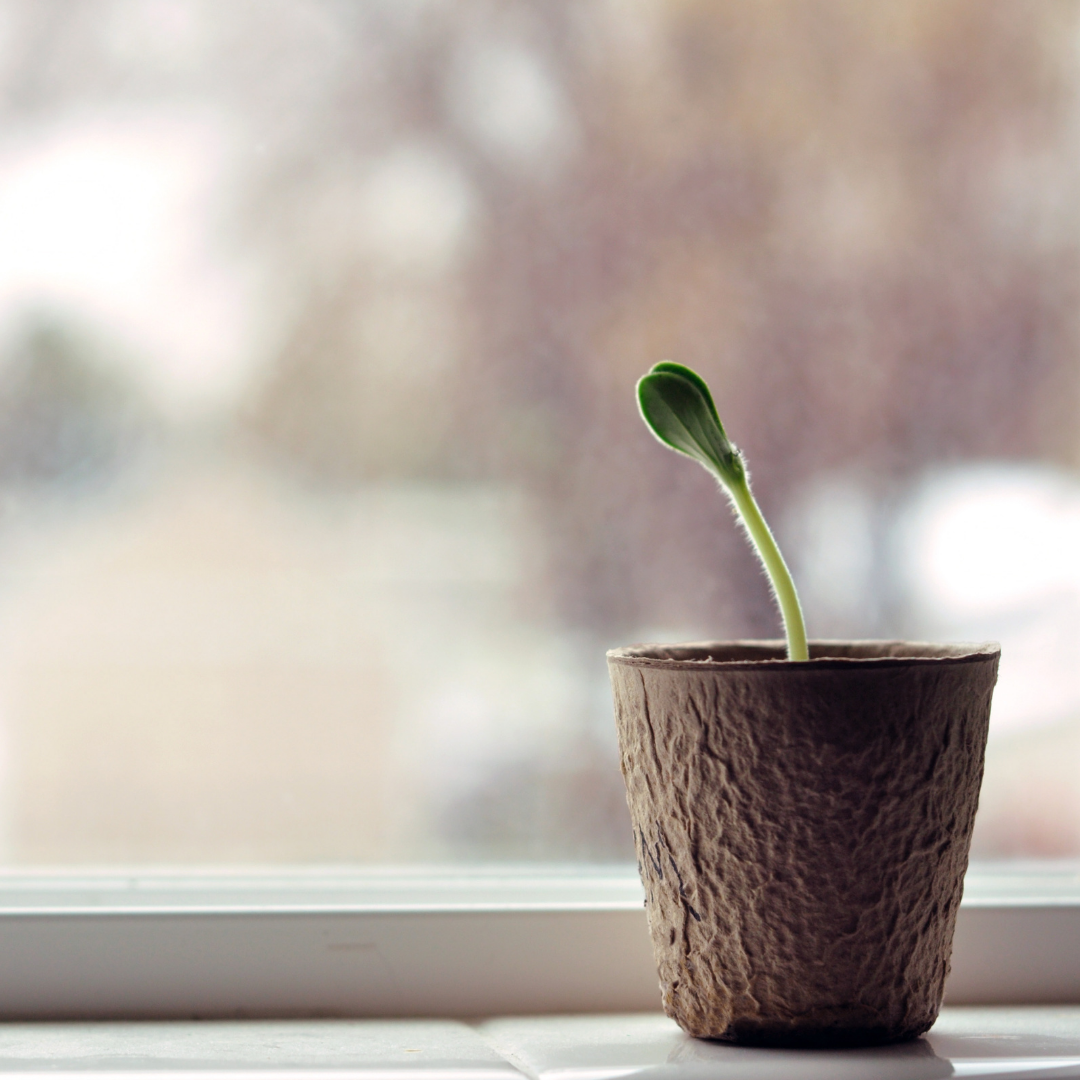
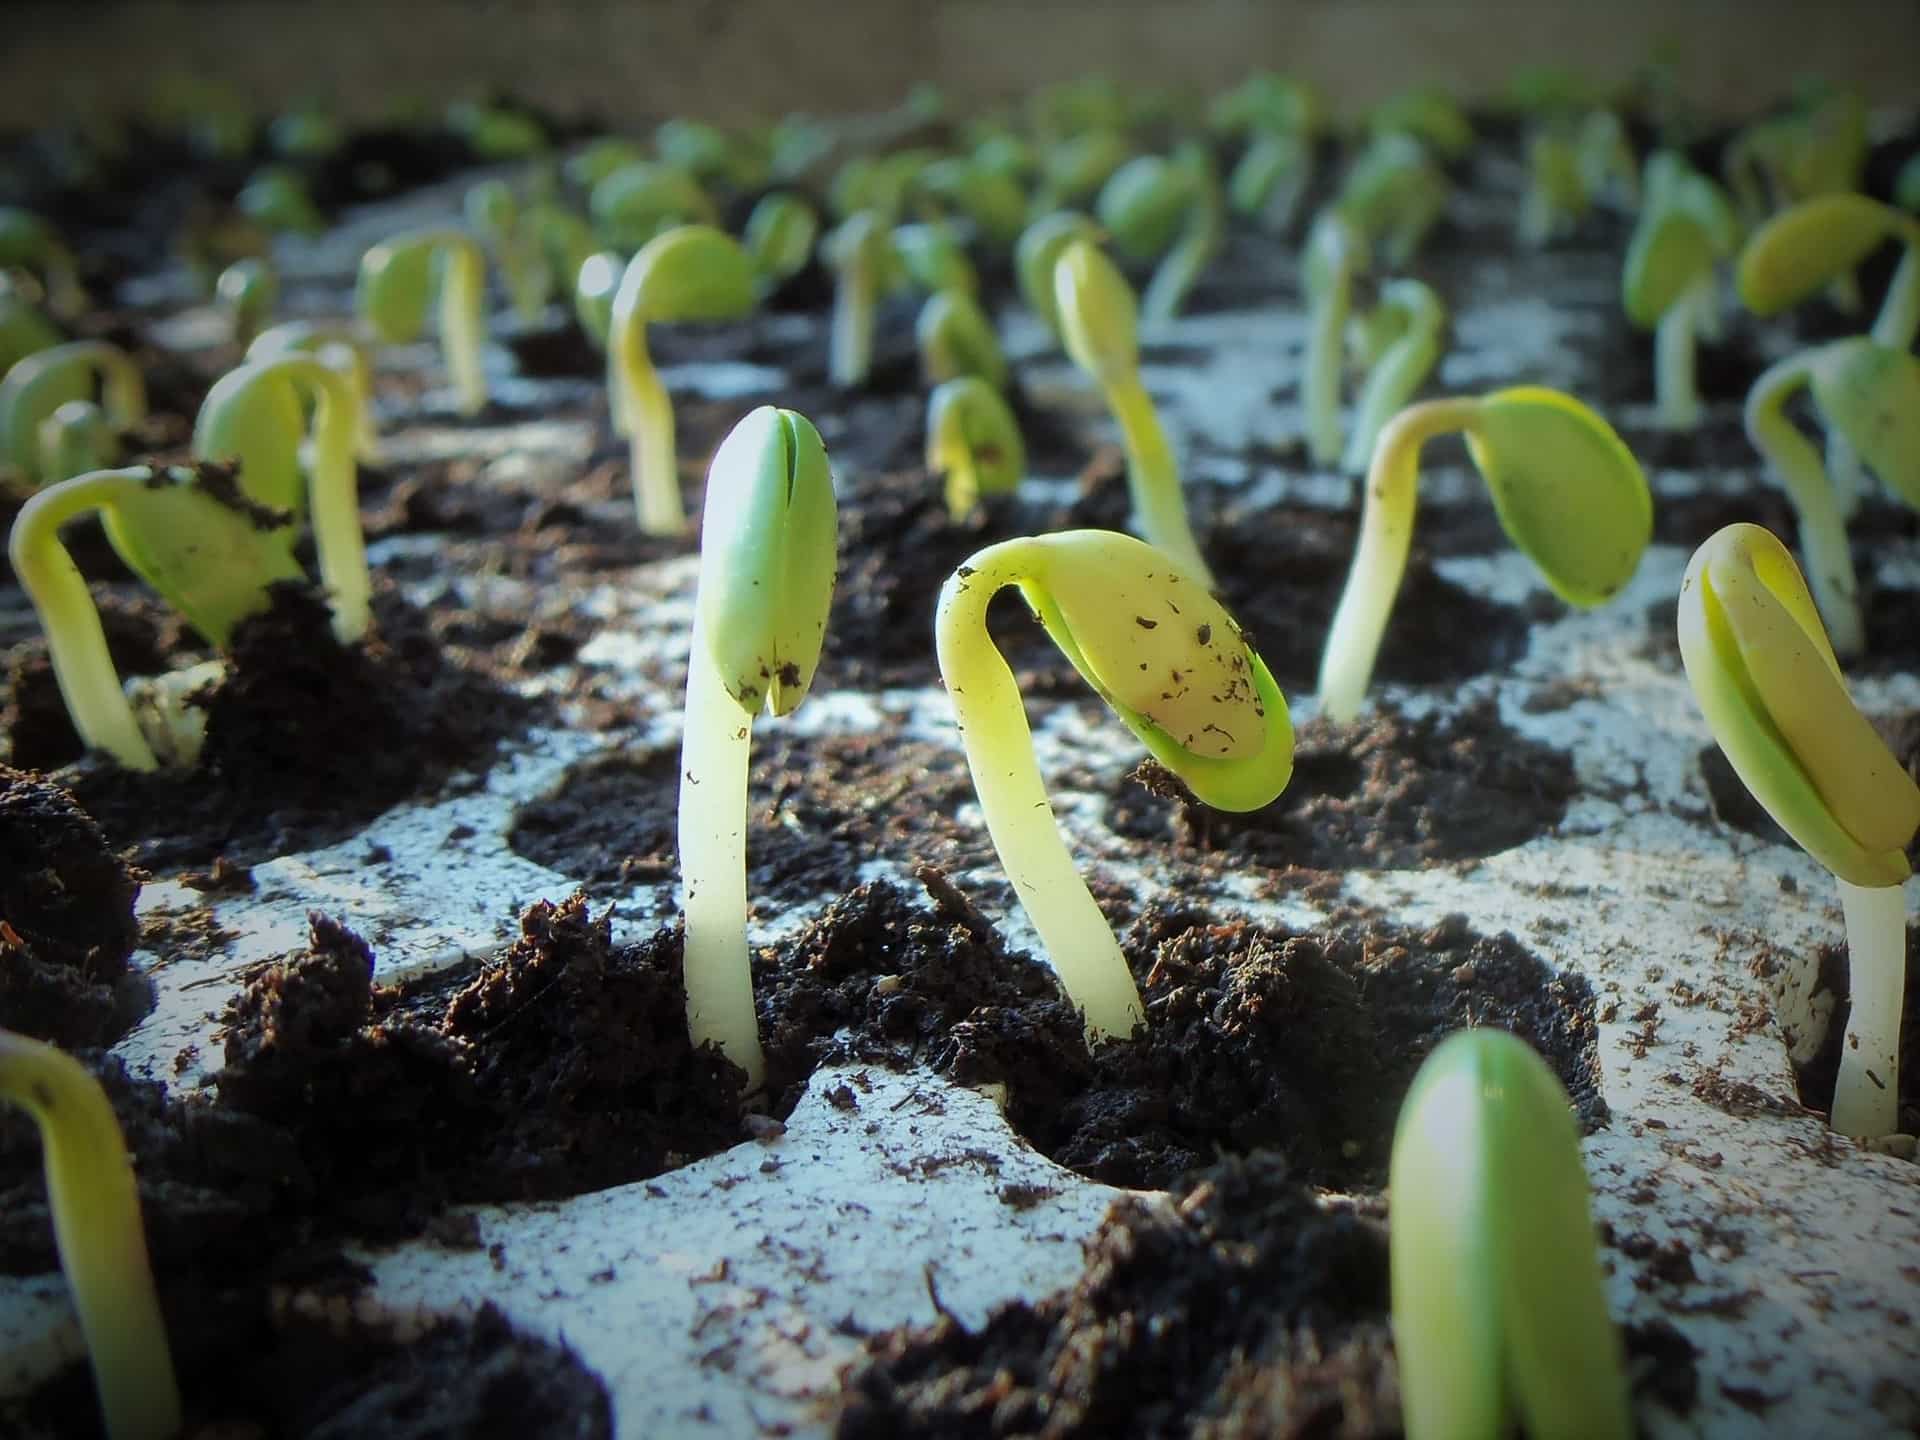
Whether you’re getting a jump-start to your garden or simply want some plants around the house for a cheaper price, starting from seed is great! However, it can also sometimes be tricky and frustrating. But with these 10 tips and tricks, you’ll be planting like a pro! Here is how to grow seeds indoors, with 10 tips to ensure that you have success!
Tip #1: Only use good seed…
This may seem like a no-brainer, but for all those who are hoarding seed packets out there, either plant them, or throw them out. Check the back of the seed packages for the expiration date. This date is when the seeds start getting less and less viable (fewer of the seeds will actually sprout). Storing seeds in a dry, cool place can prolong their lifespan, but make sure that you don’t wait too long. Also, purchase your seed from a reputable seed company, not just from some rando off the street! Remember, you won’t grow anything from a bad seed, no matter how good you are. (Yes, I’m looking at you seeds from ebay that never grow!!!)
The depth of soil underneath your seedlings is actually very important.Due to some physics and absorbency ratios (which I’m not going to bore you with), basically, the more soil beneath, the harder it is for your seeds to get the water. But don’t go too shallow that there’s no room for your seedling. Somewhere in the 3″-6″ range should be good for most seed, but it may vary depending on the size of your seed. The smaller the seed, the less soil it needs beneath. The bigger the seed, the more soil it needs.
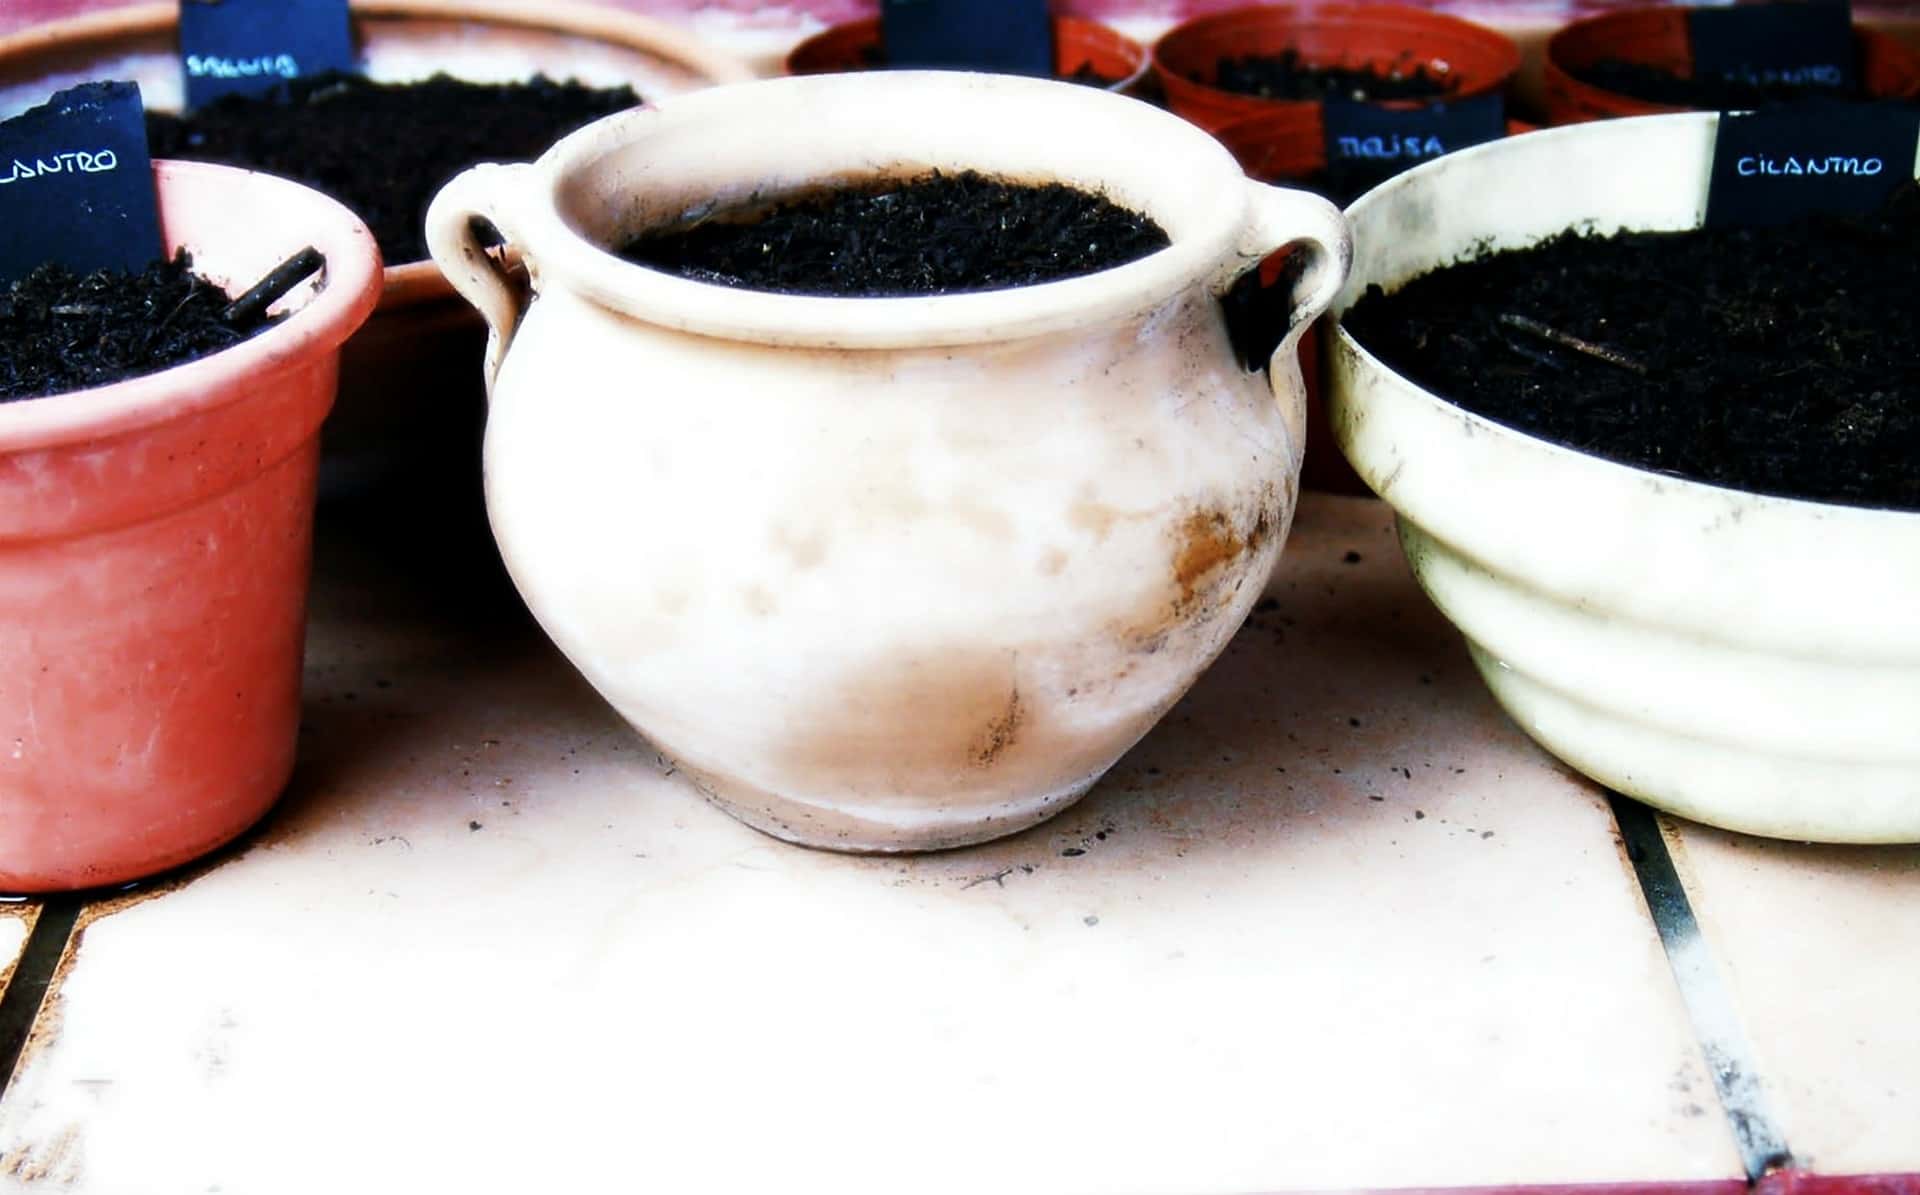
Tip #3: Have proper drainage…
There are many different types of containers you can use for planting your seedlings in… from commercial seed pots, to handmade newspaper pots, to old salad containers. I’ve seen and used many different makeshift as well as professional pots. But one thing they all have to have in common is good drainage. Without proper drainage, all the water will soak to the bottom of the pot and stay there, leaving either just the top (where the seeds are) all dried up, or it can lead to a big wet mess (which can lead to a lot of other problems like mold and fungal growth). So if you are using any recycled plastics or containers, just poke some holes into the bottom to let some of that extra moisture out.
Tip #4: Use good soil…
Not all soil is made the same… quite literally! I once bought some extremely cheap soil that turned out to be just a mix of clay and decomposing pine needles. And do you know what my plants did in it? Absolutely nothing. No growth, no flowering, no nothing. Basically, you get what you pay for. So don’t try to take a cheaper way out (unless you’re doing your own composting, in which case be very careful that it is done correctly.) But for seeds, use only clean soil – a good soil will have a weed seed count on the back. Try to get one with a very low weed seed count, as well as make sure it contains a lot of organic material. You can also purchase soil that is specifically for seedlings, as it may contain additional fertilizers or other ingredients that increase drainage and will give your seeds the best environment possible. So consult your budget and see what works best for you. But remember… with soil, you get what you pay for!
Tip #5: Don’t let it get too hot…
Don’t let your pots get too warm. This is different from heating mats, which I absolutely LOVE and recommend LIKE CRAZY!!!! (Here’s the heating mat that I personally use and LOVE!!!) While heating mats and bottom heat can be beneficial, make sure that there are no hot drafts blowing over the top of your little seedlings. The biggest culprit here is the heater. Don’t place your pots in direct line of these hot currents. You don’t want the top of your soil to dry out because it can cause your seedlings to wilt and to die from the top heat. You also don’t want to expose some seedlings to direct sunlight in hot temperatures. This can lead to drying out of the top of the soil, and it can also scorch any sensitive new seedlings emerging with their small, delicate leaves.
Tip #6: Don’t let it get too cold…
Just like tip #5, you want to keep your pots at a good temperature. Starting seeds during the winter can be hard as indoor temperatures are generally colder and there can also be dangerous cold drafts from windows and doors. A big thing is to add additional heat to your soil through a heating mat. Often, indoor temperatures are still too cold for the seedlings to germinate. To fix this (and to increase germination rates), you should heat up your soil with a heating mat. This will both increase the number of seeds that sprout, but it will also decrease the chances that your seeds will die from overwatering. For those in especially cold climates, one of the warmest places in your house during the winter is on top of your refrigerator (as long as it isn’t in direct line of a heater current). If the lighting isn’t good there, then move it once the seedlings come up. Which leads to our next tip…
Tip #7: Have adequate lighting…
One of the biggest challenges indoors can be lighting. If you are lucky to have large windows and plenty of light, then enjoy! If not, then here are some tips. Having one good window as a light source, place the pot near the window (but not in any cold or hot drafts!) and turn the pot every time you water.This will help with straight growth. Now, if your seedlings are growing really tall, without a lot of leaves, then this is a sign that they need more light. There are lots of different options for supplemental lights, including boxes or strips that can even raise or lower, depending on your plant’s height. These can sometimes take up a lot of room, however, and may require some installation. My personal favorite, is this flexible lamp for those planting just a few seeds. This lamp is great for adjusting the light exactly as I need it and to continually move them as my plants get taller. Then, for those wanting to start their entire garden and then some from seed, then I would HIGHLY suggest you get this light! It’s a full-spectrum plant light that has kept my seedlings short and leafy all winter (and even grew me some GORGEOUS heads of lettuce last year in my indoor grow tent!) And on this note, remember not to place the lights too close to the seedlings as it can burn them. Likewise, too far away and the plants won’t be getting as much light as possible. Both of these plant lights are full-spectrum to be easy on your eyes, as well as have adjustable heights to help as your plants grow taller.
Tip #8: Don’t under- or over-water…
Having the right amount of water is key to seedling survival. Making sure that you have proper drainage and a good soil are all important for watering success as well. But basically, you want the top of the soil to stay moist without the bottom of the pot soaking in water. As mentioned above, this can cause a lot of problems… mainly an increase in fungal problems, which is often a seedling killer. Also, you don’t want to dry those little guys out. Seeds and seedlings are very sensitive and forgetting to water them can also mean life or death. Also, when watering, make sure that you give them a gentle spray, so as to avoid washing away any little seeds or seedlings. You don’t want a flash flood of water! Keep it to a nice little frequent sprinkle and those seeds will love it!
Tip #9: Sow at proper spacing and depth…
This may also sound pretty straightforward. However, you’d be surprised at how many seeds have a hard time because of improper seed depth and spacing. Basically, the bigger the seed, the more soil goes on top. The smaller seeds can sometimes be even just sprinkled on top of the soil and lightly pressed down to ensure good soil contact. As for spacing, follow the recommended spacing, but if the seeds are a medium to a smaller size, put a couple of seeds in each hole just to ensure that you will have at least one sprout. Then thin seedlings out to the proper spacing once they’ve sprouted.
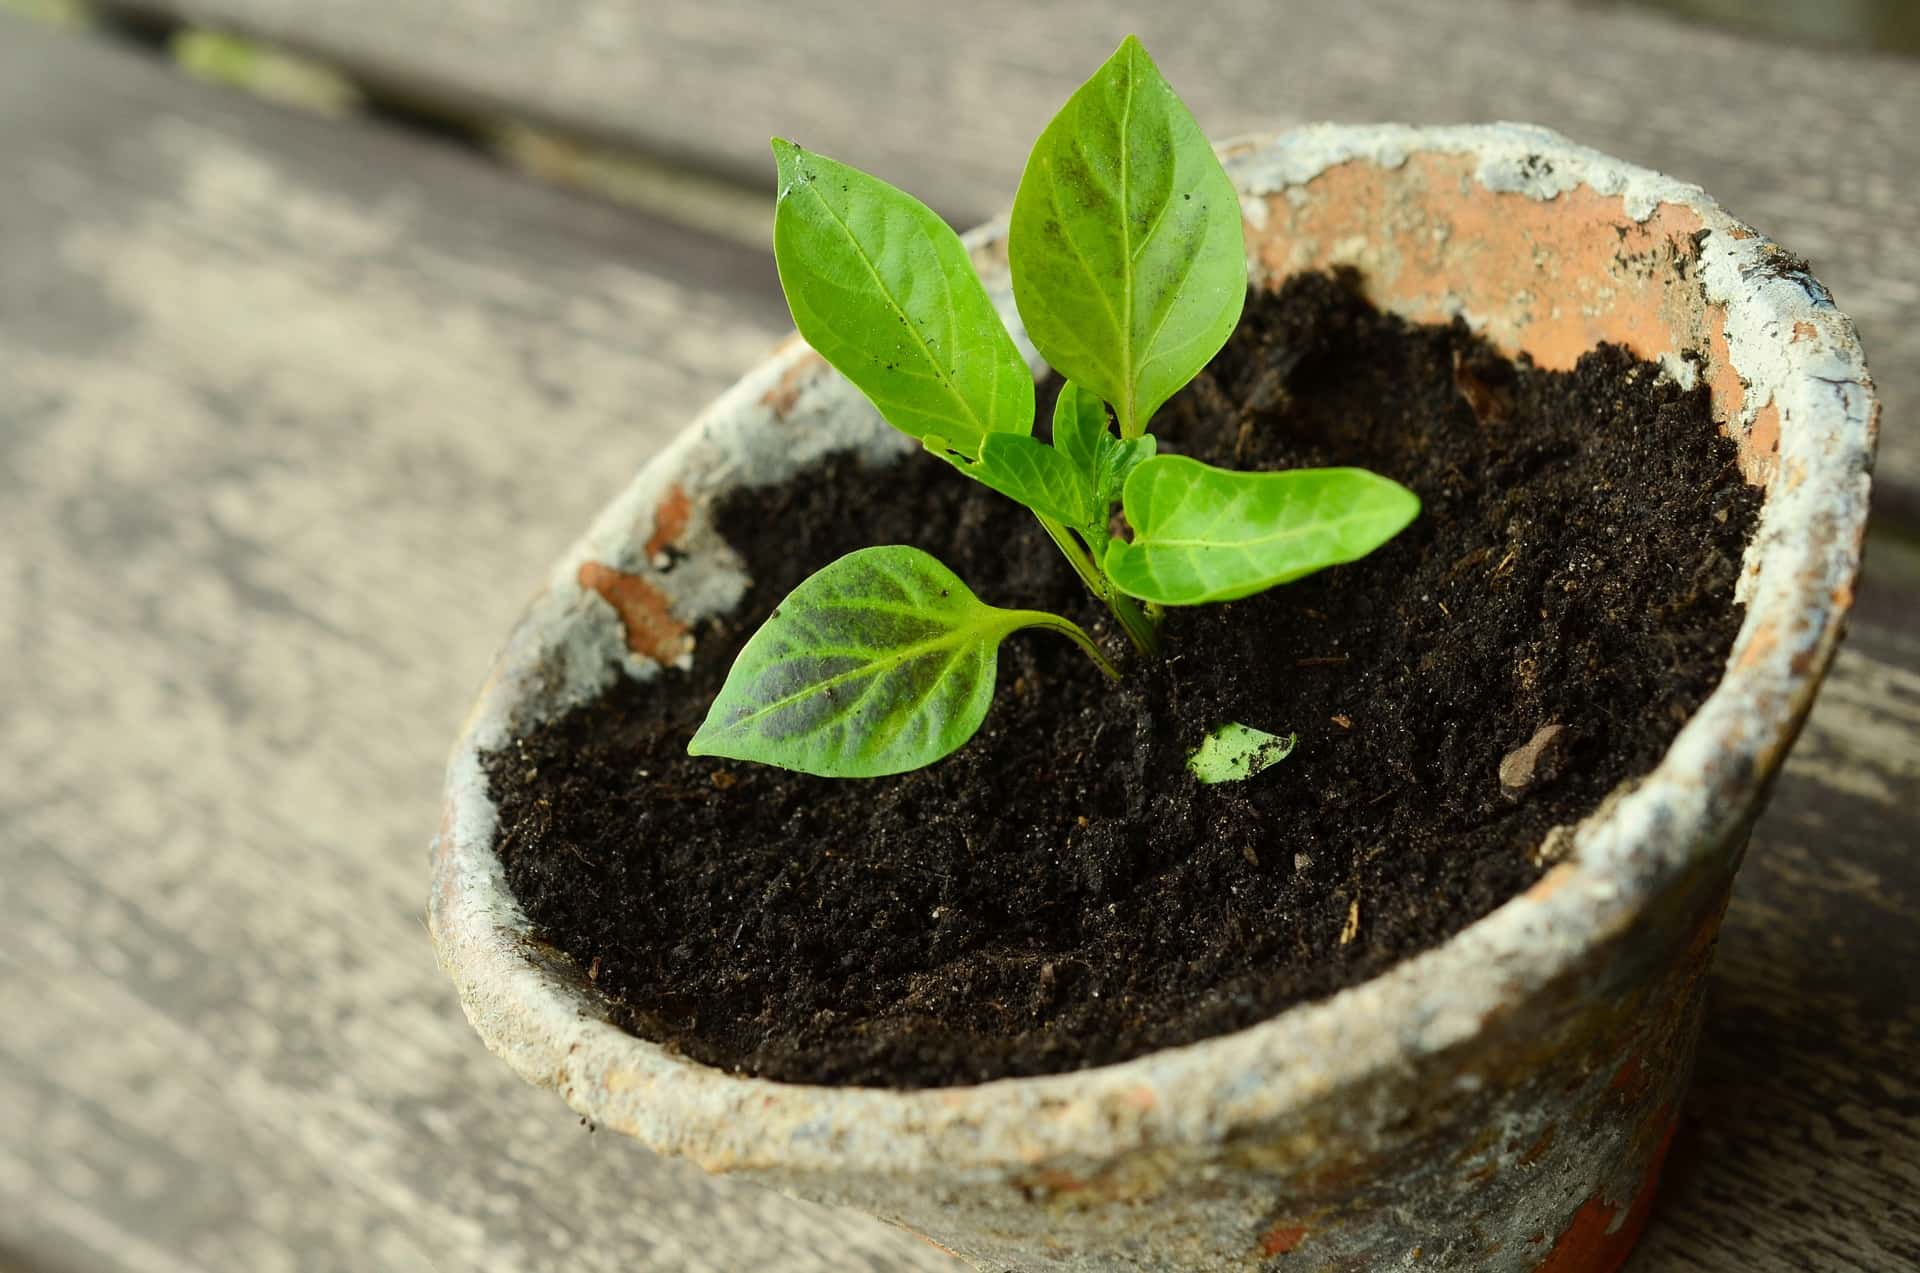
Tip #10: Transplant at the right time…
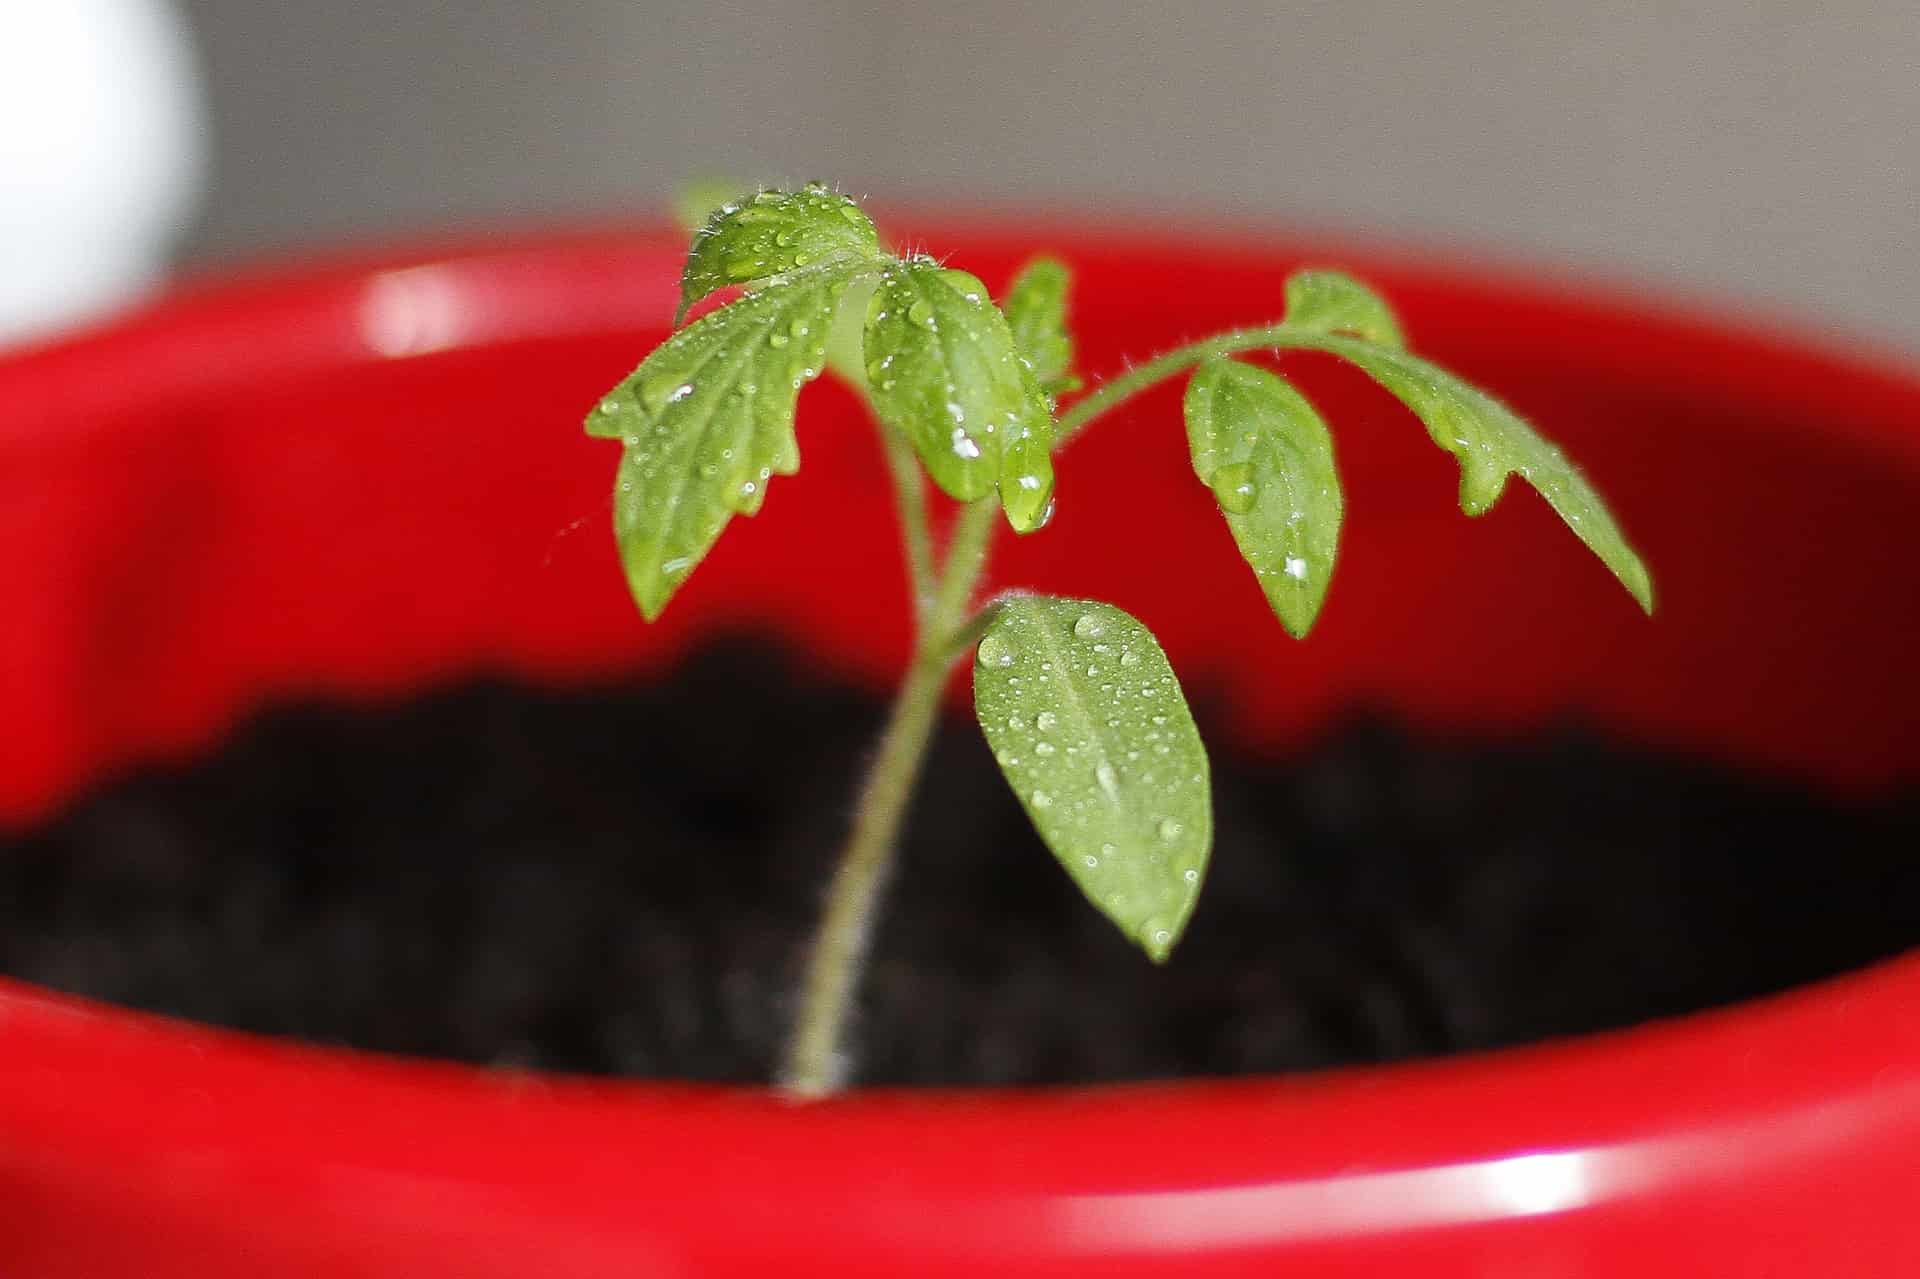
Even I’ve transplanted my seedlings too early, just to watch them die in the new soil. Basically, wait until they have two sets of true leaves to transplant into slightly larger pots, and then into the garden (weather and seasonal conditions permitting). So what exactly is two sets of true leaves? The first set of leaves are called the cotyledon leaves. They don’t count. The next set of leaves look different. They look more like whatever plant you’ve planted. This is the first set of true leaves. Then wait for a second set to grow. Once there are two sets of leaves (may be two leaves, may be four or more, depending on the type of plant) then these little guys are ready to be moved into a more permanent home.
I hope these tips have helped! Let me know if there are any other tips or tricks that you’ve found to be useful in the comments below! Then, for even easier growing, check out these 5 Effortless Indoor Herb Garden Kits!
So here’s how this whole grow roses from cuttings thing came about…
My mom was talking the other day about a rose bush that her dad had planted in one of the cousin’s yards. See, he had passed away about 20 years prior and she always remembered this rose bush he had planted. She was hoping that they would take good care of it in order to make sure that it stayed alive. Every year or so she would visit the house and would always cross her fingers, hoping the bush was still healthy. She wanted to be able to remember her dad through this rose bush.
But I came up with the idea, “Well, why don’t you get some cuttings and grow the rose bush yourself?”
Good idea? Totally. Preserving family memories? Big time. Ever wonder how you can preserve your very own favorite rose? Here’s a great method that I used to grow my grandpa’s roses from cuttings. And believe me, it works!
What you need:
2 large plastic containers (preferably a large, clear container for the top, I used a 2 liter soda bottle)
Potting Soil
Rooting Hormone (you can find it at Walmart, Home Depot, or Lowe’s)
Razor Blade
Hand Pruners
Rose Cuttings (see next section for instructions!)
Instructions:
The rose cuttings should be 6-8″ long, trying to take a cutting from a stem that has a wilted rose on it already (this makes sure that the stem is in the growth mode and not the blooming mode). Try to make a cut close to the original stalk to get some of the growth collar on it. This is the brown ring around where the stem attaches to the original stalk. Your cuttings should look like this:
If transporting the cuttings, make sure that the cut ends do not dry out. This can be done by wrapping them in moist paper towels and then sealing the ends in a large plastic bag. I’ve also just put the longer cuttings in a vase full of water and they seemed to do just fine (though it’s harder to keep yourself dry on bumpy rides home!)
Planting your cuttings:
Now that you’ve got yourself a cutting (or two or three), take your plastic containers and cut off the top of the larger one, and the bottom of the smaller one. Then, cut drainage holes in the bottom of the plastic container. I usually just do a simple X in a couple of spots. Then fill the larger container with soil, leaving space in the middle to insert your cutting into. Next, take your cutting, and clip off the top that contains the wilted rose. Also cut off several of the leaves, leaving only two sets of mature leaves. Then, with the razor blade, carefully cut strips into the bottom of the cutting. These strips should be about 1/2″ long and should only cut through the soft, green layer of the stem. Be careful to not cut too deeply at this part.
Once it’s cut, dip the end of the cutting in water (making sure to cover the whole length of the slit area), and then dip it into rooting hormone. Lightly shake off any extra powder. Then put it into your already prepped container. Make sure that you press the soil around the end of the cutting instead of pushing the end down into the soil. This will help keep the rooting hormone on the cutting and not just loose in your soil. Press the soil down firmly to hold cutting in place and to ensure good contact. Then place second plastic container over the entire cutting.
Keep the soil moist, but not soggy. Transplant once there are two sets of new leaves and when outside conditions are fair. Enjoy your new roses! And, if you want to learn another way to grow roses, check out my post How to Grow Roses from Cut Flowers!
Happy Digging!
*This photo is taken several weeks later. The new leaves show that this little guy is ready to be planted!*
Today we are going to talk about how to get rid of brown soft scale. While there are many different types of scale insects, this one is arguably the most common. It can be found on several different species of plants and is a common pest in greenhouses and nurseries. It can also affect many different types of citrus and ornamental plants, which is another reason why brown soft scale can be such a common pest.
Note: We are going to be talking about getting rid of brown soft scale in a houseplant situation. Landscape plants that are infected with brown soft scale will benefit most from either a good hosing down with an insecticide, introducing natural enemies (such as ladybugs or lacewings), or by using a systemic that is properly applied. Caution when using a systemic however… be sure that you follow the labels. And only use on edible plants according to the recommended guidelines.
So… What do these little pests look like? …
This is a picture of my dwarf citrus tree (a tangerine hybrid). See all the brown spots? Those are the adult female scales. They like to hide along the underside and ridges of the plant, as well as along the stem. There are also very small spots all over the leaves. These are the young scale insects and they can travel around on the plant and like the adults, feed off of it like an aphid would. This causes the leaves to exude a sticky substance.
So, if you see spots and the leaves get sticky… you’ve got brown soft scale…
Another sign of brown soft scale is if you see ants invading your plants. The ants are attracted to the sticky sap. They can’t get this sap themselves, but insects like aphids or scale insects can get to it. So if you see ants crawling through your plant, you most likely have aphids or scale insects.
My poor little citrus tree…
I first noticed a few small spots when I brought this little guy home from the nursery. I should have taken care of it then and there, but life got in the way. Next thing I knew, the one or two turned into several dozen!
Now I definitely had a brown soft scale problem, but I didn’t know how to get rid of them.
So I did some research and ended up trying a couple of different things that were recommended online. Here’s a list of what worked, and what didn’t work.
First Method: Hand picking…
Unless you have an incredible eye and/or a very small plant, I would not suggest this method. While it can be used along with other methods, it is just too easy to miss one of those females (which can produce up to 250 eggs each!). This can be a good control when you’ve got a spare minute, but it is extremely difficult to completely eliminate these guys with just handpicking…
Second Method: Insecticide…
I bought a generic insecticide from Walmart for $5. Not too bad. I sprayed it at night when it would have a chance to dry before my toddler and my dog got up in the morning. This is the one that I used, but there were several different ones that I could have used that all listed scale as one of the targeted insects. (I chose the added fungicide so that it could potentially be used for any fungal problems that may arise in the future).
I found that first off, I had to spray it like crazy! You need to make sure that the plants get full coverage to kill any little guys in any little crevices. Overall, it helped to control the amount of scales, and might have even cut back on the number of the scale insects. However, they eventually made a comeback. This led me to continue to repeat applications, but then I was worried about spraying so much insecticide in the house.
If it were a smaller plant this might have worked as I would have been able to take it outside and sprayed it like crazy (where I wouldn’t be concerned with furniture and inhalation issues). But with it being a bit larger I couldn’t easily bring it outdoors… plus in the freezing Idaho temperatures my plant wouldn’t have enjoyed it very much 🙁
So this made the insecticide a bit unreasonable for me. But I have to admit… it did get rid of some of the scale. So if you have a smaller plant or you’re able to bring it outdoors into a well-ventilated area, then I would definitely suggest this option.
Some options other than Fungicide 3 are insecticidal soap, horticultural oil, or a triple-action disease, fungus, and insect control. These can be picked up at your local Lowe’s or Home Depot.
Third Method: Hand cleaning…
This is different from the first method because I used an alcohol wipe to individually wipe each of the leaves and stems of the entire plant. This is also very hard to eliminate completely, but with the alcohol on every leaf, I found that it killed 95% of the scales. I only had to follow up one more time to clean it up for good.
I bought this isopropyl alcohol from the Dollar Tree. Not bad for $1! I applied it using cotton swabs and gently rubbed away all insects from the top and underside of each leaf. I made sure that I applied a generous amount and rubbed it all over the stems as well. This took a little bit of time, but was well worth all the time and energy.
Just make sure that you rinse it well after using a soap- or an alcohol-based liquid on the leaves. A good way to do this is to spray it thoroughly with a spray bottle filled with water. You can also rinse it off in the shower. Just be sure to wrap the pot in a plastic bag or a trash bag to keep the soil from getting too moist. If it gets too much water (especially in the winter), this could kill your plants faster than the scale insects!!!
In all, you will have to decide which method will work best for you depending on your situation and the size and number of leaves on your houseplant. And remember to always test any chemicals on a few leaves and wait for several days to make sure there is no damage. Let me know if there are any other methods you’ve tried that you approve of!